


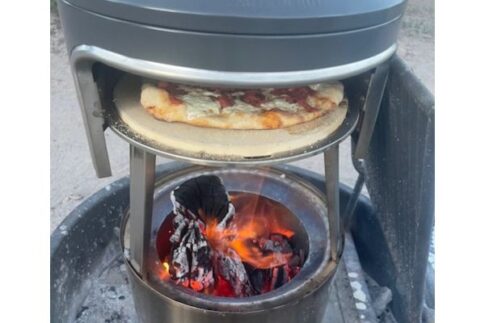
When the fine folks at Solo Stove sent me their Pi Fire pizza oven to try out, I was super excited at the thought of making authentic Neapolitan-style wood-fired pizza during RV trips. I am a certified pizza freak, and I like most styles, but Neapolitan, with its thin, chewy crust accented by a light smoky char from the fire, is my absolute favorite.
The problem is, I don’t carry a stand mixer on the road, and the thought of making my tried-and-true Neapolitan dough in my small RV kitchen with its limited counter space sounded like an enormous pain-in-the-you-know-where.
Not to worry. I knew I could come up with a no-knead version, and I did.
All you have to do to make this amazing pizza crust dough is stir the ingredients together and wait. There is no need to knead. Time does all the work for you.
On the downside, you do need to plan at least a day ahead when making this pizza dough. You can make my no-knead Neapolitan pizza dough further in advance than a day, but that’s the minimum time required.
I actually find it gets even better after spending three or four days in the fridge before making it into pizza. Bring to room temperature, wrapped, on the counter, and allow to rise until doubled in size, about 4 hours.
You can also freeze the dough for longer storage. However, know that it gets a little more elastic with freezing, which can make rolling and stretching a bit more complicated, but it’s not too bad. Allow to come to room temperature and double in size on the countertop (which takes almost all day, so take it out in the morning), before rolling, topping, and baking.
This is an authentic Neapolitan-style recipe using only four ingredients: yeast, flour, salt, and water.
When it comes to flour, the gourmet in me says you will get an ever-so-slightly-better pizza by using bread flour or Italian Tipo 00 flour. However, you can use regular all-purpose flour too, and still make a great pizza. The difference is minimal.
For best results measure your ingredients. But since I know not all RVers carry a kitchen scale, I give approximate measurements too.
Cheri’s no-knead Neapolitan pizza dough recipe
Ingredients:
- 3 3/4 cups (500 g) bread flour or all-purpose flour, plus more for shaping and rolling the dough
- 1/4 teaspoon (1 g) active dry yeast (Yes, that is correct. It only takes a tiny amount of yeast.)
- 2 teaspoons (16 g) salt
- 1 3/4 cups (375 g) water
Instructions:
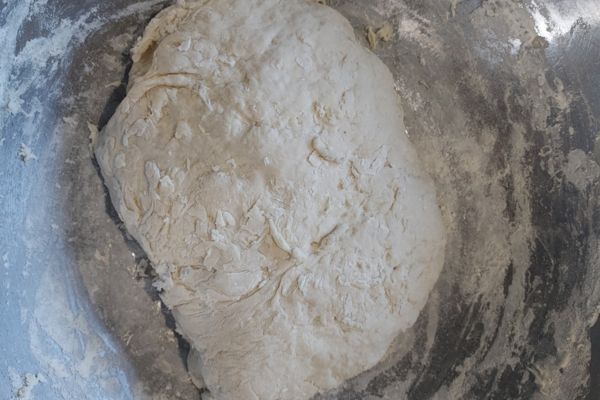
In a large bowl, stir together the flour, yeast, and salt until well combined. Add water and use a large spoon, or your clean hands, to mix thoroughly. When you are done, you will have a rough, craggy-looking dough like in the photo below.
Cover the bowl with plastic wrap or a kitchen towel and allow it to rise at room temperature for about 24 hours. It should be doubled in size or more and a bit less craggy. This will take longer on chilly days than warm ones.
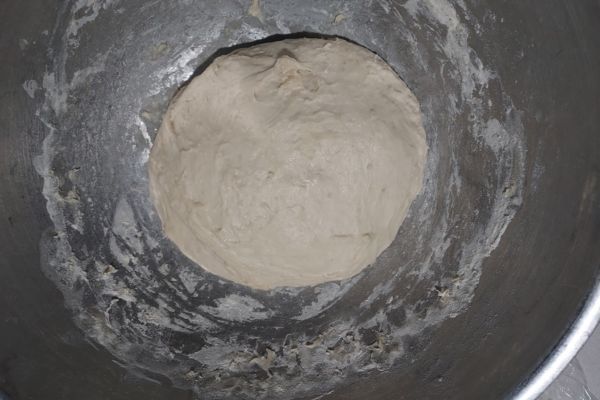
Punch down the dough and stretch it in the bowl a few times—stretch it up the sides, then fold it back into the center. Divide the dough into four equal parts. Shape each into a ball and place in a small bowl seam side down.
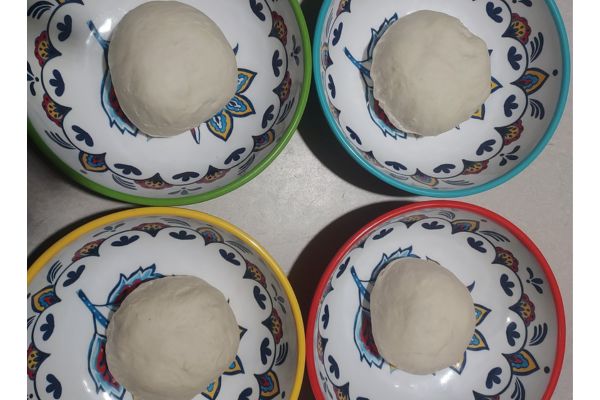
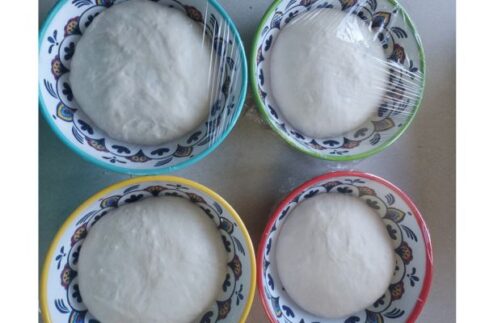
Cover with plastic wrap or clean kitchen towels and allow to rise at room temperature until doubled in size, about 2 hours. The dough is now ready to roll, add toppings, and bake.
If you don’t intend to use the dough right away, place each dough ball in a plastic bag with about 1/2 teaspoon olive oil to prevent sticking. Store in the fridge or freezer (see above).
RV and outdoor pizza-making tips:
- Each dough ball will make a medium-large pizza. However, I often divide the dough in half to make two individual-sized pizzas from each of the four balls of dough, especially if I am baking on the small pizza stone in my small RV oven.
- No matter how you choose to bake your homemade pizza, a pizza peel is an invaluable accessory.
- For best results, use the wood-fired Pi Fire accessory on the Solo Stove (see photo above). Stretch the dough, add toppings, then bake.
- You can alternately bake pizzas in your RV oven on a baking stone at 500 degrees. Again, stretch the dough, top, then bake.
- For cooking pizza directly on an outdoor grill, cook the stretched-out pizza crust for a minute or two on each side without toppings, remove the par-cooked pizza crust from the grill, then add toppings before returning to the grill to finish cooking. This will ensure the crust gets cooked through.
RELATED
- Make wood-fired pizza at camp with the Solo Stove Pi Fire
- The amazing Solo Stove Ranger with cast iron grill
- Easy RV pan pizza recipe
- Cheri’s incredible and versatile fire-grilled salsa recipe
- The Outdoor Cook: How to Cook Anything Outside book review and sample recipes
##RVT1179

Thank you for the recipe, Cheri! It sounds scrumptious. I doubt that DW will want to go to this much trouble, but I will save the recipe in case I am wrong, or she changes her mind. 🙂 Have a great weekend and safe travels!
It’s not much trouble to make, but you would need a pizza stone in the oven if you do not have the Solo Stove pi Fire.
Thank you, Cheri! We did have a pizza stone, but I think it may have been a casualty of our move. I will get one if it can’t be found. Have a great week and safe travels!