Your RV’s suspension system plays a critical role in safety, handling, and tire life. Suspension hangers, shackles, bolts, and bushings carry the full load of your RV while traveling, and when these components wear or fail, the results can be costly—and dangerous.
At California RV Specialists, we routinely see preventable damage caused by worn suspension components that went unnoticed. A proper inspection can help identify problems early and avoid breakdowns, frame damage, tire failures, or loss of control while towing.
Safe inspection setup
Before any suspension inspection begins, the RV should be positioned on level ground with wheels securely chocked. If the RV is lifted, a proper jack must be used, and the frame must be supported with approved jack stands. A jack alone should never be trusted to support the weight of the RV.

Visual inspection
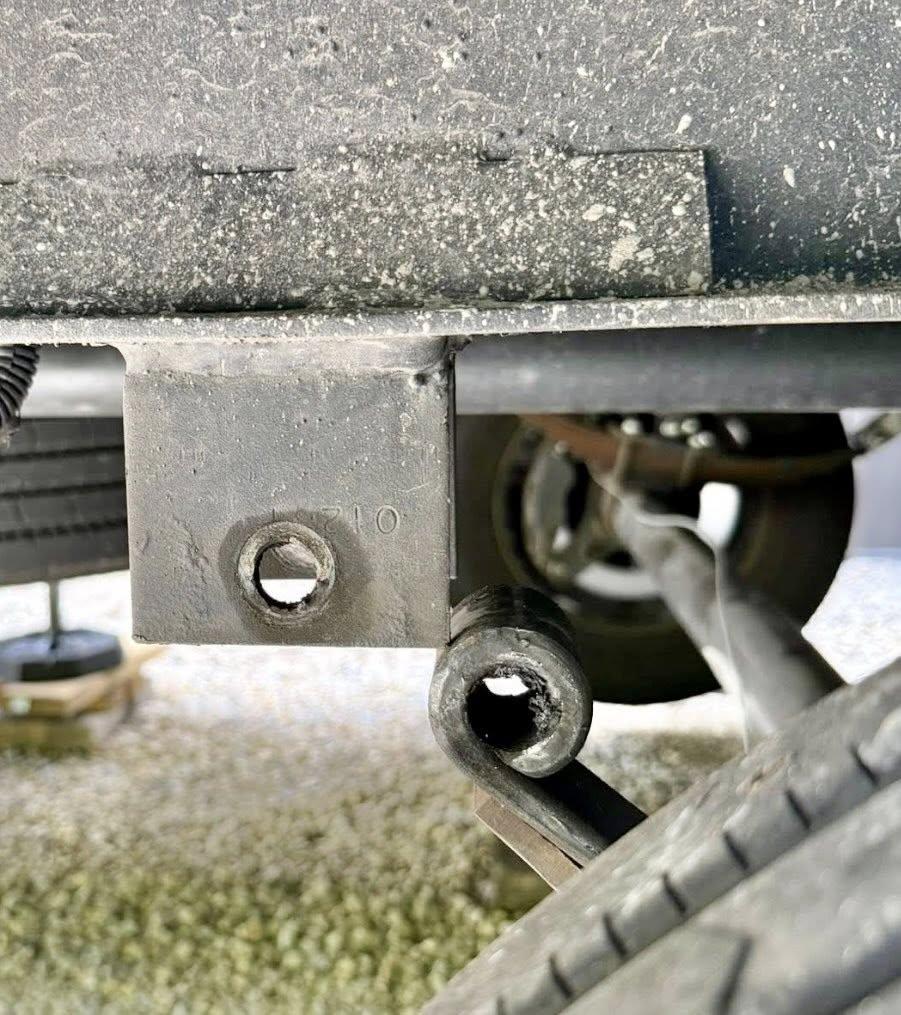
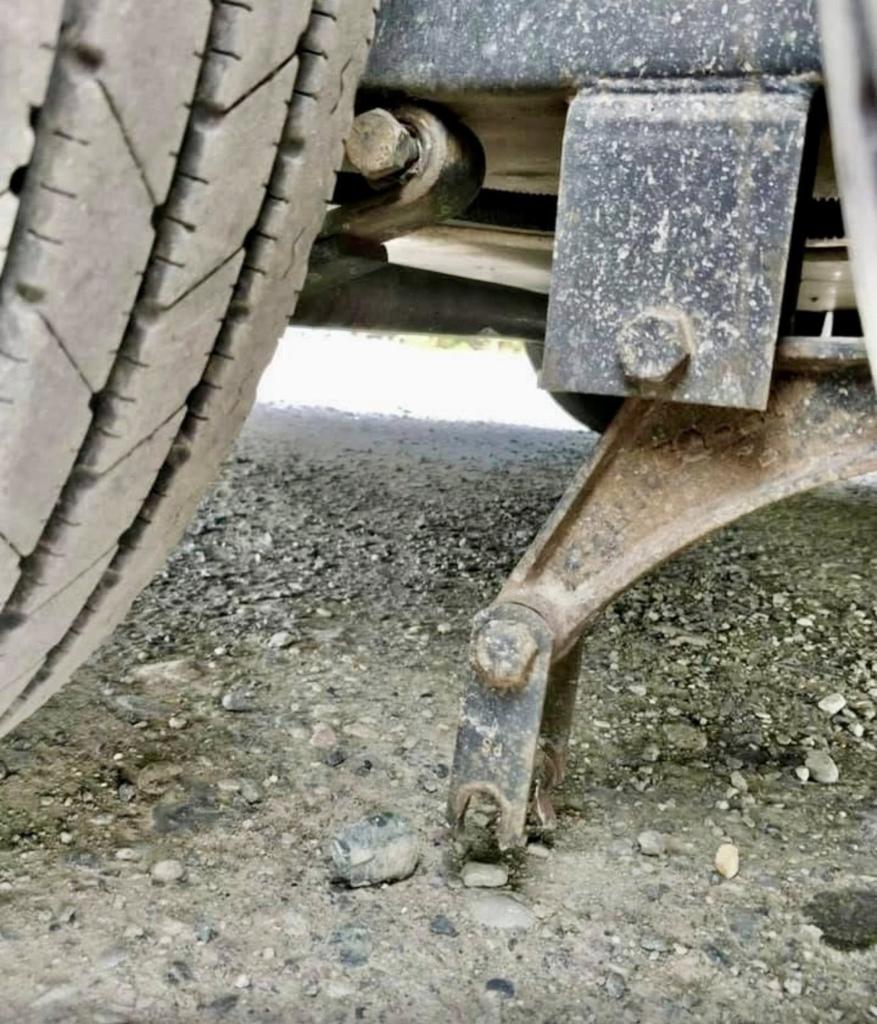
Each suspension hanger welded to the frame should be carefully examined for signs of cracking, broken welds, or deformation. Elongated or distorted bolt holes are a warning sign of excessive movement and wear.
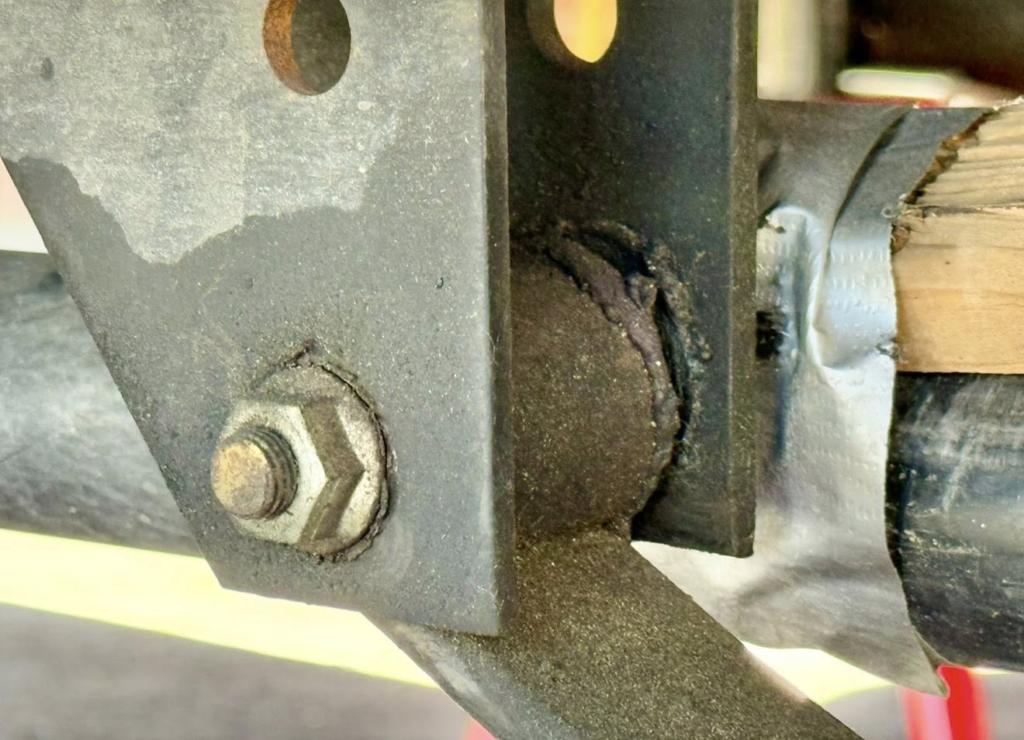
Shackle plates should be straight and properly aligned. Bent or angled shackle plates often indicate worn bushings or improper suspension geometry.
Bolts should be inspected for signs of grease leakage, dry operation, rust, or metal wear. On units equipped with wet bolts, grease should be present and not dry or contaminated.
Physical movement check
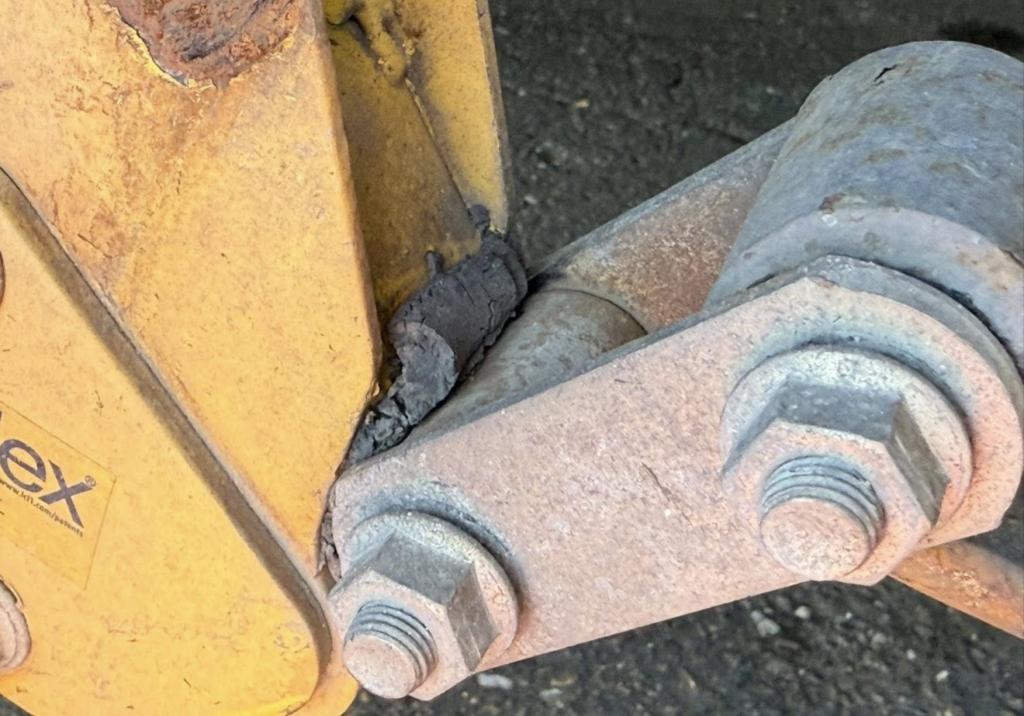
Using a pry bar, gentle pressure can be applied between the spring eye and hanger or equalizer to check for excessive play. Some pivot movement is normal, but noticeable clunking or excess movement typically indicates worn bushings or hardware that requires attention.
Bolt and bushing condition
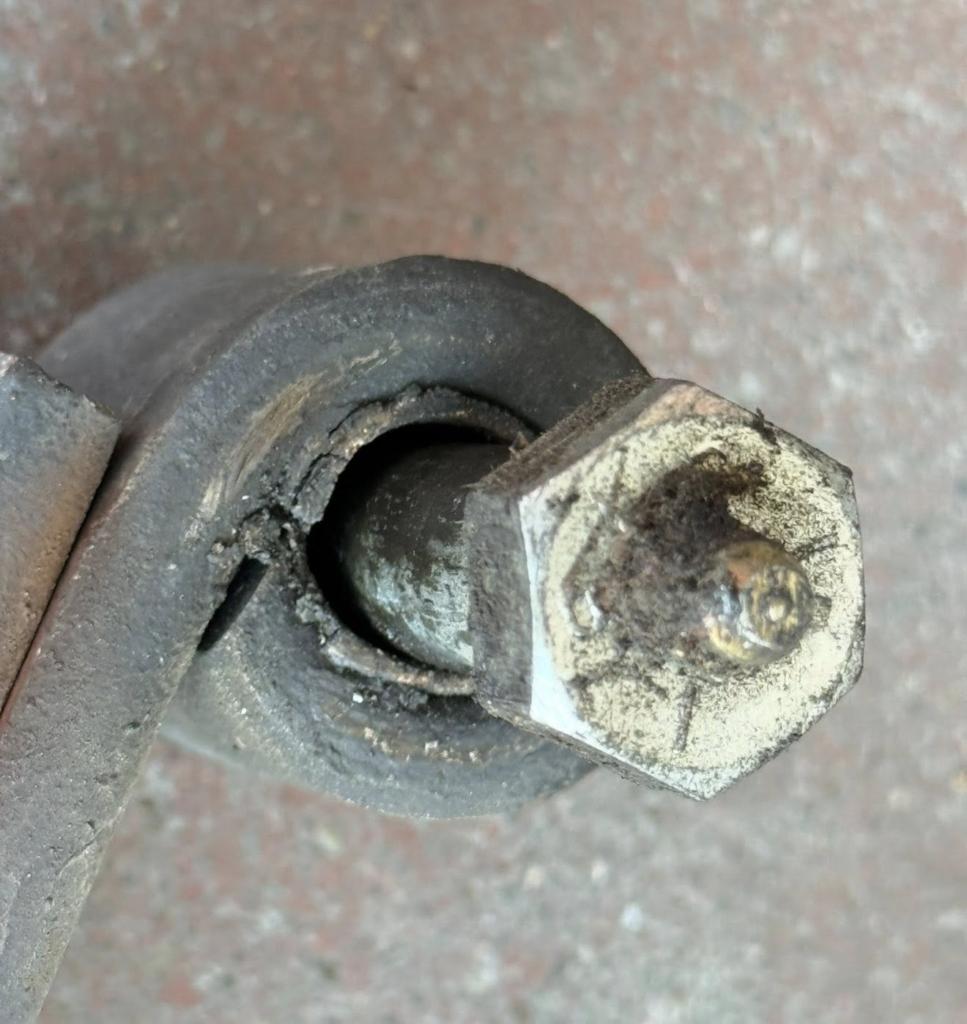
Shackle bolts that are dry, rusted, or non-greaseable tend to wear rapidly and should be monitored closely. Greasable wet bolts should be serviced until fresh grease exits the bushing area.
Bushings inside the spring eyes and equalizers should be inspected based on their material type. Nylon bushings often show cracking, missing material, or oval-shaped wear when failing. Bronze bushings should be checked for grooves, looseness, or visible damage.
Tire wear and ride symptoms
Suspension wear often shows up in the tires before a failure occurs. Uneven tire wear, scalloping, or excessive inside or outside wear may indicate suspension movement or misalignment.
While towing, listen for clunking, banging, or popping noises coming from underneath the RV. These are strong indicators of worn shackles, bushings, or hanger issues that should be inspected immediately.
Recommended inspection and service intervals
Suspension inspections should be performed every six months or approximately every 5,000 to 6,000 miles.
Nylon bushings typically require replacement between 7,500 and 15,000 miles, or sooner if wear is evident. Bronze bushings used with wet bolts should be inspected at the same intervals and replaced as needed. These often last 20,000 to 40,000 miles or more with proper maintenance.
Wet bolts should be greased every 3,000 to 5,000 miles, or at least twice per travel season to prevent premature wear.
Why suspension inspections matter
Failing to inspect and maintain your RV suspension system can result in severe damage, tire blowouts, loss of control, or injury to you and others on the road. Suspension failures frequently lead to ruined trips and expensive emergency repairs that could have been avoided with routine inspections.
A properly maintained suspension system ensures safer towing, longer tire life, improved ride quality, and peace of mind every time you travel.
More from Dustin
Make sure you check out my website, California RV Specialists, and our YouTube channel for more helpful information, and see our published articles on RVtravel.com and other social media pages.
RELATED
- Why your towable RV shackle link thickness matters
- Why heavy-duty shackle kits are worth considering for your RV
- Strengthen your suspension: Install V brackets on your RV’s spring hangers
- RV suspension question and maintenance tips for fifth wheel owners
RVT1248
I see a jack lifting the trailer by the axle. I thought this was a big NO NO!
I would have no problem inspecting my TT suspension, if I only knew what the parts mentioned are and where to look! Is there a diagram somewhere for newbies to refer to?