

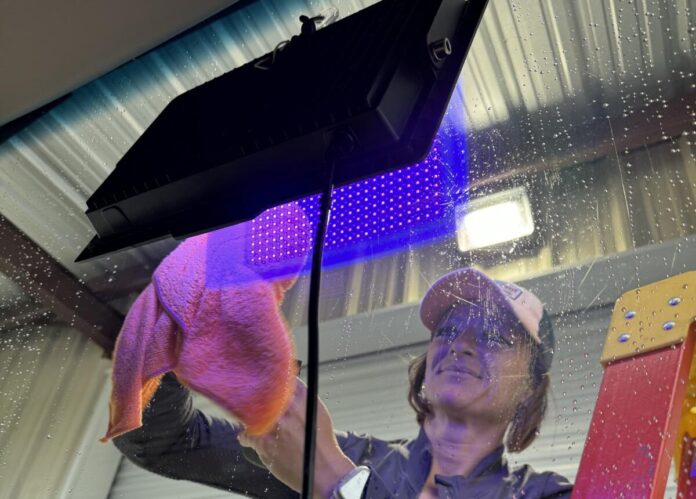
By Nanci Dixon
We have had three RV windshields repaired and replaced so far in our Class A. The first one was probably due to an installation error or horribly uneven site and leveling failure. Major rock dings caused the second and third cracks, both thrown from semi-trucks. One truck was coming toward us and the other was in front of us when they flung the projectiles. I watched as both of those rock throws started to spread in a neat line across and down the windshield. After three new RV windshields, it makes one wonder what grade of glass they are made from…
We did not want to contact the insurance company for the soon-to-become the fourth windshield replacement. Luckily, I read about SaBrina’s RV & Auto Detailing on Facebook while we were in Red Bay, Alabama. I was sooo happy to meet her and have her work on ours. I could already see the chip traveling about a half inch.
Here’s how her visit and our repair went.
UV light
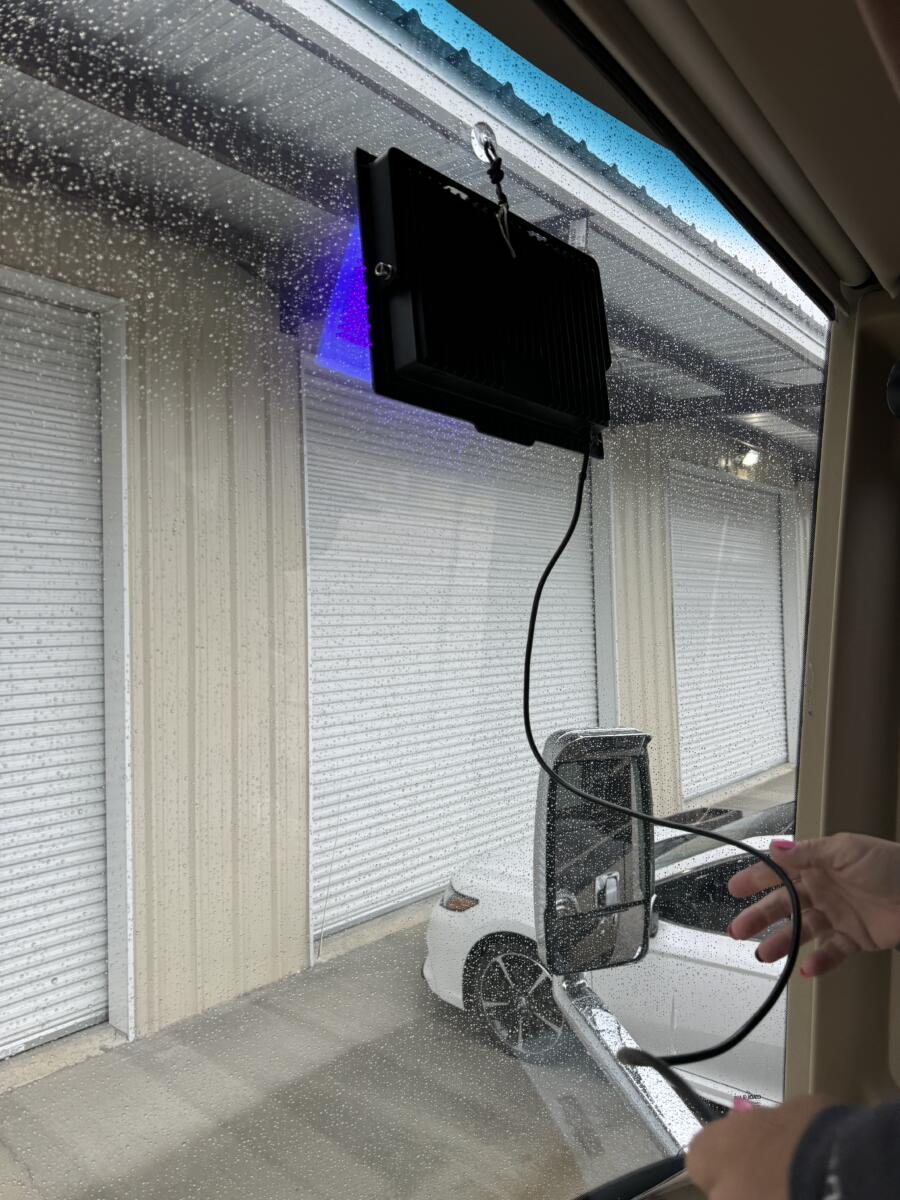
It was pouring rain the day of our appointment and SaBrina pulled the motorhome under an eve to keep the windshield dry. Next she attached a UV light on the inside of the windshield to help cure the resin and plugged it into our 120V outlet.
Chipping away the debris
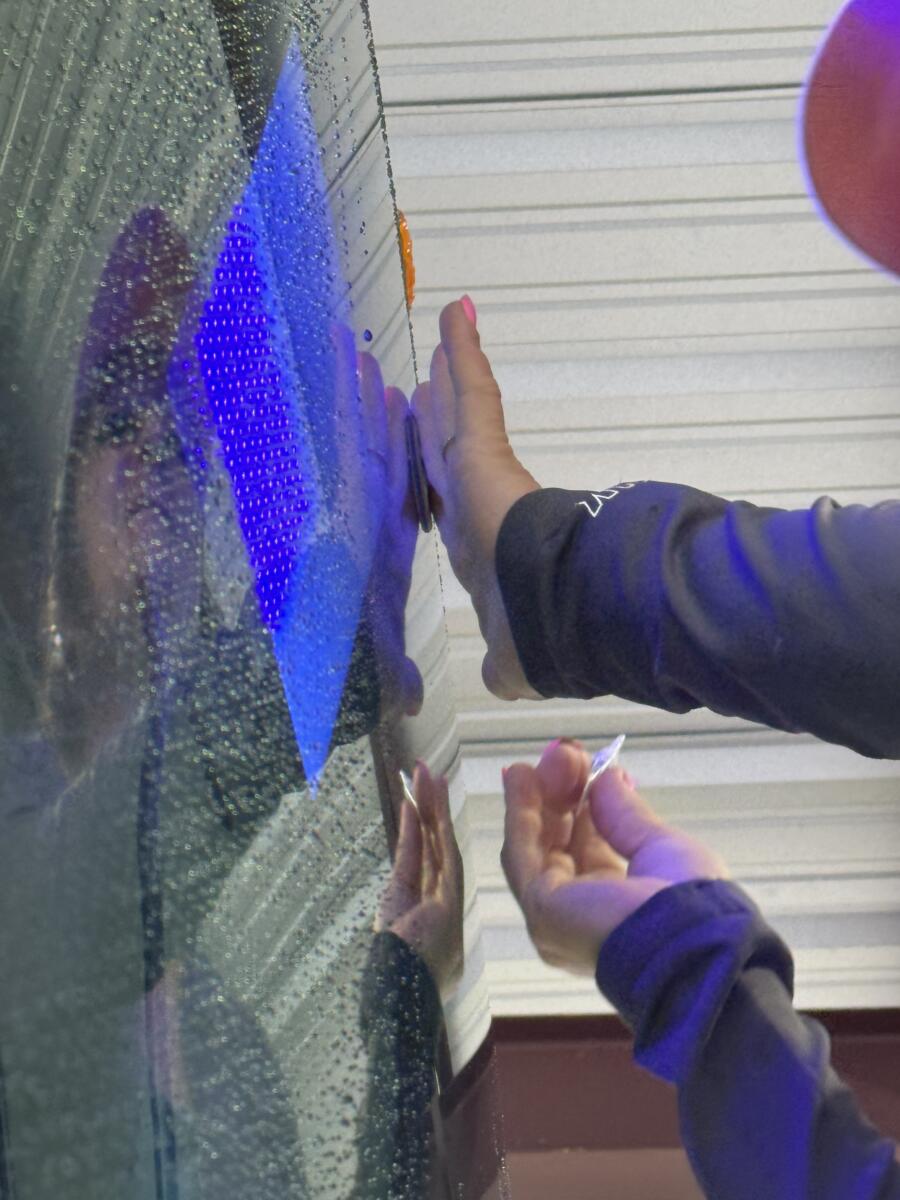
SaBrina chipped away on the ding where the rock had hit to clean out excess loose glass and dirt. She then put a suction cup on the cleaned and clear area over the chip.
Adding the resin
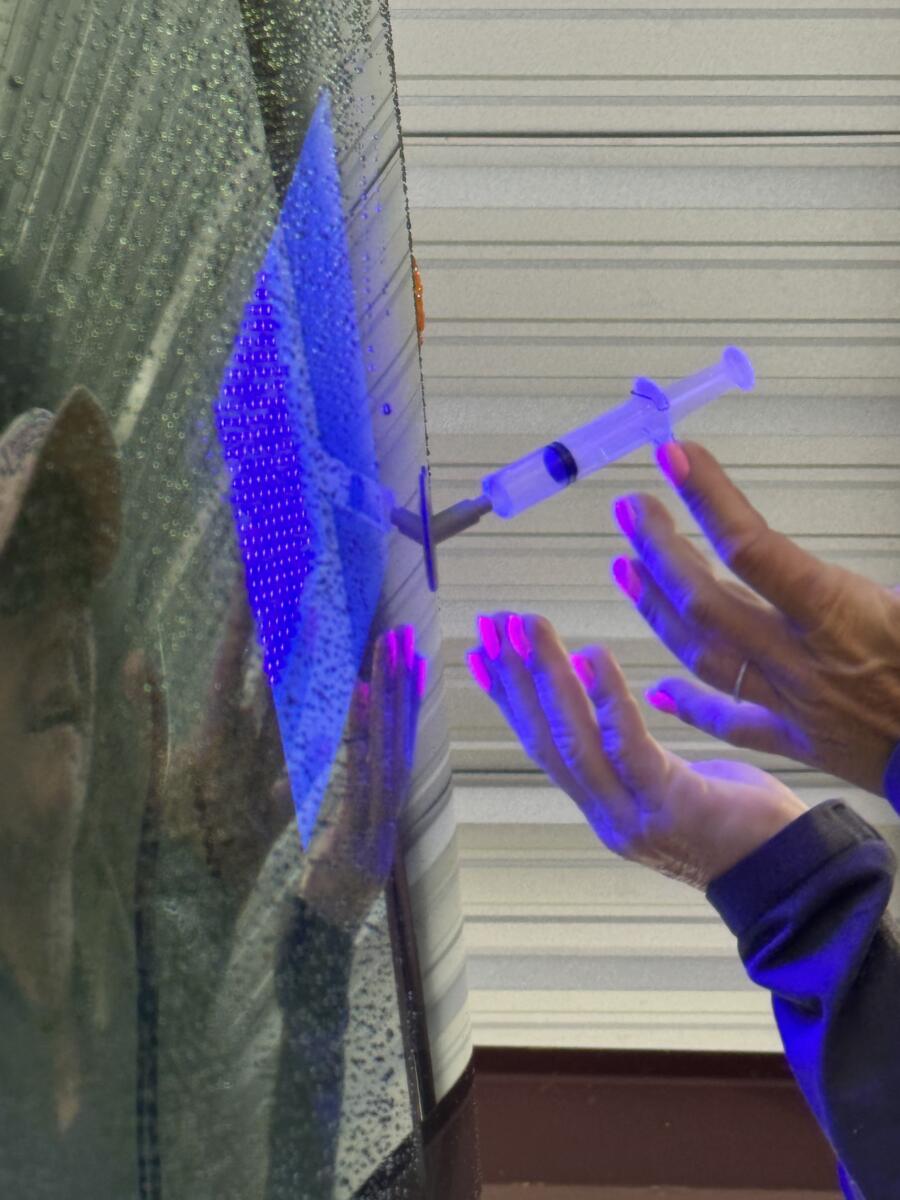
The suction cup confines the area when adding the resin. She pushed the resin in the syringe and the suction cup kept it in the right place and made sure there was not too much.
Curing the resin
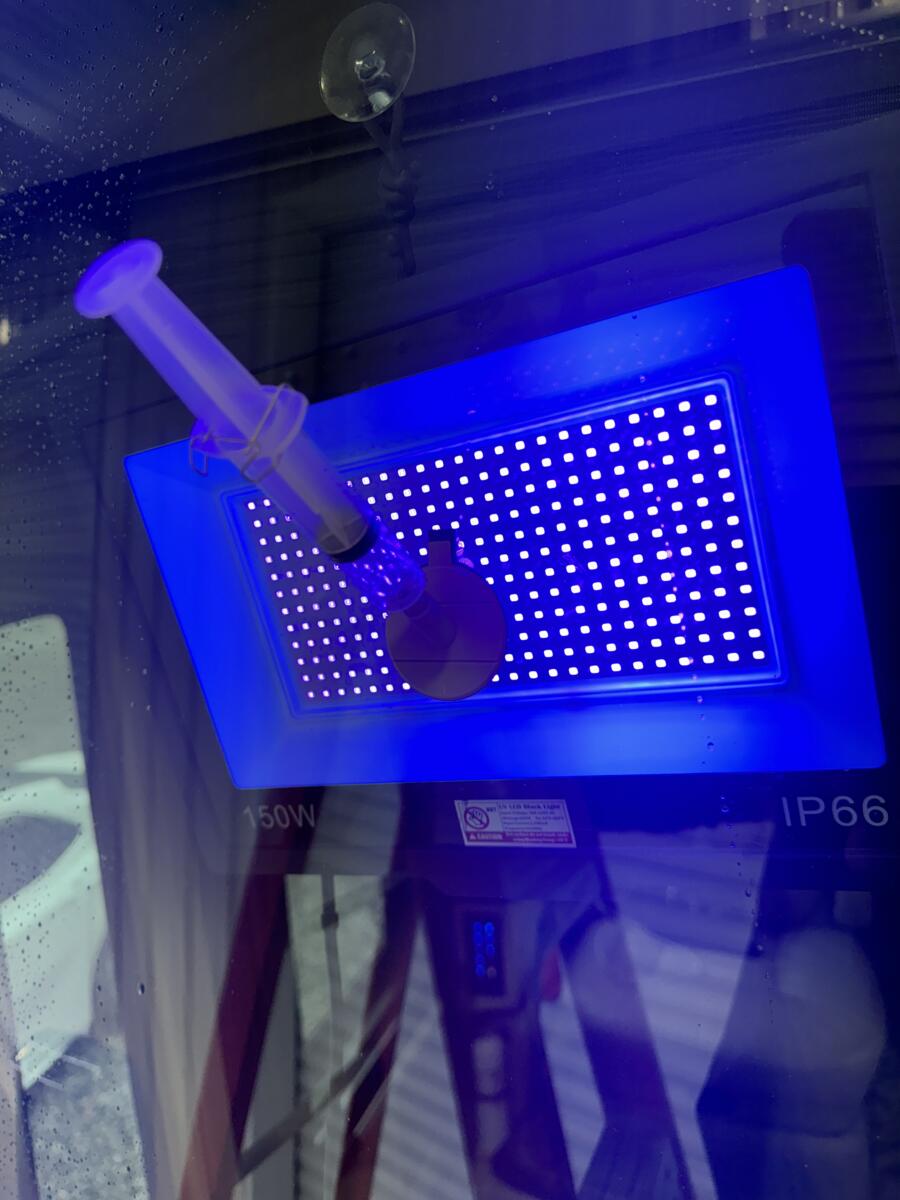
SaBrina left the suction cup and syringe in place for about five minutes. She warned me that there may be a slight bit of darkness left because the rock could have gone deep enough to puncture the layer of super-hard plastic between the two layers of glass. Those layers of glass and plastic are what make it “safety glass.”
Cleaning and scraping off any extra
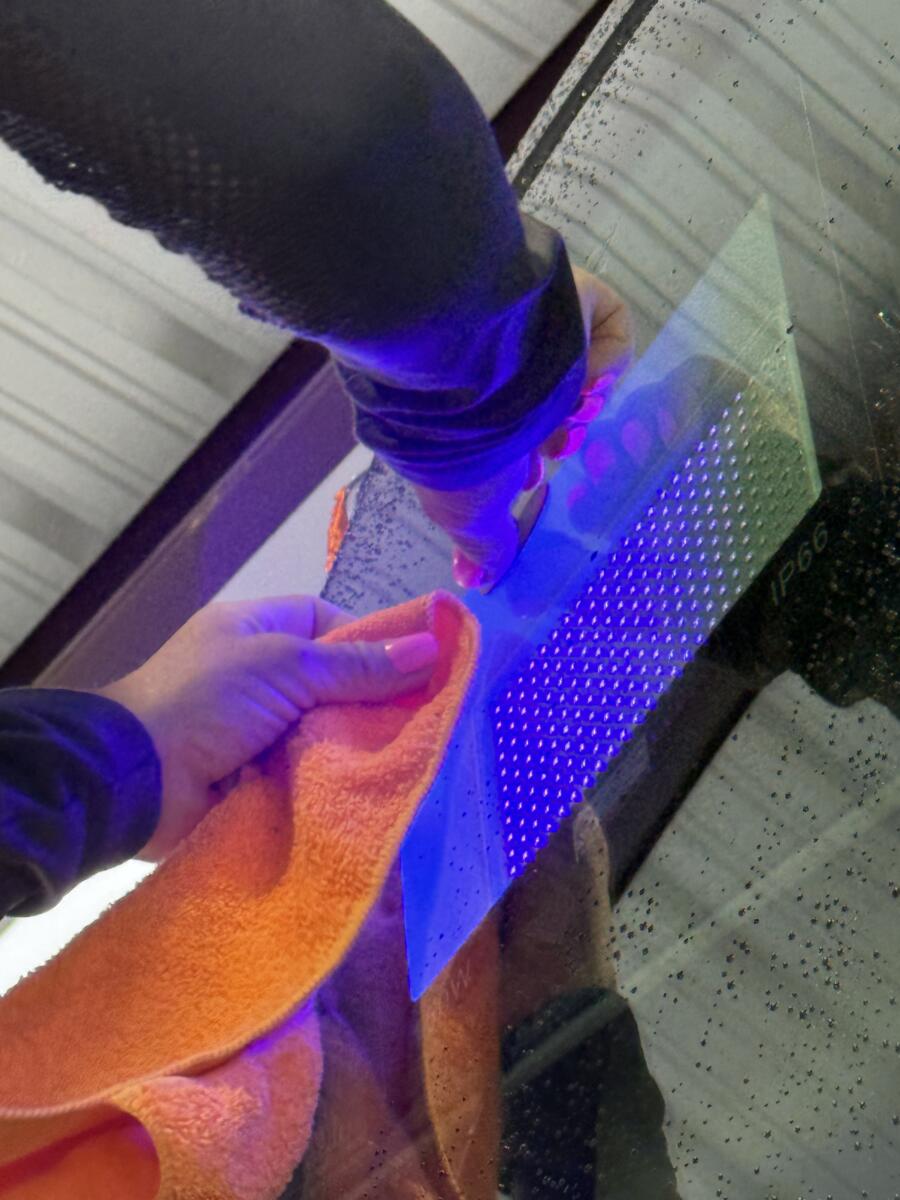
Resin hardens
The resin is extremely hard and will long outlive the windshield!
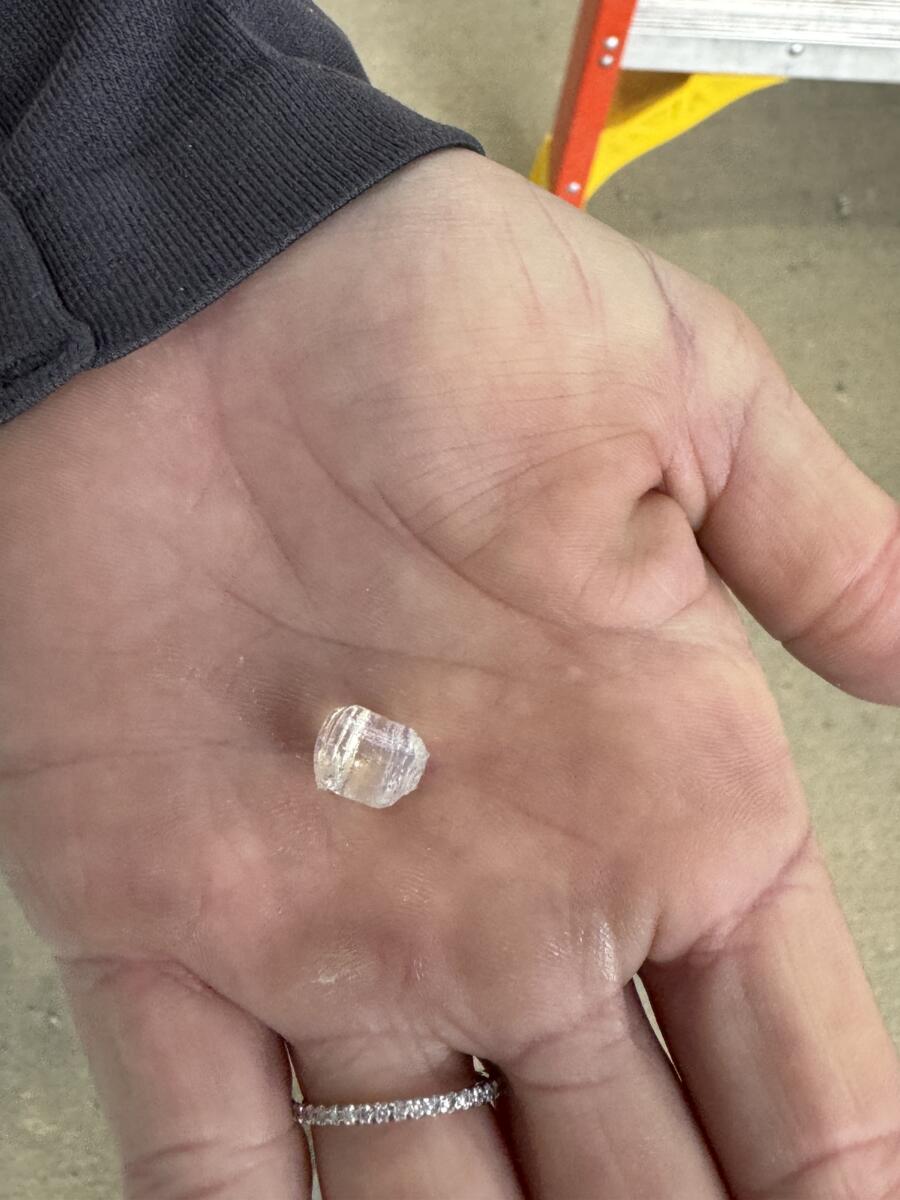
Material used
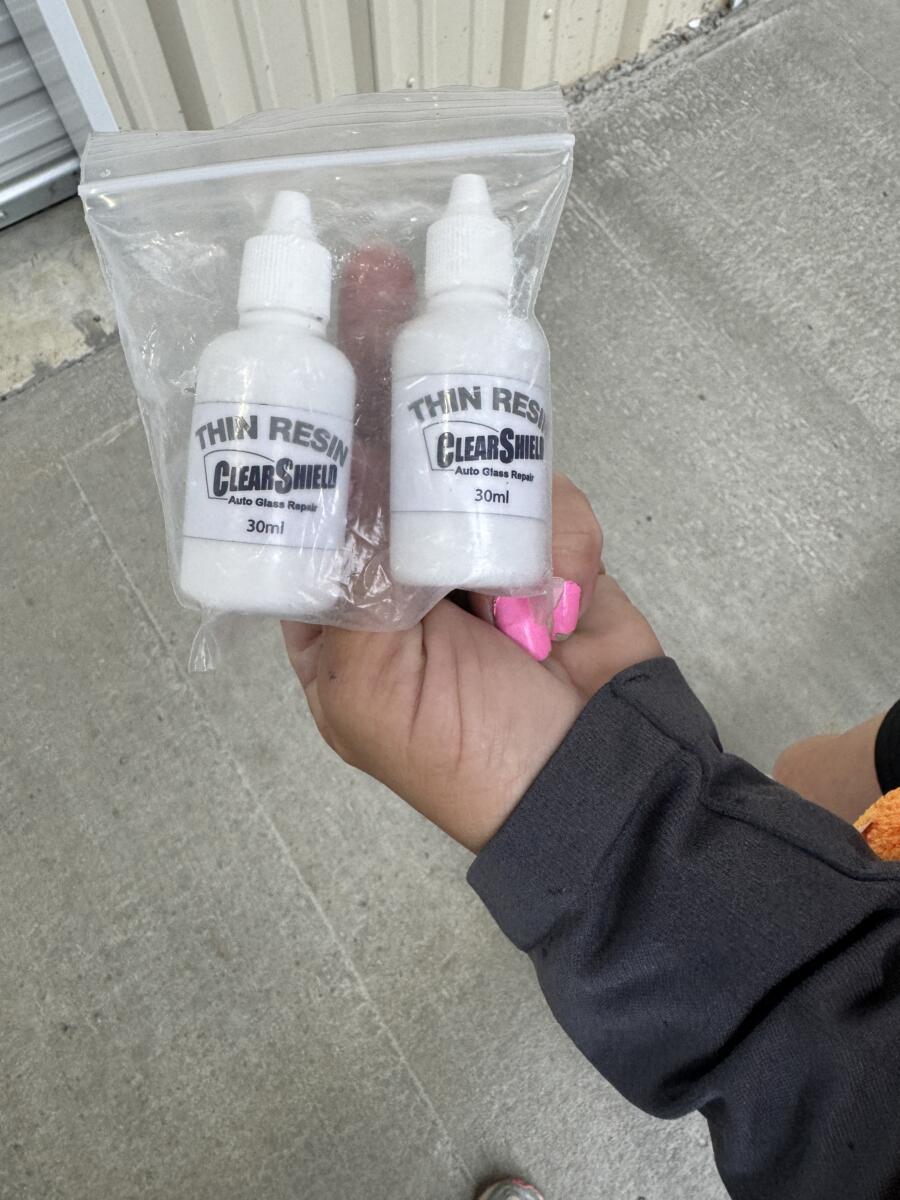
We should have gotten the ding taken care of earlier when I first saw it before we were getting jarred over the bumpy Oklahoma and Texas highways! Hopefully, this will stop any further spread.
Starting SaBrina’s RV & Auto Detailing
I asked how SaBrina got started in this business. She began detailing RVs after she helped her dad out with washing and waxing one of his friend’s motorhomes and found that she loved it! Another person asked for her help and her future as a detailer was established.
Her dad has worked at Tiffin for 41 years. She followed his advice and encouragement: “If you are going to do this, do it right!” And she has. SaBrina and her employees do full RV cleaning and detailing. They do washing, waxing, buffing, roof armor and complete inside detail cleaning as well as glass repair. She calls it a motorhome “Spa Day”!
She said the key to RV upkeep is keeping them clean—it protects the paint, the clearcoat… everything.
SaBrina mentioned that people are surprised that she has this type of business, i.e., that a woman can do this and like it. She said one of her assets as a woman is her attention to detail, which is what makes great RV detailing.
For more information, click here for her Facebook page, or here for the Website for SaBrina’s RV Detailing & Convenient Campground, or here for her Yelp page.

Thank you, SaBrina!
##RVT1154
Wish there more companies like hers!
We’ve had 4 chips in our Class A motorhome in 5 years. We get to where we are going (same-2 days) and have it repaired while there, we’ve paid $100-150/repair. Even though our insurance would pay for a chip repair, we won’t call them, because we had a roof replacement claim in our first year and don’t want to add another (4) claim to our record. I heard it said years ago, that it’s not the amount of the claim, it’s how many claims. Our premiums are very low and we want to keep it that way. Our insurance company has spent more on us than they will ever make off our premiums. We accept that this is part of RV ownership.
I keep a Rain-X chip repair kit from Amazon in my toolbox. I too have had to replace windshields. You can get the complete kit for around $10-$12. If you’re handy at all, this is worth every penny!
Thank you, Nanci! 🙂 I will keep SaBrina’s company in mind the next time that we pass near Red Bay. We likely will head to Mississippi in June. I’ll see if it makes sense to get the full-blown treatment, or parts of it if I can get our route through there or nearby. Thanks again and safe travels. 🙂
PS, it doesn’t surprise me in the least that she has a company doing this sort of work. My maternal grandmother taight me long, long ago that women can do about anything they decide to do, and do it well. She certainly could and did. ♥️