
Dear Dave,
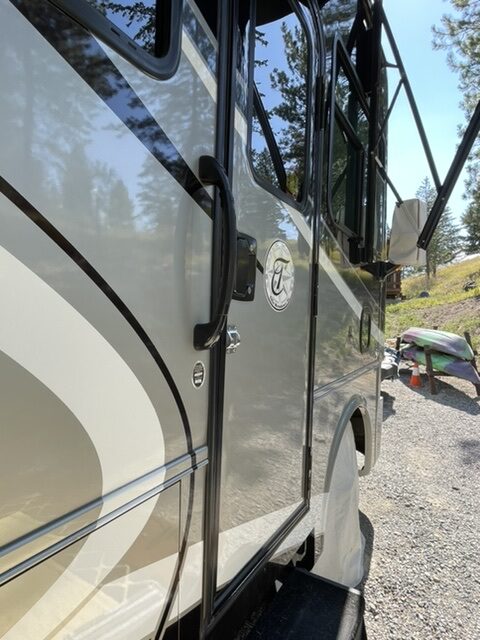
My RV has a small crack in the fiberglass exterior body, down low near the door. What would be the best sealant to patch it? Thank you very much. —Steven, 2013 Tiffin Allegro RED
Dear Steven,
Your Tiffin is a Rear Engine Diesel (RED) model. The exterior skin is a Filon reinforced fiberglass panel sandwich design.
Typically, a crack is caused by a twisting or flexing of the sidewall. It could have started due to a sharp edge of the door cutout.
Instead of just sealing it, I would suggest doing a fiberglass repair to keep it from spreading further with more flexing.
If the crack is fairly small, you can drill a hole at each end to stop it from spreading. Then repair it with fiberglass by sanding the crack with 120 grit sandpaper and fill the crack with a two-part fiberglass resin repair kit.
If the crack is substantial, Filon recommends the following procedure:
Repairing cracks, air voids, or major impact damage
1. Using a cutting tool such as a die grinder, cut a rectangular or square area around the damaged area.
2. Cut down through the gel-coat and the laminate. Do not cut through the lauan plywood backer. Remove the gel-coat/laminate layer from the plywood backer by using a putty knife to pry it off.
3. Use the die grinder to taper off the edge of the gel-coat/laminate around the perimeter of the cut out area. Taper it back about 1/2” at a 45-degree angle.
4. Be sure that all of the laminate is removed from the surface of the lauan plywood. Lightly score the face of the lauan plywood with the edge of the die grinder to promote a better bond between the lauan plywood and the new fiberglass that will be applied. Clean debris from the repair area.
5. Using 1½ oz. fiberglass mat cloth, cut the mat to the size of the repair area (including the ½” of taper around the outside edge of the repair area). Use three layers of 1½ oz. mat.
6. Catalyze the polyester resin as directed by the manufacturer. Holding the first layer of mat on the repair area, begin brushing the polyester resin onto the fiberglass mat until the mat is completely saturated. Continue adding layers of mat in the same manner.
7. Once all three layers of mat are saturated, use a small roller to roll out any air bubbles.
8. Allow the polyester resin to reach peak curing temperature and begin cooling down. Once the resin is no longer tacky, begin sanding the fiberglass repair area using 40 grit sandpaper. Sand off the excess polyester resin and fiberglass.
9. Switch to 80 grit sandpaper, continue sanding until repair area is flat. Be careful not to sand a depression into the surface of the repair area.
10. Use 220 grit sandpaper to do the final repair sanding. Sand an area about 3” to 4” around the repair. Wipe the repair area with clean acetone to remove any dust.
11. Mask off the area around the repair.
12. Spray gel-coat onto the repair surface. Spray enough gel-coat to allow for an approximate 20% shrink.
13. Allow at least four hours for the gel-coat to cure. For best results, allow to cure overnight.
14. Wipe the cured gel-coat surface with clean acetone before sanding.
15. Begin the initial sanding with 220 grit sandpaper.
16. Begin the final sanding with 400 grit sandpaper.
17. Buff with a clean buffer pad using buffing compound to remove any fine sandpaper scratches.
18. Begin final buffing by using a clean buffer pad using a 50/50 combination of buffing/glazing compound to buff gel-coat to the gloss level around the repair.
You might also enjoy these posts from Dave
- There’s a crack near my RV’s fiberglass slide. How do I fix it?
- What is the proper exterior maintenance for a fiberglass RV?
- Is there new technology to reduce maintenance on RV exteriors?
- Why don’t RV exteriors stay shiny, like cars?
- What is best product to restore sun-faded RV fiberglass?
- What can I do to restore faded fiberglass and damaged RV decals?
DAVE HAS ANSWERED MORE THAN 1,000 readers’ maintenance and repair questions. Read a directory here. There is so much to learn!
Dave Solberg is a leading expert in the RV industry and the author of the “RV Handbook.”
HAVE A QUESTION FOR DAVE?
Send your inquiries to him using the form below.
RVDT2857
The explanation of the process is great, except in most cases, it is not a DIY job.
Most people do not have the tools or expertise needed and working with fiberglass is not as easy as it sounds.
Unless you are a body shop guy, don’t attempt to fix yourself. Depending on size of crack, can be inexpensive to fix (less than $500). However, if it is in an open area, crossing over several colors of paint scheme – then, the price goes up dramatically to the $1000’s! Ask me how I know!! I have a 2017 RED, 33AA that had a crack on D/S at lower rear corner of main slide. Dealer wanted over $3000 to repair. Had local repair shop fix for less than $300.