

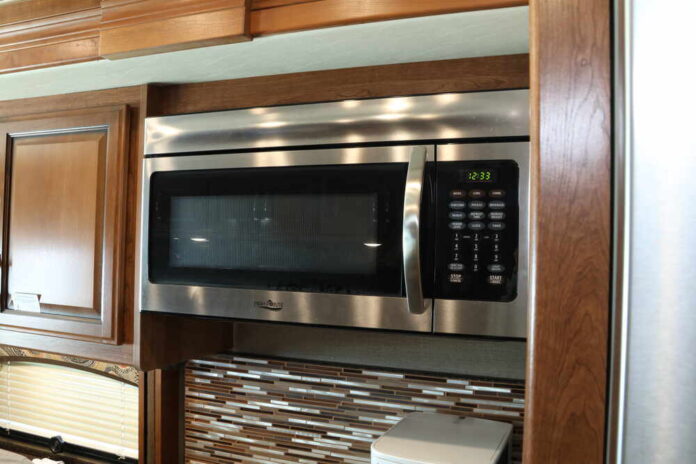
It happened again! I was popping some microwave popcorn and got distracted. Ugh! Whenever I open the microwave door, I’m continually reminded of my blunder!
Funny how a single overcooked popcorn bag odor can hang inside the RV microwave like an uninvited guest. Small spaces make smells stronger and linger longer. Even worse, a microwave that smells like burnt popcorn can make every microwave meal thereafter taste a little off.
I need tips to freshen up my RV microwave!
What to do
Pull out the glass turntable and wash it in warm, soapy water. Gently wipe the interior walls, ceiling, and door with a damp microfiber cloth to pick up loose crumbs or splatters. Don’t use abrasive pads, oven cleaner, or harsh chemicals inside the cavity. They can damage surfaces or leave fumes that will contaminate food.
Steam: an easy deodorizer
Steam is your friend. Put a microwave-safe bowl with equal parts water and white vinegar (or water plus a sliced lemon) in the microwave. Heat until the mixture boils and fills the cavity with steam (about 3–5 minutes on most units).
Let the mixture sit for a few minutes with the door closed so the steam loosens stuck-on gunk. Then carefully remove the bowl and wipe the interior dry. The acidic steam helps break down odor-causing residues and makes it easy to remove. Repeat once if the smell is stubborn.
Deodorizers that work
After steam-cleaning the microwave, it’s time to deodorize it. Set a passive odor absorber inside the oven overnight. This could be a shallow bowl of baking soda, a small dish of fresh coffee grounds, or activated charcoal in a breathable container. Any of these will help soak up the remaining smells that linger.
Try one method at a time so you know what’s effective for your unit.
If the smell persists
Persistent odors often mean trapped residue in vents, crevices, or filters. If your microwave is an over-the-range or built-in model, remove and clean the grease filters (soak in hot, soapy water). Replace charcoal odor filters on recirculating units if needed. Note: Always follow the manufacturer’s instructions.
If you can’t access or clean parts safely, consider a professional or check the manufacturer’s guidance before dismantling anything.
Prevention matters
Leftover burned food and grease don’t just smell bad. They trap odors and can reduce microwave venting efficiency over time. This can make your whole coach smell worse and can stress appliance fans.
In RV kitchens with ductless vents, charcoal filters do a lot of the odor work, and when they’re clogged or old they stop doing it. Routine small maintenance prevents recurring headaches and keeps your compact living space smelling like home instead of a movie theater gone wrong.
Practical RV-friendly tips
- Cover microwave snacks and soups with a microwave-safe lid or paper towel to stop splatters.
- Use lower power settings or shorter intervals and stir or check food regularly. Erring on the side of caution keeps popcorn from going from perfect to charred.
- When you cook strong-smelling foods, run the range hood or roof vent and open a window if possible.
- Clean spills immediately and deep-clean or replace vent filters when needed. If you have a ducted vent option in your RV, use it—venting outside beats recirculation every time.
- If the microwave shows burning marks or odd sparking, stop using it and have it inspected.
Can you add additional tips for keeping your RV’s microwave clean and fresh-smelling? Tell me using the comments below.
RELATED
- Hey, RVers! Do you know about these microwave tricks?
- How to replace an RV microwave
- Up your RV cooking game with these RV microwave magic tricks
RVDT2849
