

By Dustin Simpson
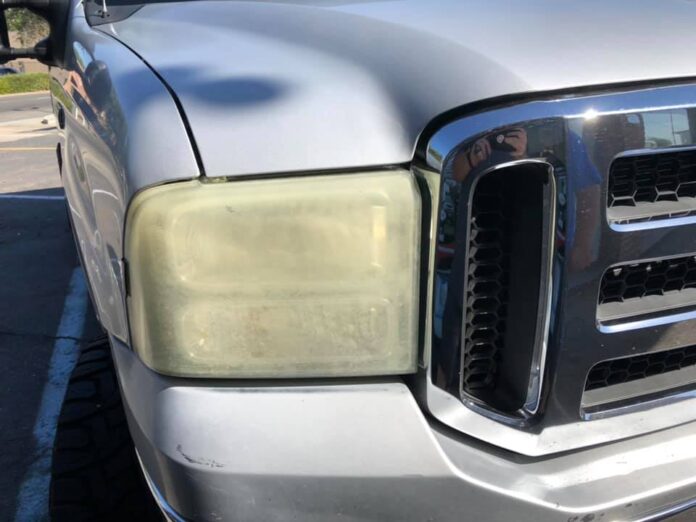
If your pickup truck, tow vehicle, or motorhome has yellowed or clouded headlights, it is likely due to the plastic or acrylic components. This yellowing or clouding can occur over time due to exposure to UV rays, environmental factors, and general wear and tear. Cleaning your headlights is an important safety task.
Dimmed or hazy exterior lights have been identified as a factor in many automobile accidents. Headlight cleaning and restoration services can help prevent and reduce the risk of accidents caused by impaired driver vision.
To address this issue, you have a few options
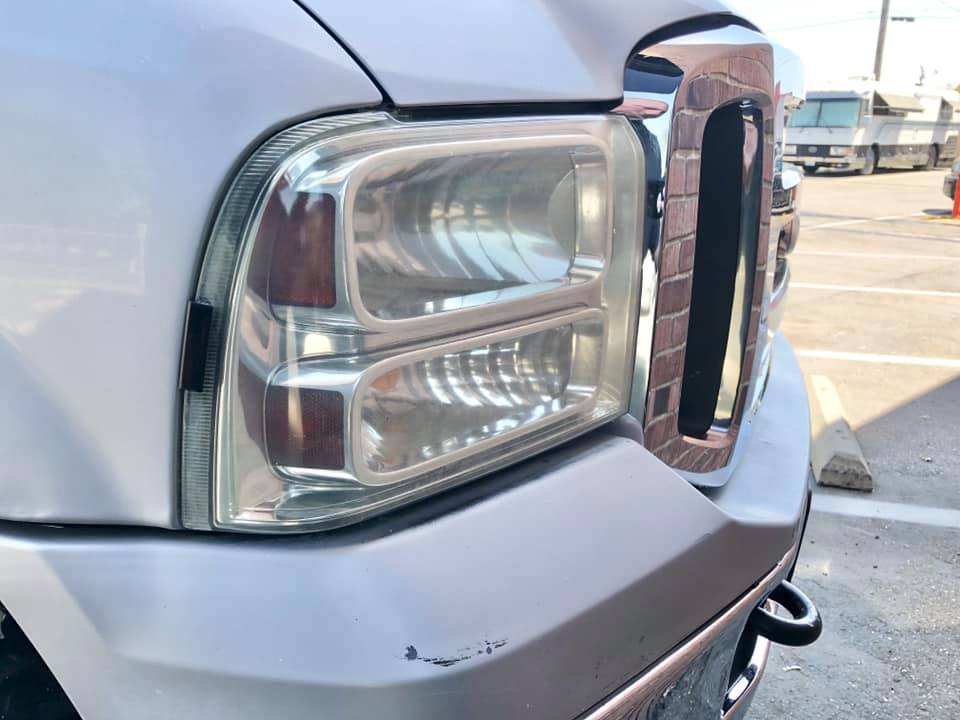
Headlight restoration kits: If the yellowing or clouding is mainly on the headlight lenses, you can find headlight restoration kits available at auto parts stores or on Amazon. These kits usually contain abrasive pads, polishing compounds, and a sealant to remove the outer layer of the plastic and restore clarity to the lenses.
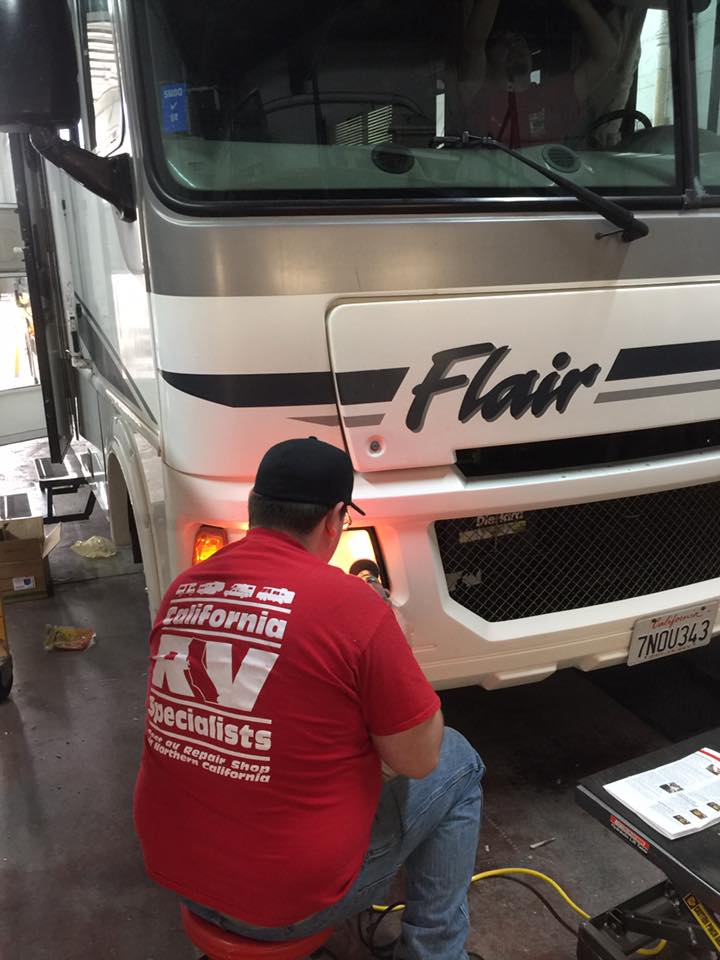
Professional restoration: For more severe cases or if you are unsure about using a DIY kit, consider taking your vehicle to a professional detailing or automotive restoration shop. They have the expertise and specialized equipment to restore plastic surfaces effectively and safely. We proudly offer headlight restoration at California RV Specialists.
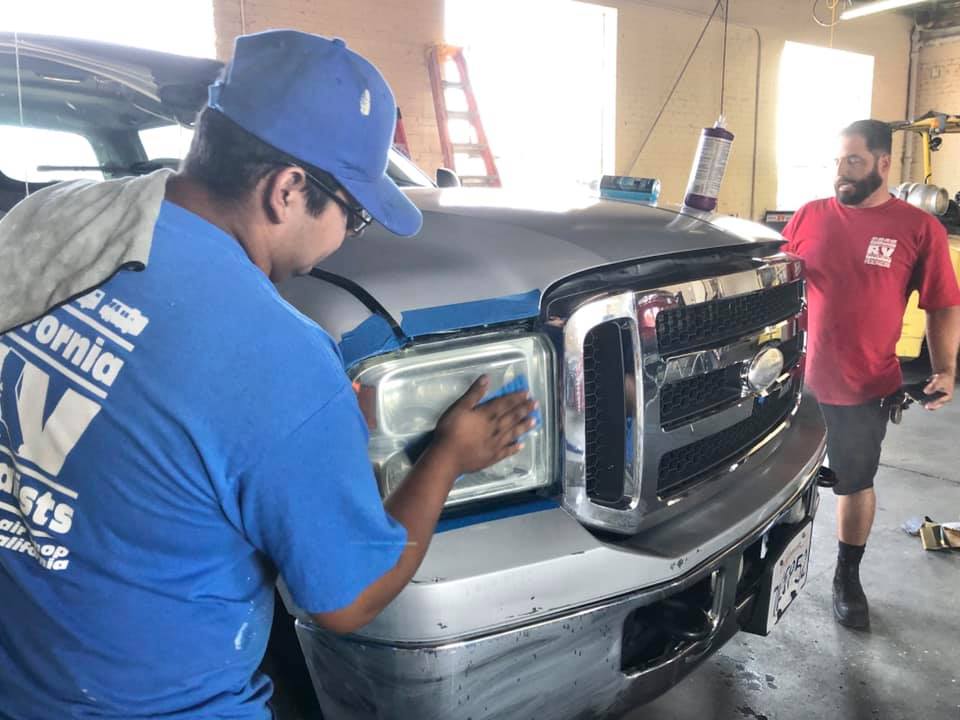
Prevention: To prevent future yellowing or clouding, consider using protective coatings or films on the plastic components. These coatings can help block UV rays and keep the plastic looking clearer for longer.
Regular cleaning and maintenance: Regularly clean and maintain your vehicle, including all the plastic components. Use mild cleaning solutions and avoid harsh chemicals that could damage the plastic surfaces.

Replacement: In some cases, if the yellowing or clouding is severe and cannot be adequately restored, you might need to consider replacing the affected plastic parts altogether.
Remember, prevention is always better than cure. Taking proactive measures to protect your vehicle’s plastic surfaces can help prolong their clarity and maintain the overall appearance of your vehicle.
Make sure you check out our website, California RV Specialists, and our YouTube channel for more helpful information, and see our published articles on RVtravel.com and other social media pages.
RELATED
RVT1239
I used the 3M Heavy Duty kit to do our CRV and 2004 Southwind. Just needed to touch them up with Meguiar’s PlastX about once every 4-6 months.
Have used the DIY kits on multiple vehicles over the years, but use my cordless drill to power a polishing-buffing pad. Works well and takes only an hour or so to use several different-grit polishing compounds and the lens-restore liquid coating.
I think I have used every available kit and method out there over the years, and on multiple vehicles. By far my favorite is Off Insect Repellant. I spray it on a rag, wipe the headlights and go about my day. Takes almost a minute. And it lasts a few months. Beats the pants ‘Off’ of everything else I’ve tried.
Most of those cleaner/restorers last about 6 months. Once the original coating is gone, the plastic dulls more quickly.
Some waxes can actually damage the coating on the plastic, especially cleaner waxes. And if there is any dirt stuck to the headlight, it will cause fine scratches that accelerate the problem.
One of best things to use on the headlights is Plexus plastic polish when new.
It was designed to be used on aircraft windshields.
One thing you can use instead of the expensive kits is plain toothpaste! It is about the same abrasive grit as the polisher paste in the kit but a lot cheaper. When you’re done just put a coat of paste wax on it and call it done for a couple of months
After using a commercial kit to restore our headlights and needing to do it again in ~18 months, I ditched using the wipe-on coating and instead applied 3M Paint Protection Film. It’s available on Amazon in a variety of sizes, it’s not difficult to apply, and they claim it will last up to 10 years. When it needs replacing, you just peel it off, clean the headlight, and apply new film – no polishing required.
Now, 3 1/2 years later, our headlights still look as good as new.
Thanks for the good tip, Brian. Here’s a link to what you’re referring to (in lots of sizes), in case anyone is interested: https://amzn.to/4iWaDAU Have a great day. 😀 –Diane at RVtravel.com