

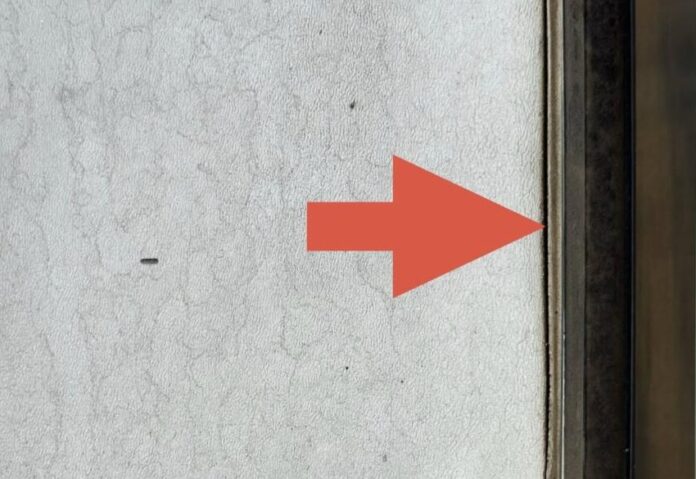
When it comes to RV maintenance, some of the most important areas are also the easiest to overlook. One of those is the roofline edge—the long, narrow transition where your roof meets the sidewall molding. This area is a common source of leaks, sealant failures, and costly water damage. The good news is that with a quick inspection and a little upkeep, you can prevent most problems before they start.
As a repair shop owner who works on hundreds of roofs every year, here’s the simple checklist I recommend to every RV owner.
Step 1: Inspect the roofline molding
Start by getting close to the edge where the roof, molding, and sealant meet. You want to make sure the molding is making good, even contact all the way down.
Look for warning signs like:
• Cracked or split sealant
• Sealant pulling away from the roof
• Gaps you can see or feel
• Loose screws or lifted molding
• Missing or dried-out caulking
Even a tiny opening can allow water intrusion—and RVs do not forgive water damage.

Step 2: If the sealant looks tired—reseal It
If you find cracks, separation, or missing material, it’s time to freshen things up.
Here’s my recommended procedure:
✔ Pull the insert molding loose from the rail
This gives you better access and allows you to tighten things up.
✔ Lightly tighten the screws
Often, 1/4–1/2 turn is all it takes. Don’t over-tighten—just enough to firm up the rail.
✔ Clean the molding with Acrysol (or a similar low-grade solvent)
This removes dirt, silicone residue, old sealant film, and oils so the new Dicor can bond properly. At our shop, we’ve used this same product for more than 20 years because it leaves no residue and is reseal-ready.
✔ Apply a thin, even layer of non-sag Dicor along the roof/molding edge
This fills gaps, feathers the transition, and restores a watertight seal.

Pro tip: Get pro-level results with a modified sealant tip
Here’s a shop trick I teach everyone: Cut the tip small, then pinch it with pliers to create a narrow “frosting tip” shape.
This helps you:
• Control the flow.
• Feather out your bead.
• Apply a cleaner, more even finish.
You can also use a wet finger to smooth the line—just take your time and go slow. A clean bead lasts longer and sheds water better.
Recommended products I trust
These are the same products we use inside our repair facility every day:
• Acrysol: Low-grade solvent we have used for 20+ years. Great for removing silicone, roof sealant, decals, adhesive, and more. Leaves no film. We also carry this solvent in our store because it’s proven itself again and again in real-world repair work.
Final thoughts
Roof maintenance doesn’t have to be complicated, but it does need to be consistent. A few minutes inspecting and sealing your roofline now can save you thousands in rot, delamination, or interior water damage later.
Keep it clean, keep it sealed, and you’ll keep your RV protected.
Travel safe, Dustin Simpson, California RV Specialists, Lodi, CA
🎥 Join us on YouTube: What’s In The RV Shop?
RELATED
- RV Roof Magic roof resealing update: Two years later, how did it hold up?
- Consequences of RV roof sealing failure explored
- What to know about RV roof membrane replacement and installation
RVDT2800

Thanks for the tips, especially squeezing the tip with pliers.
Thanks Ron!
Thank you for the reminder and general directions for resealing, Dustin! Have a great day, a grand 2026, and safe travels!