

By Dustin Simpson
When it comes to resealing your RV’s slide-outs, you’re on the right track. The good news is that you can use any appropriate brand of sealant, regardless of what the manufacturer might suggest. The key is making sure you’re using a high-quality sealant that’s designed for RVs and compatible with your slide-out materials.
Here’s a step-by-step guide to resealing your slide-out:
1. Gather your supplies
- Sealant: A self-leveling RV sealant like Dicor or Alpha Systems works great. Both are popular choices and will get the job done.
- Caulking gun: You’ll need this caulking gun to apply the sealant. Tip: Cut the tip very small to apply. A trick I do is pinch the tip to help apply flat between the roof and molding edge.
- Utility knife: To remove the old sealant.
- Cleaning supplies: Isopropyl alcohol, a rag, and a scraper to clean the surface before applying the new sealant.
- Masking tape: Optional, but it helps to create clean lines.
2. Remove the old sealant
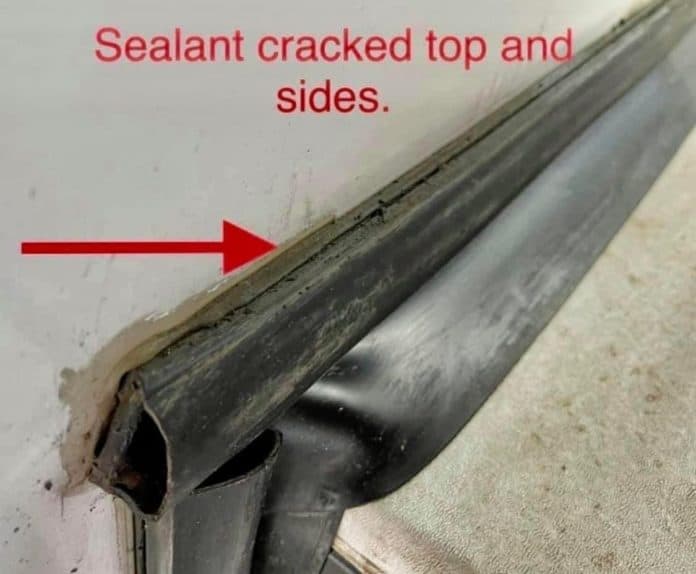
Carefully use your utility knife or a scraper to remove the old, cracked, or peeling sealant. Take your time to avoid damaging the surface underneath.
Remove the old sealants with Acrysol body solvent cleaner and a plastic scraper.
3. Clean the surface
Clean the area thoroughly with isopropyl alcohol to remove any dirt, grime, or leftover residue. A clean surface is crucial for the new sealant to adhere properly.
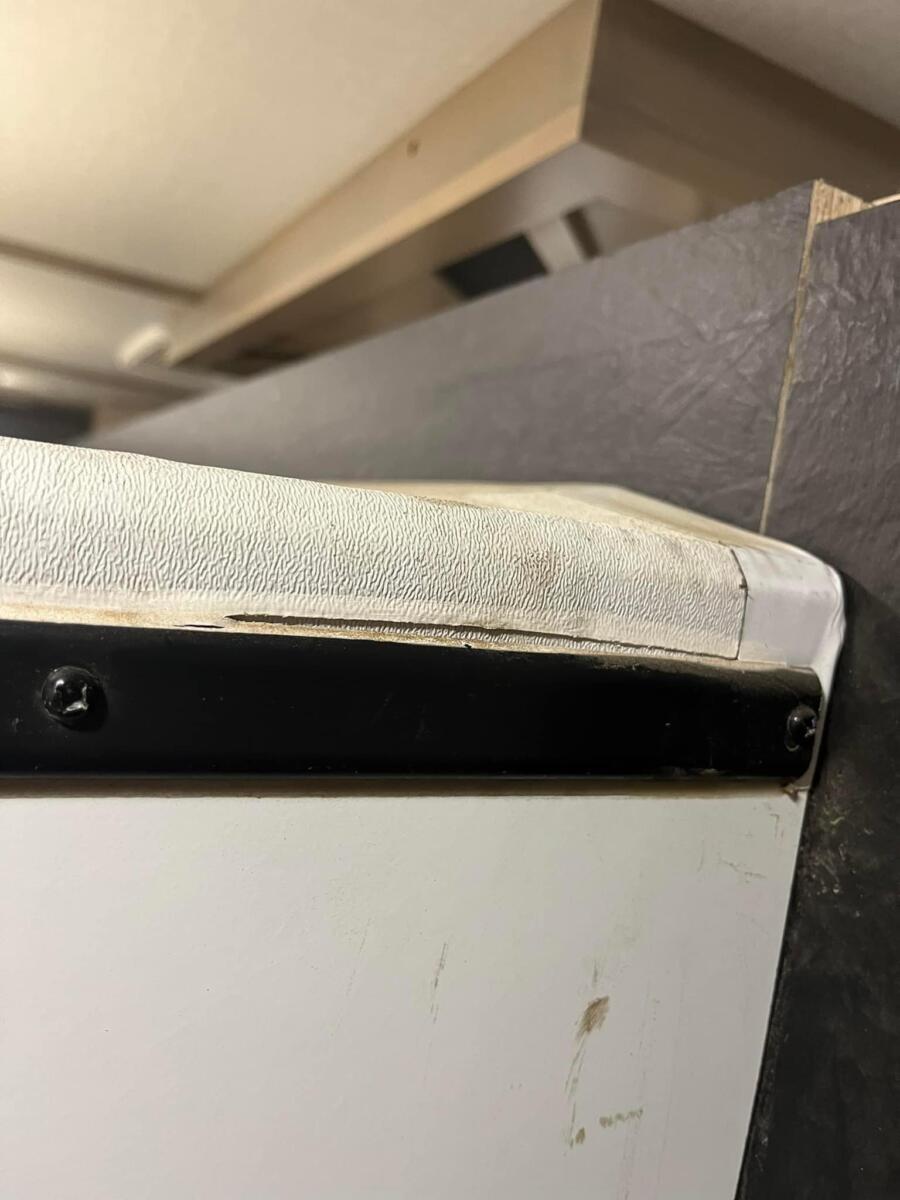
5. Tighten or replace screws
Make sure to lightly tighten the screws before you reseal and replace any that are damaged. Here are the black replacement screws, and here are the white screws.
4. Apply masking tape (optional)
If you want to keep the lines clean and avoid any excess sealant, apply masking tape along the edges where you’ll be applying the sealant.
5. Apply the new sealant
Load your sealant into the caulking gun and apply a smooth, even bead along the edges of the slide-out. Start at one end and work your way to the other, keeping a steady hand.
6. Smooth the sealant
Use a caulking tool or your finger (wearing a glove) to smooth out the sealant and ensure it fills all gaps. This step helps to create a watertight seal.
7. Remove masking tape (if used):
Carefully remove the masking tape before the sealant dries to avoid pulling up the new sealant with it.
8. Let it cure
Allow the sealant to cure according to the manufacturer’s instructions. This usually takes about 24 hours, but it’s best to check the product label.
9. Inspect your work
Once the sealant has fully cured, inspect your work to make sure there are no missed spots or bubbles.
By following these steps to reseal your RV’s slide-out, you can ensure that your slide-out is properly sealed and protected from the elements, regardless of the brand of sealant you choose. Just remember to do this regularly to keep your RV in top shape!
Hope this helps you reseal your RV’s slide-outs. Happy RVing!
More from Dustin
Make sure you check out my website, California RV Specialists, and our YouTube channel for more helpful information, and see our published articles on RVtravel.com and other social media pages.
RELATED
- RV roof sealants: The best product for every type of roof
- Your RV takes on water damage through more than rain. Protect those sealants!
- How to perform an exterior RV body reseal to protect RV from water damage
- How to maintain your RV vent lid seals
RVT1261