
By Dustin Simpson
A while ago, I shared reasons why I don’t recommend utilizing EternaBond tape on your RV roof (outside of using it as a patch). But today, I want to share two additional ways I do recommend using EternaBond tape on your RV.
Slide out roof
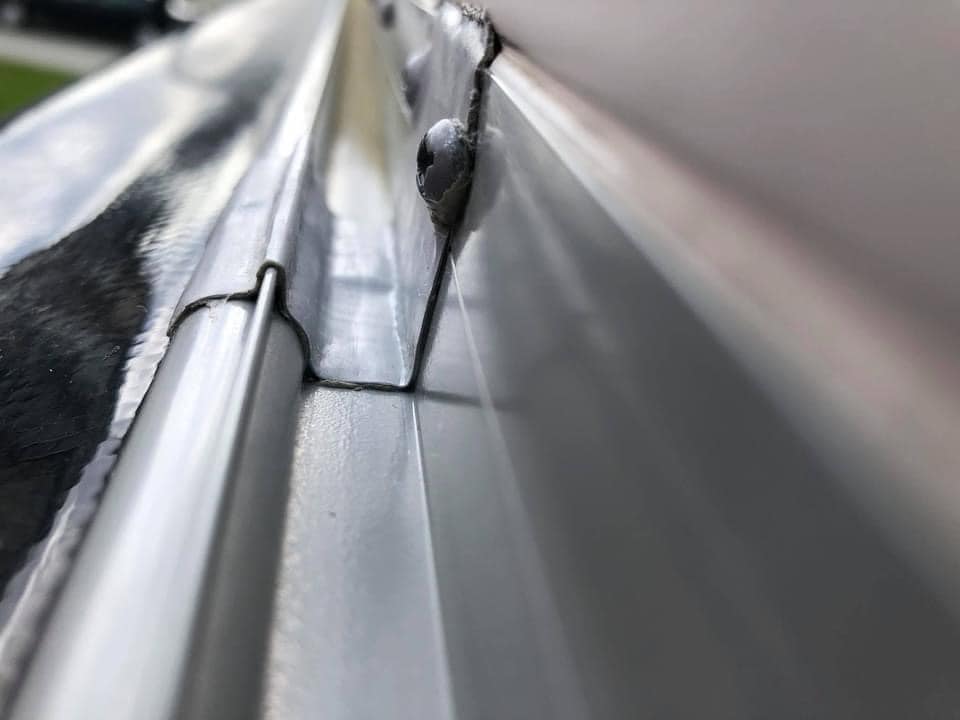
While I don’t recommend utilizing EternaBond® tape on the roof of the RV, I do recommend using it on the roof of your slide out—specifically at the T-flange seam. In fact, RV manufacturers install EternaBond tape there, as well. This wasn’t the case years ago.
EternaBond tape is a great option for this application because this water barrier provides a lower profile option compared to a sealant. It also allows the slide out seals to efficiently glide over the tape. Lastly, should you have your slide outs open and debris falls on the slide out roof, you won’t risk getting the debris stuck in the sealant.


Manufacturers typically install 4″ EternaBond tape strips in this location. Servicing your slide out and keeping the slide out roof clean and wiper seals conditioned is key to the longevity of your slide out function. Should the EternaBond tape on your slide out roof be past its prime, I recommend doing the following:
- Thoroughly scrub your slide out roof and clean your existing EternaBond tape strip with a solvent cleaner. Let slide out roof dry.
- Ensure T-flange is fully secured.
- Remove any parts of the original EternaBond tape that is no longer sticking to the roof of the slide out or T-flange.
- Install 6″-width tape over the existing EternaBond tape, ensuring the new tape goes up the T-flange by 1/4″ – 1/2″ and the remainder of the tape grabs the new slide out roof material.
- Thoroughly press tape down and smooth out throughout the length of the slide out.
Please note: You will want to use 6″-wide EternaBond tape for this repair. It is offered in the following colors:
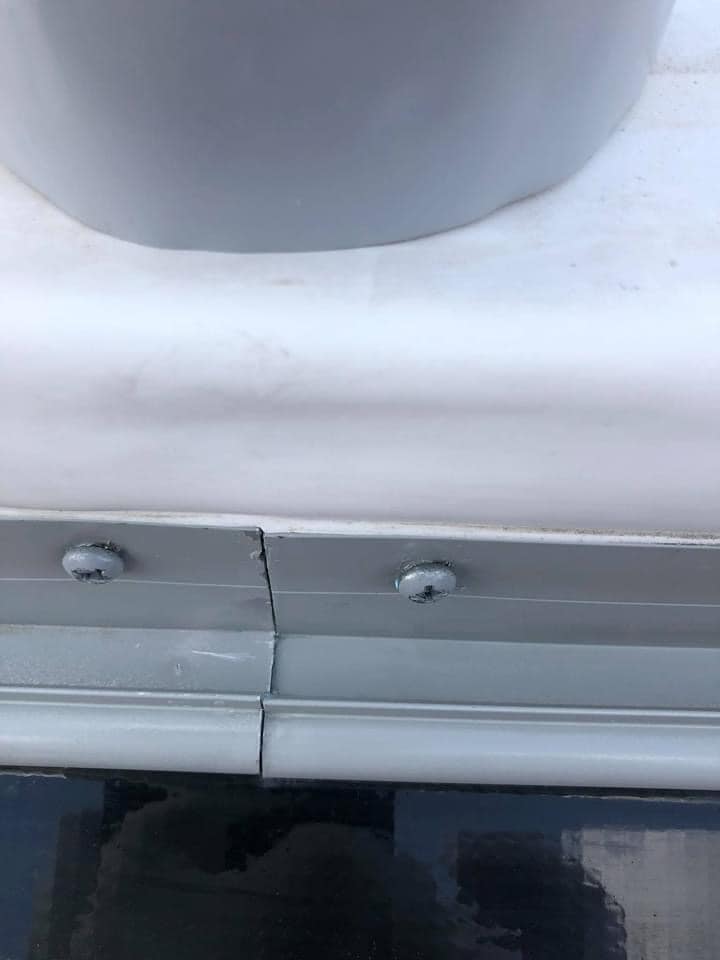
Moldings
All moldings (rain gutter molding, awning/slide out topper molding or a combination) are made in either 8-foot or 16-foot lengths. Depending on the length of your unit and how your manufacturer installed them, you will have at least one joint where two moldings are butted against each other.
While the gap between the moldings appears insignificant, in my experience it’s just enough to let rain, morning condensation or condensation from an air conditioner drip down the side of your RV. This drip is not only annoying but it can cause streaks.
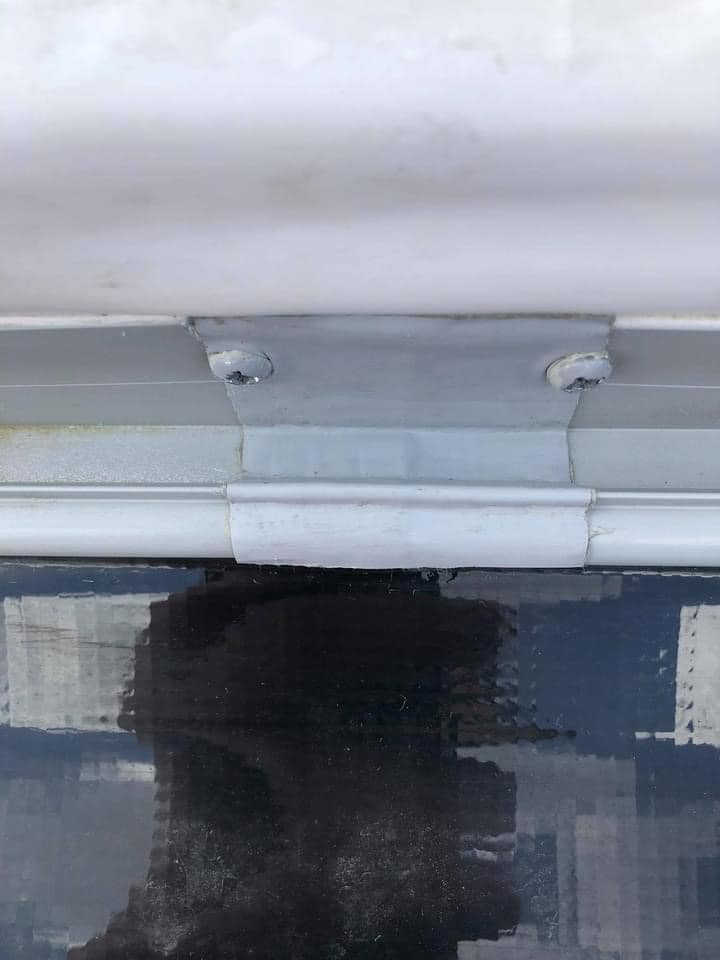
Here is an easy way to prevent the drips:
- Remove screws near the area where the moldings are butted against each other.
- Clean the molding surface and let dry.
- Peel and center a 3″ – 4″ length of tape over the joint of the two moldings.
- Press the tape into the molding and smooth out.
- Reinstall screws.
Please note: You will want to use 2″-wide EternaBond tape to do this repair. It is offered in the following colors:
More from Dustin
Read more of Dustin’s articles here.
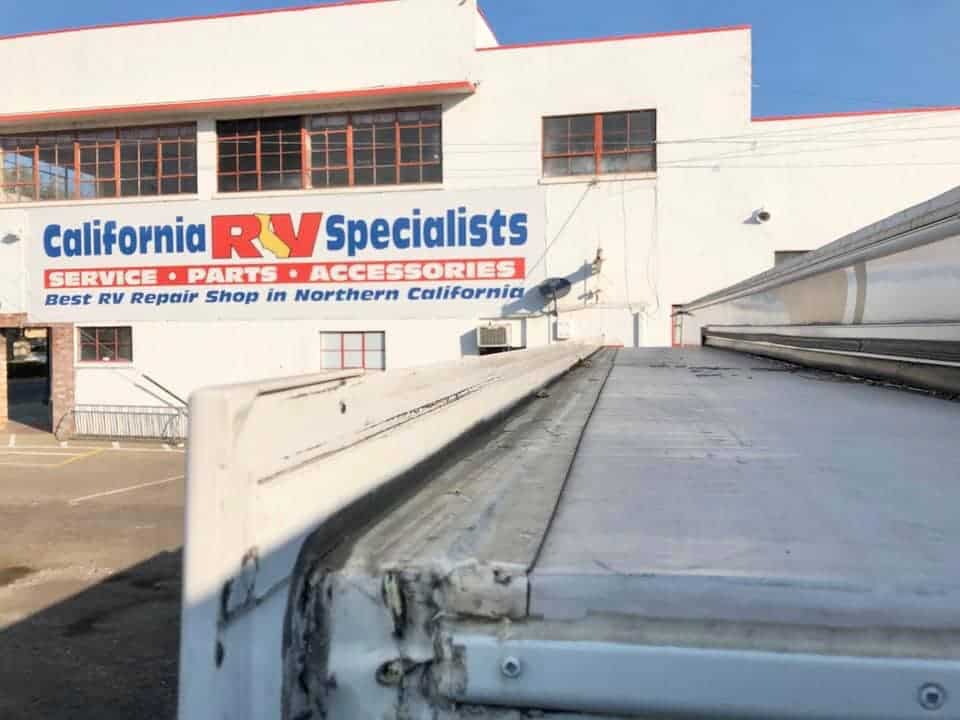
Dustin owns and operates California RV Specialists, an independent RV repair shop located in Lodi, CA. He thrives on sharing his knowledge and enthusiasm of RV repair and maintenance with his team, customers, and virtual friends.
Be sure to check out his YouTube channel where he shares what’s going on in the shop and the product offerings in the store. Dustin is also very active on Facebook. Join his group, RV Repairs and Tips – What’s in the shop!
RELATED
- Why EternaBond tape may not be the solution for RV roof maintenance
- How to remove EternaBond tape
- Slide-out roof EternaBond tape failure… and fix
RVTDT2893

Where Eternabond tape fails is the same place most duct tape fails – at the edges where the tape delaminates. (same for fiberglass walls) I use lap sealant to cover all exposed edges – self-leveling or non-leveling as appropriate. You only need enough lap sealant to just overlap the tape and the surface the tape is applied.
good info, thanks