

By Dustin Simpson
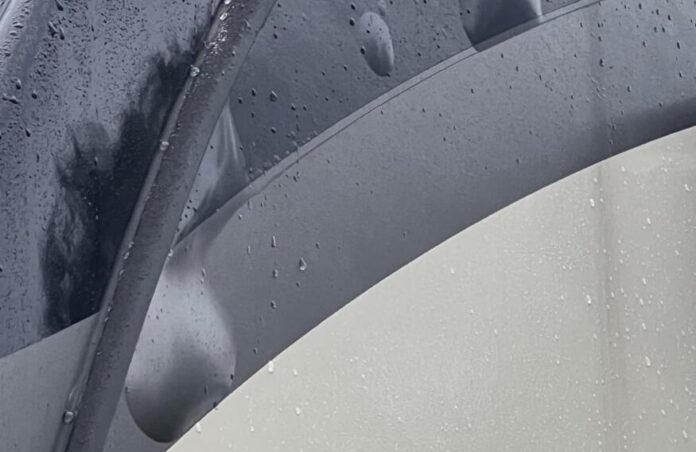
Water intrusion is a common concern for RV owners, and one of the areas where it can sneak in unnoticed is behind decals. These decorative stickers not only add personality to your RV but can also become a potential entry point for water.
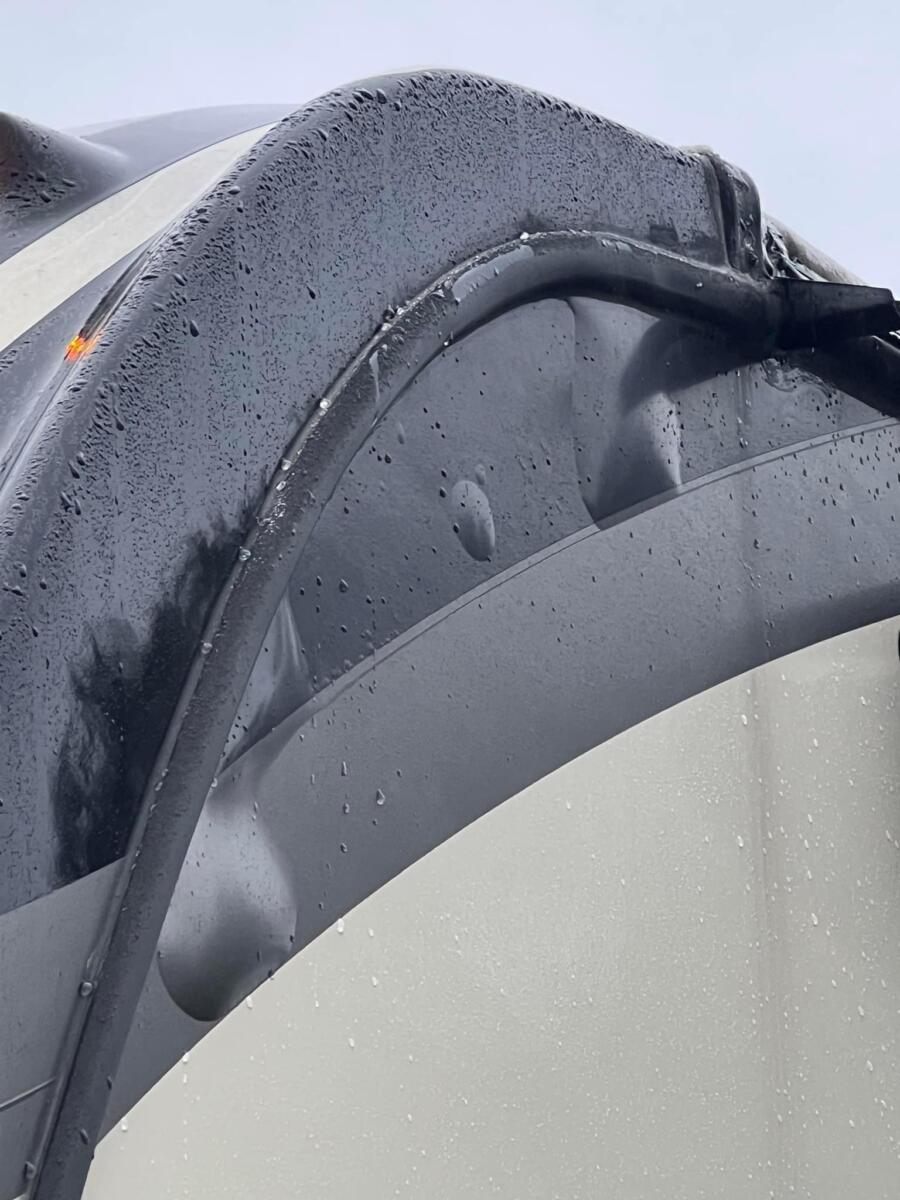
Here are some tips to address and prevent water from getting behind RV decals
Regular inspection
Make it a habit to inspect your RV decals regularly, especially after heavy rain or washing. Look for any signs of peeling, lifting, or discoloration, as these could indicate water penetration.
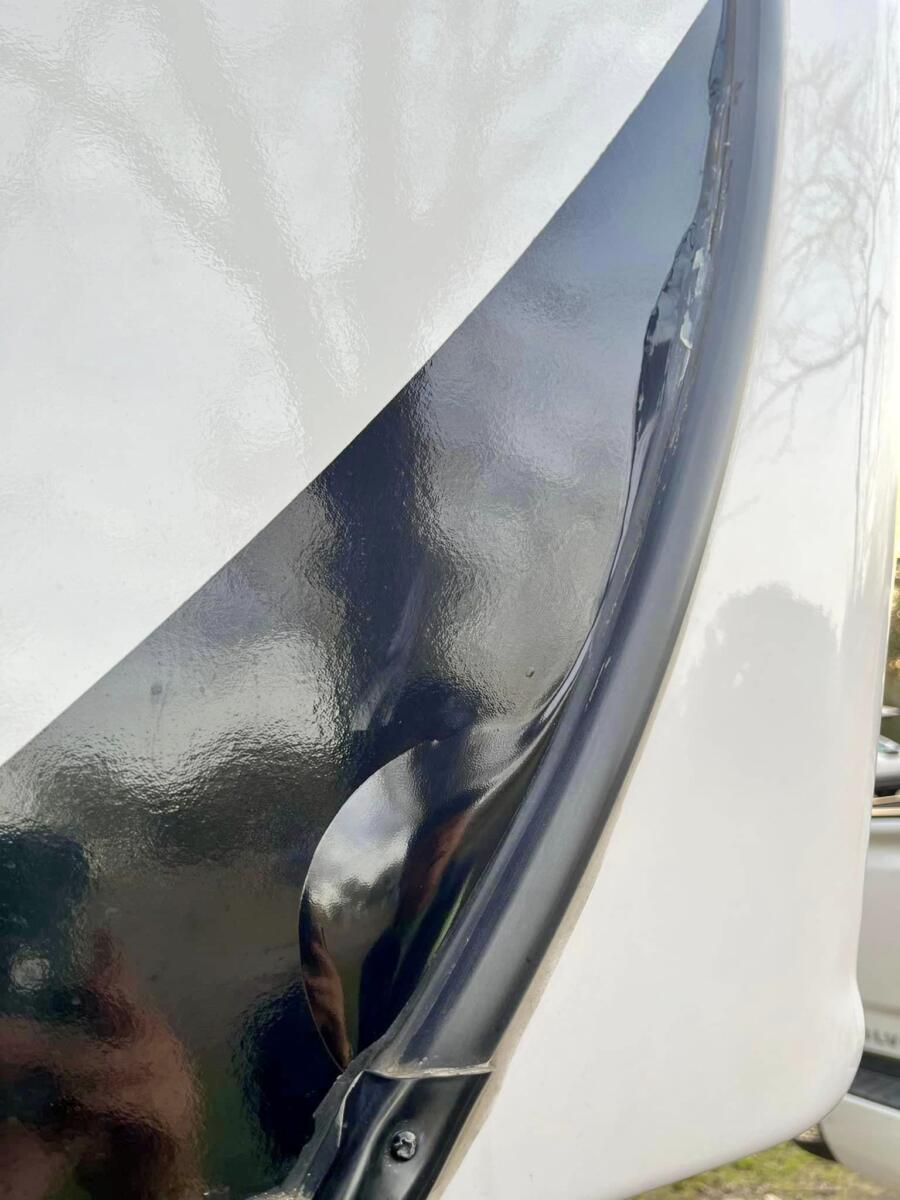
Sealant maintenance
The key to preventing water intrusion is maintaining a robust seal around the decals. Use a high-quality RV sealant that adheres well to both the decal and the RV surface. Check and reapply sealant as needed to ensure a watertight barrier.
Addressing damaged decals
If you notice any damaged or peeling decals, address them promptly. Remove the affected decal, clean the area thoroughly, and apply a new one, if necessary. This helps prevent further water damage and maintains the aesthetic appeal of your RV.
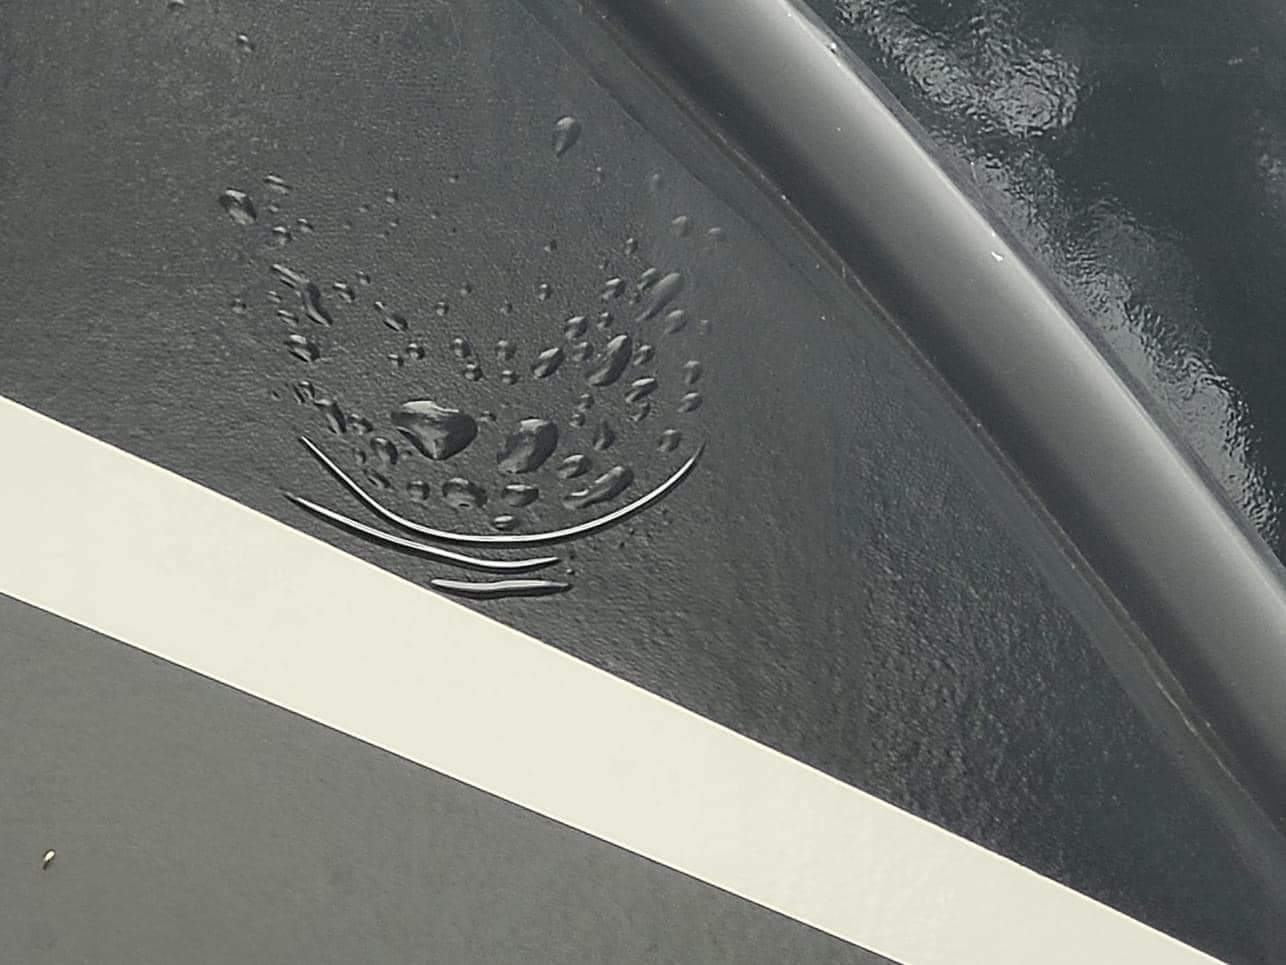
Proactive protection
Consider applying a clear, protective film over your decals. This thin layer acts as an additional barrier, shielding the decals from direct exposure to the elements and reducing the risk of water seepage.
Avoid high-pressure washing
While it’s essential to keep your RV clean, avoid using high-pressure washers directly on the decals. The force of the water could cause the edges to lift, creating potential entry points for water.
Parking considerations
When parking your RV, choose spots that minimize exposure to the elements. Positioning your RV away from areas prone to heavy rain or where water may accumulate can reduce the risk of water infiltration.
DIY repairs
If you identify water behind a decal, act quickly to prevent further damage. Gently peel back the affected area, allow it to dry thoroughly, and reseal with appropriate adhesive or sealant. Ensure the area is completely dry before reapplying the decal.
DIY prevention materials and tools needed
- Geocel RV Sealant
- Caulking gun
- Body solvent cleaner
- Painter’s tape – Scotch brand
- Plastic caulk remover tool
By staying vigilant and taking proactive measures, you can protect your RV decals from water intrusion, preserving both the aesthetic appeal and structural integrity of your recreational vehicle.
More from Dustin
Make sure you check out my website, California RV Specialists, and our YouTube channel for more helpful information, and see our published articles on RVtravel.com and other social media pages.
RELATED
- RV decal dilemma: How to replace faded or cracked graphics
- Can I use pressure washer on RV? What about decals?
- Removing old RV decals: ‘How we messed up; what we learned’
RVT1235
I for one don’t understand why or how water can get in under a decal! I thought decals were applied after the coach was painted! I must have missed something, but I’m sure Dustin is making a point on something, but I missed it !?
Snoopy
Dave: I think, looking at the pics., they are the decals which are bordering or covered by joints like the front-rear caps etc.. I don’t think anything on a flat sidewall, (w/o penetrations from screws, clips or whatever and which are covered by a decal), is a problem.
Hi DW, just replying to the words!
Snoopy
When decals are applied, they first spray on a soapy type liquid to allow for the decal to be positioned without sticking. They then squeegee the liquid out. It’s possible some of that liquid remained behind the decal. Temperature changes will allow the liquid to expand and cause bubbles.
I used to do custom decals at the hospital I worked at. It’s a real pain to squeegee all that stuff out.
As far as the ones near the trim, they damaged the decal when they put the trim on.