[Editor’s note: This information is provided by roof membrane manufacturer Dicor. While there’s plenty of “promotion” for their product included, some of the information and principles may be of assistance to our readers.]
In 2011, some RV manufacturers started using new formulations of TPO (thermoplastic olefin) roofing material that has come into the RV marketplace. To  stay on top of the situation, Dicor tested some of these new formulations against sealants currently available on the market. We found some TPO roofing membranes are not chemically compatible with on-the-shelf lap sealants. When these sealants are used on some new TPO membranes, bloating and disfiguration of the membranes results. This is mostly a cosmetic problem, and does not reduce the performance of the roofing material or sealant, but it’s something you probably want to avoid.
If your RV was built in 2010 or earlier, you needn’t be concerned. But, if you have purchased a 2011, 2012 or later RV model, and you need to do repair work that involves resealing the roof membrane, you should determine if your roofing is TPO or EPDM.
Important Notes:
•If your roofing is EPDM (Ethylene Propylene Diene Monomer), indicated by a colored top and black bottom, you can confidently use Dicor Lap Sealant.
•If your roofing is a solid color all the way through the membrane, or if it has a fleece backing, it is TPO.
•If your TPO has a fleece backing then regular Dicor Lap Sealant will probably be the right choice.
•But if your TPO does not have fleece backing then Dicor Ultra Sealant System should be used.
 knees to get to the cracks and crevices anyway, so we get along just fine with this little jewel.
 V batteries take a LONG time to charge, particularly if you’re trying to charge them with the typical RV converter-charger. Here’s a scenario: “I’ve been out here a couple of days and my lights started going dim. So I fired up the generator and it’s been running for hours, but my battery is still low!”
 The lights come two in a package and are magnetized so you can easily use them hands free. I’m thinking that if you have a metal plate in your head you could just use this instead of the strap on kind of LED light. How convenient is that?
 Each light has an on/off switch on the case. They are sold under the “Bell” brand and are powered by 4 “AA” batteries. They are sold as truck bed lights, but they have bountiful potential applications for the RV lifestyle.
 First, with your slideout extended, take a close look at the slideout support arms. If you spot any “wear marks,” it’s a good indication of a primary source of nasty noise. Grab a can of spray-on dry lube. Shoot the wear marks thoroughly, then using a clean, dry cloth, wipe down the excess. Dry lube sprays are preferable to “wet” lubes as they are less likely to attract dust and dirt. You’ll also find it useful to shoot the “teeth” on your slide out mechanism, if you have any.
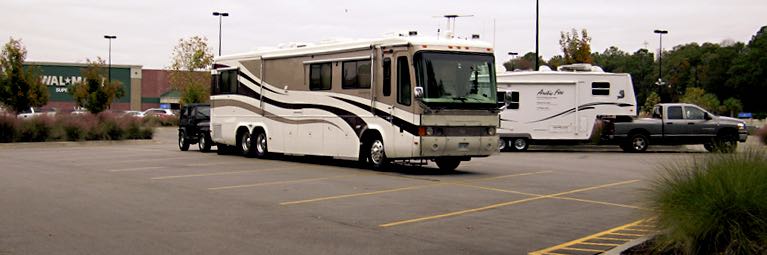 Remain Inconspicuous. Remember, you’re staying overnight, not setting down roots. Locate the most distant point in the parking lot, away from customers and delivery trucks. Don’t use awnings, patio chairs or barbecues. If you must use your slide outs, park alongside a wall so they aren’t sticking out into traffic.
 While my motorhome’s onboard 12-volt power system powers the lights of my coach, its water pump and heater fan, it isn’t good for much more. And that’s where my nifty little $30 power inverter saves the day. All I need to do is insert it into my RV’s 12-volt plug (be careful if you use the “cigarette lighter” in the cab as you can run the automotive battery down), and then plug whatever I need to power or charge into the inverter. The inverter converts the 12-volt power into regular household current. There is absolutely no noise (or maintenance) like a generator and no need to find an RV park just for the hookups.
 ice in the RV until you’re ready to use them. Thaw them in the refrigerator or in a microwave and finish them up on the stove. If you’re a home canner, make extra stew and soup, can it, and have it ready in the RV pantry.
 Skoy Cloths are made from a natural cotton and wood-based cellulose pulp. These eco-friendly, mildew-resistant clean up towels can replace any paper towels, rags or sponges around the RV. They’re so absorbent that using a Skoy Cloth is equivalent to using 15 rolls of paper towels in an average home. These mighty little towels dry within minutes, even in the dampest climates. This means bacteria doesn’t have any time to grow on them and cause odors.
 For fresh water tank drains you can use a standard 1/2 inch barbed hose connector with a 1/2 inch threaded male end attached to a standard garden hose valve. This is held in place by a hose clamp. Why a standard garden hose valve? When you drain the fresh water you’ll be able to attach a standard garden hose and water the trees or run it down the sewer instead of making a small lake under the coach.