
By Russ and Tiña De Maris
When my feet hit the deck one morning in the old RV, I knew something was decidedly wrong. Even with a bit of neuropathy, my sensors indicated that it was one COLD Arizona morning. Yes, folks, it does sometimes get a wee bit on the chilly side, even in “RV nirvana” of Quartzsite.
Part of the chill factor is that old problem of “single-glazed” RV windows. Sure, some manufacturers include “storm windows” on their rigs, but a lot of us just have that single sheet of clear stuff between us and the outside world.
What can you do if you have too much cold coming through the glass? Add your own “storm window” with shrink-fit window insulation. You can buy this stuff at nearly any hardware store or home center.
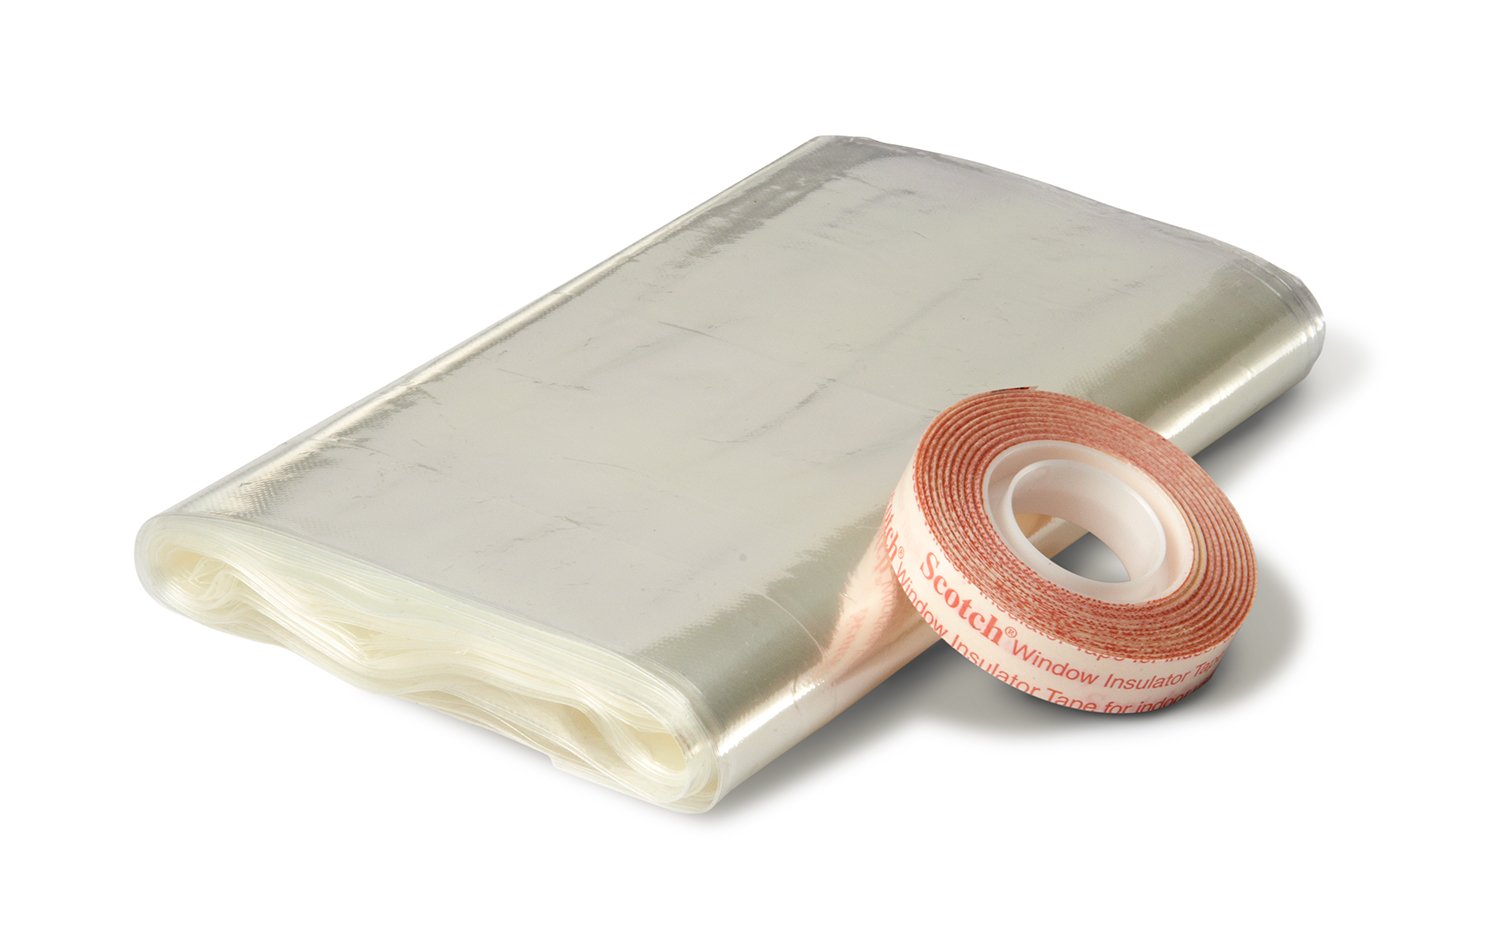 Besides the window insulation kit, you’ll also need scissors and a blow dryer. Some RVers say that they use an electric space heater to “shrink” the plastic into place. If you try that trick, start at a considerable distance away from the plastic lest you find the source too hot and burn a hole in your plastic rather than shrinking it into place.
The short video below shows you the basic principles of installing the stuff. However, instead of sticking the sticky tape away from the window, most of us can stick it directly to the window unit itself. You may need to “work around” problems like window cranks.
We might add that the video makes it appear that there are some leftover wrinkles in the finished product. We’re not sure if that’s an illusion or if our “installer” just didn’t work long enough on getting the wrinkles out. With effort, your final product will be flat, tight, and highly viewable.
The last time we looked, a kit good for insulating up to five 3′ x 5′ windows cost about $17 at Amazon.com.
RELATED
- Keep the cold out with bubble wrap RV window insulation
- 7 uses for Reflectix reflective tape besides as insulation
- DIY RV window insulation WITHOUT ugly foil showing
RVT1233

We thought everyone knew about this. We’ve been doing it since before we started full-time. Used to do it in our sticks and bricks. Most window cranks can be easily removed since you won’t be opening the window after the plastic is installed. We just run the tape around the flat interior flange of the aluminum window frame. My wife even removes the screens so they don’t interfere with the view.