


A few years ago I was researching a battery company that supplied flooded lead acid (FLA) batteries to the locomotive (train) industry and for solar panel systems. Everything I found indicated they were an outstanding company with a quality product, so I called and talked to an engineer and asked why they were not in the RV industry. He stated that every time they discussed their product with an RV manufacturer all they wanted was to cut the price $30 less than what they were currently using. He came up with the phrase: “It’s a race to the bottom!”
Unfortunately, it’s too often true in this industry, as many people shopping for an RV shop by price rather than by value. Therefore, manufacturers race to find ways to cut costs rather than educating customers on value, so that the unit sits next to the competition with a lower price tag.
Electrical outlets in RVs
One such item is the electrical outlets used in many RVs. The RV Industry Association (RVIA) uses codes and specifications set by the National Fire Prevention Association (NFPA) and other safety organizations such as Underwriters Laboratories (UL) for RV safety. NFPA has specific wiring and outlet codes such as NFPA 1192 standard for safety. That requires the National Electric Code (NEC) Article 551, which dictates wiring size for RVs.
From what I have found over the years, RV manufacturers are using the correct size 120-volt wiring commonly referred to as Romex, which is actually a brand name. However, the “race to the bottom” comes with the outlet, in my opinion. Code requires a UL-listed outlet capable of handling the amp rating of the circuit breaker, which is typically 10-15 amps in a traditional outlet.
Not all outlets are the same quality
There are several types of outlet that have the amp capacity and are UL rated. However, not all are the same quality, in my opinion. The traditional residential outlet has an outlet box mounted in the wall and an outlet with either side mount screws or push-in slots in the back.
When I built my house, my certified/bonded electrician stated that he NEVER used the push-in slots in the back. He explained they are not a good contact and the wire can slip out or break off from the slot. Keep in mind, this is in a house that is not traveling 60+ mph down the road. He always connected the wires to the side posts and wrapped electrical tape around the entire outlet.
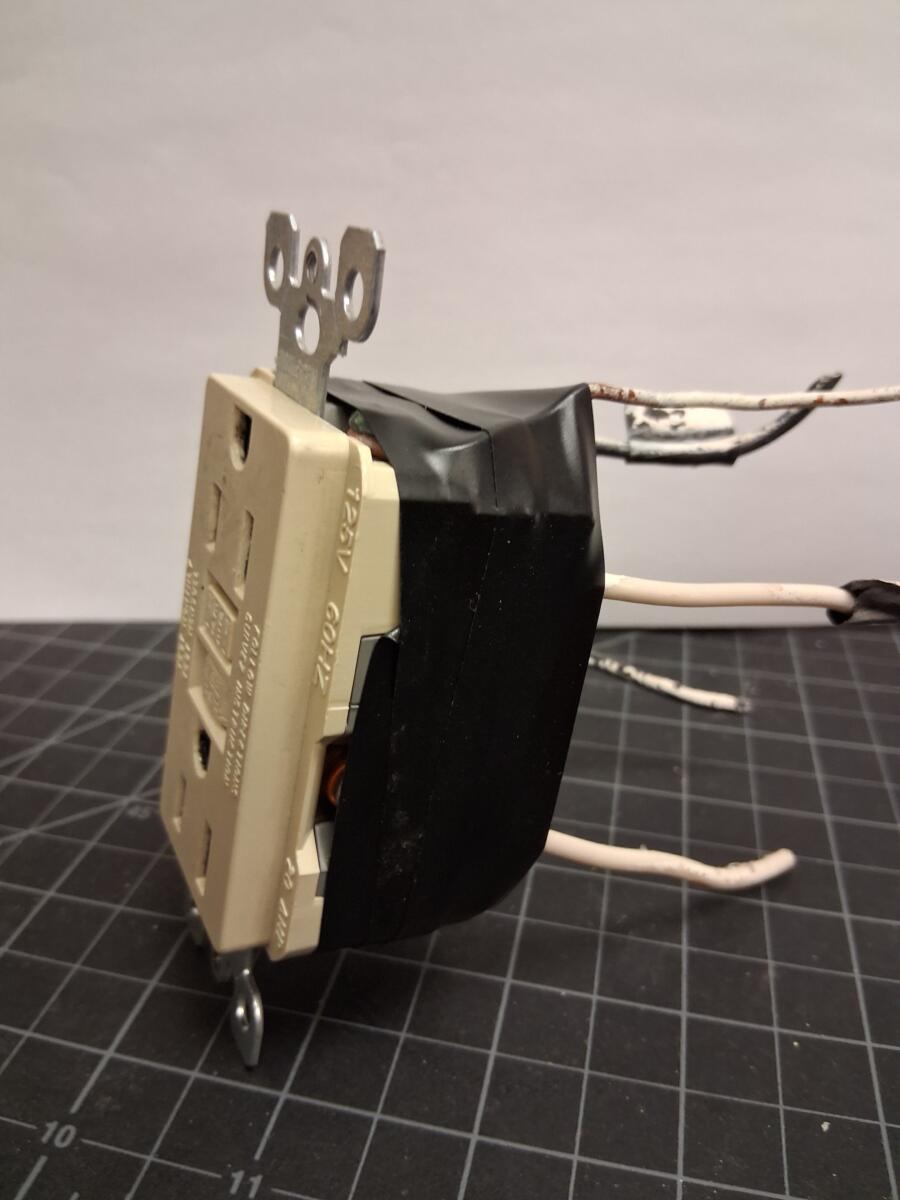
“Fast install” aka “self contained dual outlet”
I have received several questions from readers regarding the “fast install”-type outlet called “self contained dual outlet.” This is an outlet that can be installed without a gang box and with the wires pushed into spades on the back side. It is thinner than a traditional outlet so it can be installed on a side wall that is only 2” thick, as it does not require the box. It is faster to install so there is less labor, and it does not require a gang box. So, putting several of these in an RV is a cost savings.
They are UL listed and rated for 15 amps, so they should be fine for an RV, right? To properly install these outlets, you need a specific tool such as the Wirecon WT900M, which costs $700. Snap-on makes a cheaper device that looks like a golf shoe spike wrench. Even if they use the proper tool and get the wires “seated” correctly, I have had dozens of readers sending pictures of this type of outlet failing due to road vibration.
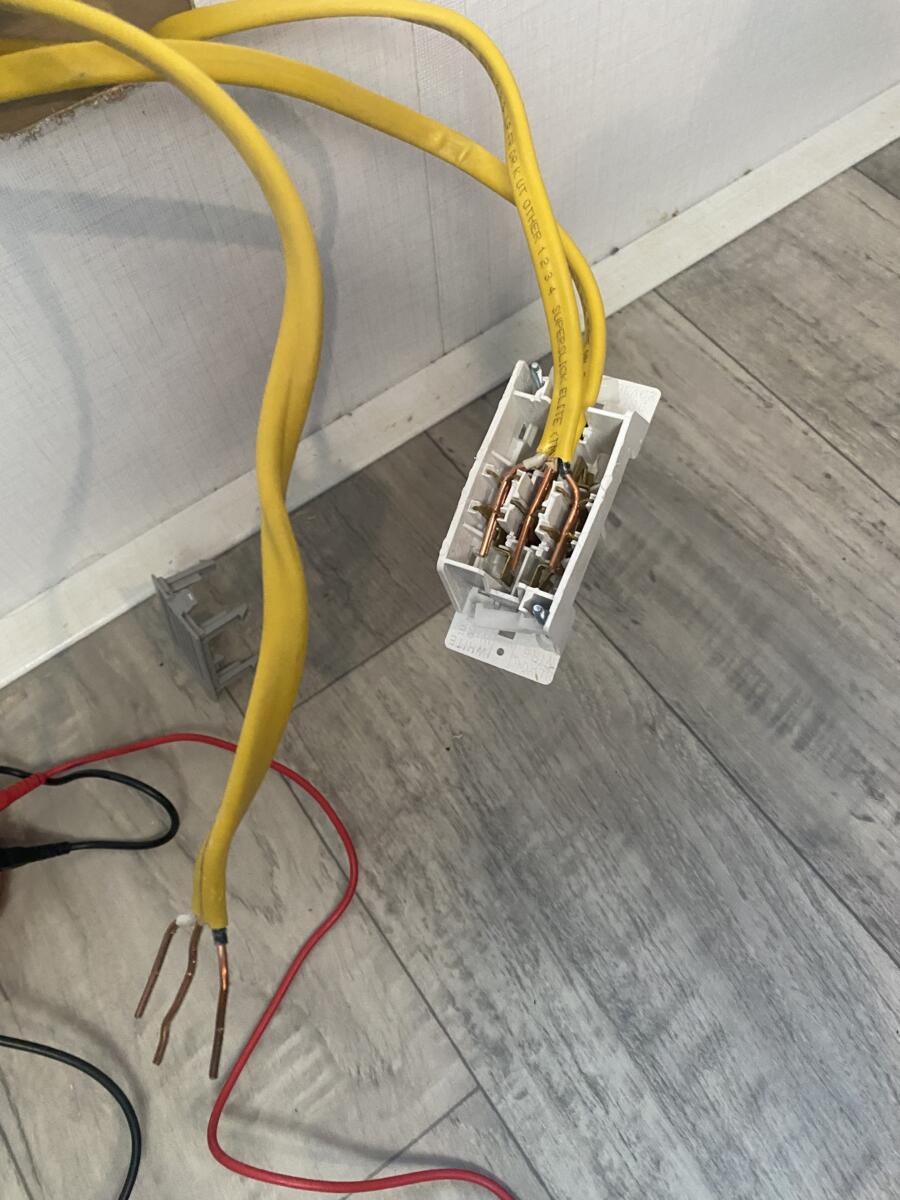
Here is another one:
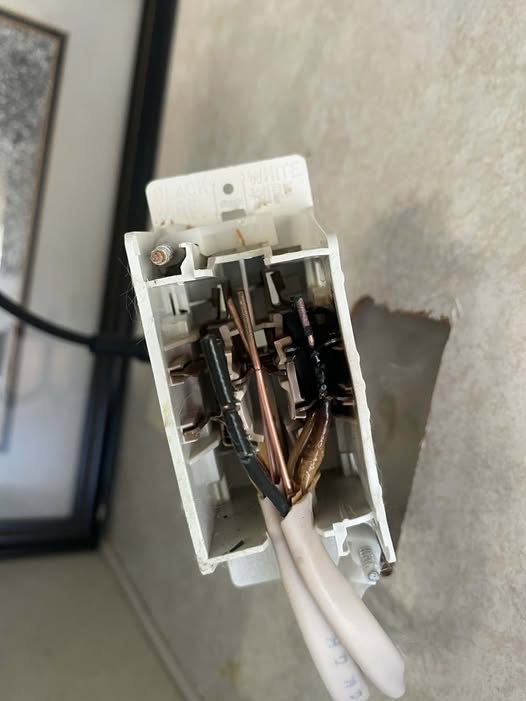
Traditional outlets recommended
It’s not like you have a choice of outlets. However, I would replace any of the fast install outlets with a traditional one with side posts. For outlets that are in the 2″ sidewalls, you can get a shallow outlet box on Amazon here.
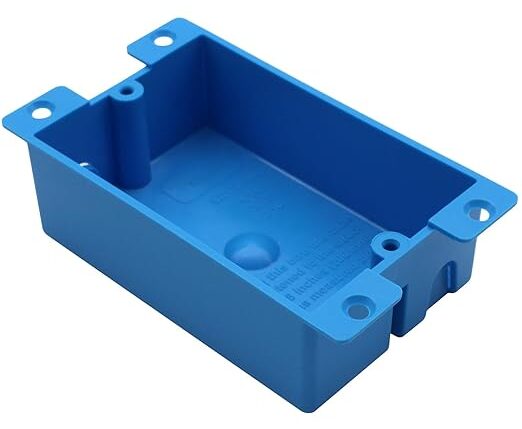
Winnebago designed a wooden extension that matched the perimeter of the box and extended the outlet further out so they did not have to route the 2″ sidewall deeper.
You might also enjoy these posts from Dave
- Twelve Days of Christmas RV Tools—Fourth day: Kill A Watt electricity usage monitor
- There aren’t enough outlets in my RV. Can I use a power strip?
- What appliances should not be plugged into a GFCI outlet?
- Why does toaster oven trip the GFCI in RV bathroom?
- Can I use a 2-prong plug in a 3-prong outlet?
- Twelve days of Christmas RV tools – Twelfth day: Klein multimeter kit
DAVE HAS ANSWERED MORE THAN 1,000 readers’ maintenance and repair questions. Read a directory here. There is so much to learn!
Dave Solberg is a leading expert in the RV industry and the author of the “RV Handbook.”
HAVE A QUESTION FOR DAVE?
Send your inquiries to him using the form below.
RVDT2921


Just replaced all the outlets in my TT with the small boxes and residential outlets. It was an eye-opening experience to see and feel how cheap and flimsy the original outlets were. Wasn’t very difficult at all and I’m not an electrician.
Thanks Dave! I had to replace one of the standard Rv outlets and for the life me I could not, and cannot seat the wires deeply into the holder contacts. Now you cleared that up. as I noted this article I was going to write you for advice on how to! A special $700. tool makes changing these Rv outlets into side post shallow box residential types very affordable! Thanks again!
Former RV plant engineer….The 2″ deep box shown is NOT an NEC acceptable replacement for the IDR in almost every case. Insulation Displacement Reeceptacles (IDR) are used because they are virtually the only thing that CAN be used in the thin wall of an RV and meet code. NEC requires an ‘outlet box’ to have an allowable volume for all the wires and devices installed inside it. The 8CuIn of the shown box can only satisfy NEC requirements in one special case, which is not the norm in RVs. Here’s the only way: 1 device requires 2 ‘allowances’. If wired with 14AWG wire (which itself is 2cuin allowance) = 4 cu in required for the device. 1-14AWG cable with 2 conductors, require 2in each
Well this article helped me understand mine and how to move one of my outlets where I removed a TV and replaced with a shelf over the dinette. I measured my wall cavity depth and found I do not need a shallow box in a Newmar. However, the existing outlet IS that special type requiring the special tool. I will have to remove it, cut a new hole and move the wires over several inches, install a new outlet (conventional type), and cover the old hole (which will be behind the shelf. Thanks! Of course this doesn’t help the problem that all the kitchen/dinette slide out outlets are on a single breaker which my wife, Megawatt Linda, likes to test periodically with her kitchen appliances. LOL
I have used the Carlson 1-Gang 17 cu. in. Electrical PVC Shallow Old Work Electrical Switch and Outlet Box (B117RSWR) available at Home Depot and Amazon When replacing the rv outlet with standard outlet. The extended side on the box gives room for wiring that the std 2 inch box does not.
There are also box extenders which allow you to use a stanard outlet with a shallow box.
They do sit ‘proud’ of the surface though.
It’s no big deal. The GFCI in my TT bath has one.
Thank you for the discussion, Dave. RV #2 is in the shop for repairs and inspection today, but will see how Newmar did our outlets once I bring it home. Might even remember to let you know the answer once I have one. 😉 Have a great day and safe travels!
In the RV world there is NO bottom to race to. It is a “bottomless pit” of garbage material, garbage installation practices to see “how low can you go” as in Limbo dancing.
Interestingly I just got an email for these plugs. I havent seen one in person and am thinking of ordering one to try out.
https://prado.com/ca/product/unifit-outlet-duplex/
you can get a cap for the back instead of mounting them in a box.