
Dear Dave,
I just recently purchased this used camper. It has been sitting in my yard since the last of February with no water going to it or the septic tank. The refrigerator is not hooked up, either. It felt like the floor under the linoleum was soft. I just pulled the linoleum up tonight. I understand why I have a couple wet spots near the walls. However, I do not know why the floor in the middle of the room is wet. I know I have to replace the whole floor. Yet, I do not wish to do so until I find out what is going on for fear it will only rot in the middle of the room again. —Kristy, 2007 Rockwood Signature Ultra Lite
Dear Kristy,
Water will take the path of least resistance. Typically where you see a water stain is not where it entered the rig. I have seen water enter clearance lights in the front and travel all the way back to the bedroom. It goes through the hollow tubes in the roof to the sidewall joint and then leak in the back. Several trips to the service center trying to find the source can be very frustrating!
We ran into a similar situation with a 1996 Forest River Salem that we renovated for The RV Lifestyle & Repair Club. Initially it looked like the front corner had some water damage. However, I knew it would be much more since the front corner where the sidewall meets the front looked like the previous owner applied silicone with a scoop shovel. Plus, there were hex head self-tapping screws installed every inch—which is not factory!

Discovering source of moisture penetration
This was a red flag that helped pinpoint the area of moisture penetration. However, yours might not be as obvious. Water can penetrate the smallest crack or pinhole in sealant and travel down the sidewall between the layers. I am not sure what type construction was used on your rig. However, from the brochure I found, it looks to have a smooth, one-piece fiberglass outer skin. So, I would assume it also has aluminum framework and block foam insulation. Water can still flow down the inside and get to the floor.
I would begin looking on the roof at all the sealant areas, especially the roof to front cap, roof to sidewall, and roof to back wall. Look for any sealant that has pulled away or apart or looks like there are gaps that moisture could penetrate.

If an area looks susceptible to moisture penetration, I would recommend using a heat gun on low setting and a plastic putty knife and slowly remove the old sealant. Keep the heat gun back far enough to just provide a little heat and not burn the rubber membrane. You don’t need to remove all the sealant down to the material, rather just provide a fairly smooth line to add new self-leveling lap sealant.
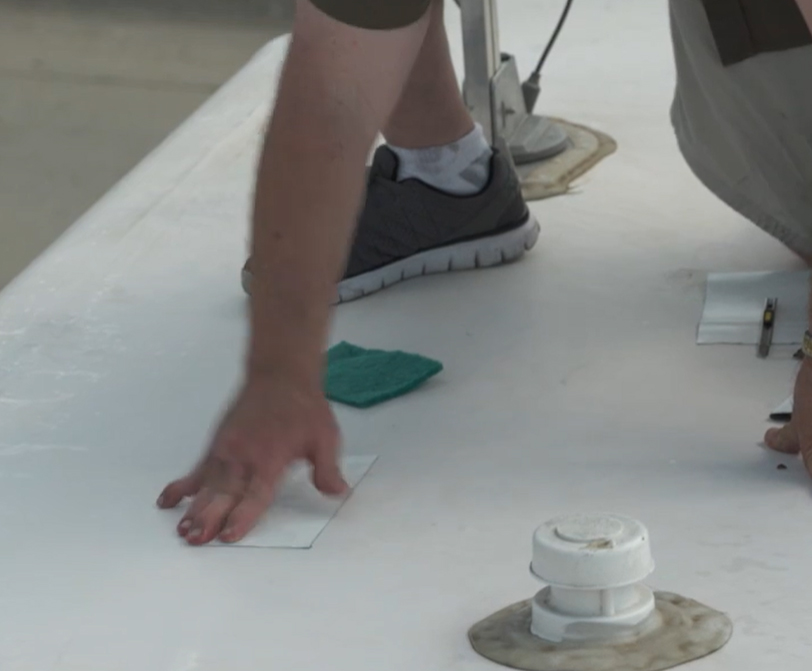
Why is the middle of the floor wet?
Water that runs down the sidewall of the unit can migrate along the floor at the joint or seam between floor panels or along metal tubing. Another issue could be a roof vent or sewer vent pipe that might be in close proximity to the wet spot. Look on the roof for any other item that is protruding out the roof as it will also need to be sealed well.
Since you are going to replace the floor, you should be able to see a path the moisture took to determine how to prevent it from ruining the new floor. Before installing the new floor, do some water leak testing with a garden hose and soak the top and sides of the trailer to see if there are any water leaks.


Our Salem leak started in the front corner, but the moisture traveled throughout the entire living room and kitchen floor and even ruined the joist underneath. Good luck!
You might also enjoy this from Dave
How do I find what’s causing the water leak in my RV?
Dear Dave,
While city water is hooked up to my RV, the water starts to leak, causing the living room floor to leak. What could this be? —Jason, 2001 Tiffin Phaeton
Dave Solberg is a leading expert in the RV industry and the author of the “RV Handbook.”
Read more from Dave here.
HAVE A QUESTION FOR DAVE?
Send your inquiries to him using the form below.
##RVDT2369

An ounce of prevention is worth a pound of cure. Information on how and with what these new RV floors are constructed, giving some idea of its ability to resist warping, should be readily available. If not, ask, find out. I’m lucky. The floor in my 8 year old RV has really good resistance for which I am eternally thankful. I know because I have tested it personally, twice. The floors in later models appear to have less resistance to warping IMO. This should be a major point in your list of things to determine when buying an RV. Accidents happen.
Thank you, Dave! 🙂 I appreciate you routinely being so thorough with your answers and discussions. There is much to learn with every addressed problem; thank you! 🙂 Safe travels! 🙂
How about using treated plywood for repairs. i used a piece to make a ramp into my storage shed 30 years ago and 100% exposed to weather. Still very serviceable. Too bad rv manufacturer does know about this.
oh right, it costs more, sorry for my ignorance.
I replaced major ceiling portions of our lst Class A Rv, which had an aluminum roof. I used angle aluminum for supports, from Menards. I also treated a 2″x3″ and plywood in a major floor leak with Thompson Wood Preservative. I have used it on several outside projects with great success. The green treated wood off-gasses and as I recall is not to be used in confined spaces. Verify? Last I heard that 1985 motorhome is holding up well.
I would suggest he have his unit tested by SealTech. There are testing stations nationwide.