
Dear Dave,
After 9 years, the roof immediately surrounding my two Coleman Mach 3 air conditioners have sagged slightly. The bolts are firm, but I fear that rainwater and condensate pool against the foam gaskets, whose exterior I have coated with rubberized paint. I can find no holes in the mounting gasket for water to enter the duct work, but during rain events we find water dripping from return vents in the ceiling. I wonder if the rain can enter thru the cowling.
In any case, I’m wondering if the sag can be addressed by using rubberized paint to the extent water is directed away from the gasket. Or should the gaskets be replaced, and the sag addressed otherwise. —Raymond, 2015 Jayco FLQS 335
Dear Raymond,
If you are getting sagging around the roof air conditioner unit it could be moisture penetration. Or it could just be the wood framing is getting weak and the weight and vibration are making it sag.
Your statements
I am concerned about a couple of your statements.
“I fear that rainwater and condensate pools against the foam gaskets, whose exterior I have coated with rubberized paint.”
Your roof air conditioners pull warm, moist air from the interior through the evaporator coil. That pulls out moisture that goes down to the drip pan. That moisture needs to go to the drip holes and flow out over the roof. If you add any sealant or additional paint around the gasket, it will block the flow and trap the moisture at the gasket.
“I can find no holes in the mounting gasket for water to enter the duct work, but during rain events we find water dripping from return vents in the ceiling. I wonder if the rain can enter thru the cowling.”
The only way you can find holes in the mounting gasket is to remove the air conditioner, which I doubt you have done. I assume you looked at the gasket from the outside on top, which will not tell you much.
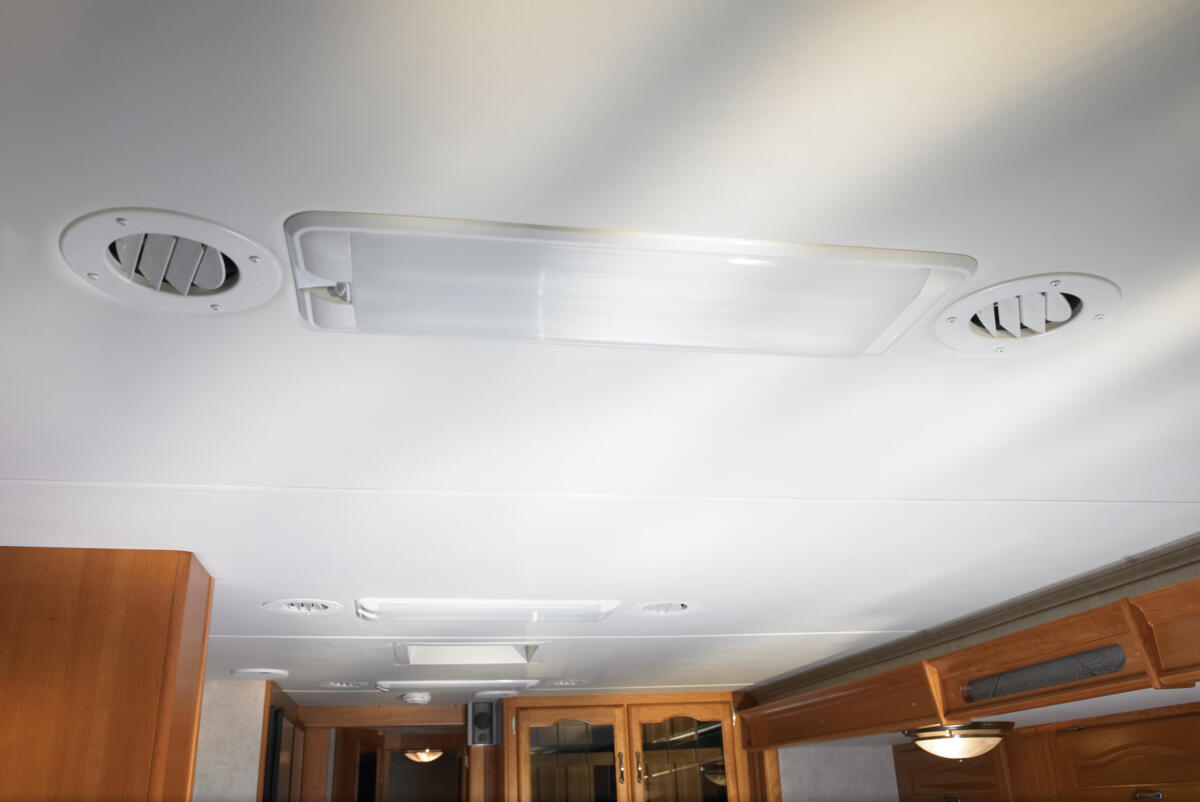
Return vents?
I am not sure what you are referring to as “return vents”. From what I see on RV Trader and other sites, your rig has two units that are ducted in the ceiling. Warm, moist, interior air is drawn in through the return air vent in the ceiling, which has a thin filter. Since air is being drawn in, I do not see how there could be any moisture leak here.

This passes through the evaporator coil and is delivered through the ductwork in the ceiling to conditioned air vents.
In either case, I would suggest removing the roof air conditioners to get a look at what is really happening.
Example of roof sag
Here is a 2006 Jayco trailer one of my RV Repair Club members brought to us for a content shoot, stating that he also had a roof sag. It started as a very minor dip and then he let it sit for two years with no cover. He did not tighten the mounting bolts inside to secure the gasket and it turned into a total mess. We knew it right away when looking at the inside ceiling paneling peeling. Once we took the air conditioner off we saw that it was totaled.

I am not saying yours is in this bad of shape. However, it is best to remove the roof air conditioners to see what is happening, let it dry out if wet, and you can also install a new gasket.
I do not believe you can “build up” the sagging area around the air conditioner with any type of rubberized paint. It would just continue to get worse, and you might create an even bigger pool. As I stated earlier, it is best to remove the air conditioner and see what is really happening.
Support the roof
Whether you have moisture or just a sagging roof, you will want to support or re-pitch the roof so there is no sag and moisture will run off the sides. We have done this with a tubular steel bar bent to a 1” pitch installed inside. I have used a 2”x1” rectangular tube bent and flattened on each end. This will have to be done at a metal fabrication shop. It might be a little more work than you want to tackle. However, it is good to know what works.
The cabinets need to be loosened but not removed. Hopefully, there is a spot forward or back of the roof air conditioner placement that does not have cabinetry, such as an entrance door. Using a floor jack, 4×4 wood post, and plywood square, jack the roof up about 1.5” or whatever will get the roof high enough to have a pitch. If the sag is greater than 1”, the brace with a 1” pitch will work as the sides will be at a normal height. You just need to get the center above flat.
The brace will run side to side, so it needs to be the length of the inside, which should be close to 8’. The flat ends are designed to fit between the cabinets and roof without needing to cut the cabinet frame. If there are no cabinets, the brace does not need to be flattened.
Fastening the brace to the sides
Fastening the brace to the sides should be easy as there is typically roof-to-sidewall framing and oftentimes aluminum. The challenge is finding a solid mounting point in the ceiling. When you pull the air conditioners off, check to see if there is aluminum framing visible around the opening. If there is, this is the point you want to fasten the brace to from the inside. If not, you will need to drill holes in the brace and roof to use screws from the top through the flat metal strip on the roof into the interior tubular brace.
Cover the flat metal strip on the roof with sealant or Dicor and the interior brace with a U-shaped plastic molding. I have also witnessed some creative covers such as wood molding matching the cabinets and fabric covering glued on matching the ceiling material. Some have even powder-coated the brace white before installation to match the ceiling color.
When you let the roof down off the jacks and tighten the cabinets, it will not only get rid of the sag but also strengthen it so, hopefully, it will not happen again.
You might also enjoy this from Dave
How much to tighten RV’s roof A/C mounting bolts each year?
Dear Dave,
I give the interior mounting bolts on my RV’s roof A/C one complete turn each year. When there are no threads left or it is tightened completely, does it mean I need to replace the gasket and start over? Mine haven’t done this yet. I was just curious what happens next. Thanks. —Jerry, 2021 Forest River r-pod RP-192
Dave Solberg is a leading expert in the RV industry and the author of the “RV Handbook.”
Read more from Dave here.
HAVE A QUESTION FOR DAVE?
Send your inquiries to him using the form below.
##RVDT2453

Thank you, Dave! That is quite a process! I have seen complete roof replacements on YouTube (AZ Expert) in which they added aluminum roof bracing with a pitch bent into it. This is another reminder of the importance of visually inspecting ones RV roof at least annually, if not more often. Thanks again, have a great day, safe travels, and safe stays! 🙂
Hi Dave, I bet if you had some pictures & diagrams of your repair it would be a lot easier to understand. Like they say a picture is worth a thousand words!
Thanks for your great article
Snoopy