


If you’ve spent any time inside your RV staring at bulky, dated window valances, you’re not alone. They’re one of the most commonly disliked design features in RVs.
The good news is you don’t have to live with them. Whether you want to soften the look, brighten your space, or go full modern minimal, your windows are one of the easiest places to start.
No sew
Even better, you don’t need to be a seamstress to transform your RV windows. There are creative, no-sew ways to refresh your RV windows and give your space a personality that actually feels like you.
So, if sewing isn’t your thing, don’t worry. These ideas are approachable, affordable, and completely customizable.
Pillowcase problem-solver
One of the simplest tricks is using pillowcases and thumb tacks. Fold a pillowcase (or a piece of fabric) to the size of your valance. Secure it discreetly along the sides, top, and underside with thumb tacks. This creates a clean, tailored look without permanent changes. It’s also easy to swap out seasonally or match to coordinate with your bed linens for a cohesive look in your RV bedroom.
Runner to the rescue
Another creative option is to remove the valance* (see how below). Replace the valance with a decorative table runner. Once the valance is down, use a lightweight wooden dowel as a curtain rod. You can choose to paint or stain the dowel. Then attach it to the wall. (Command hooks work well.)
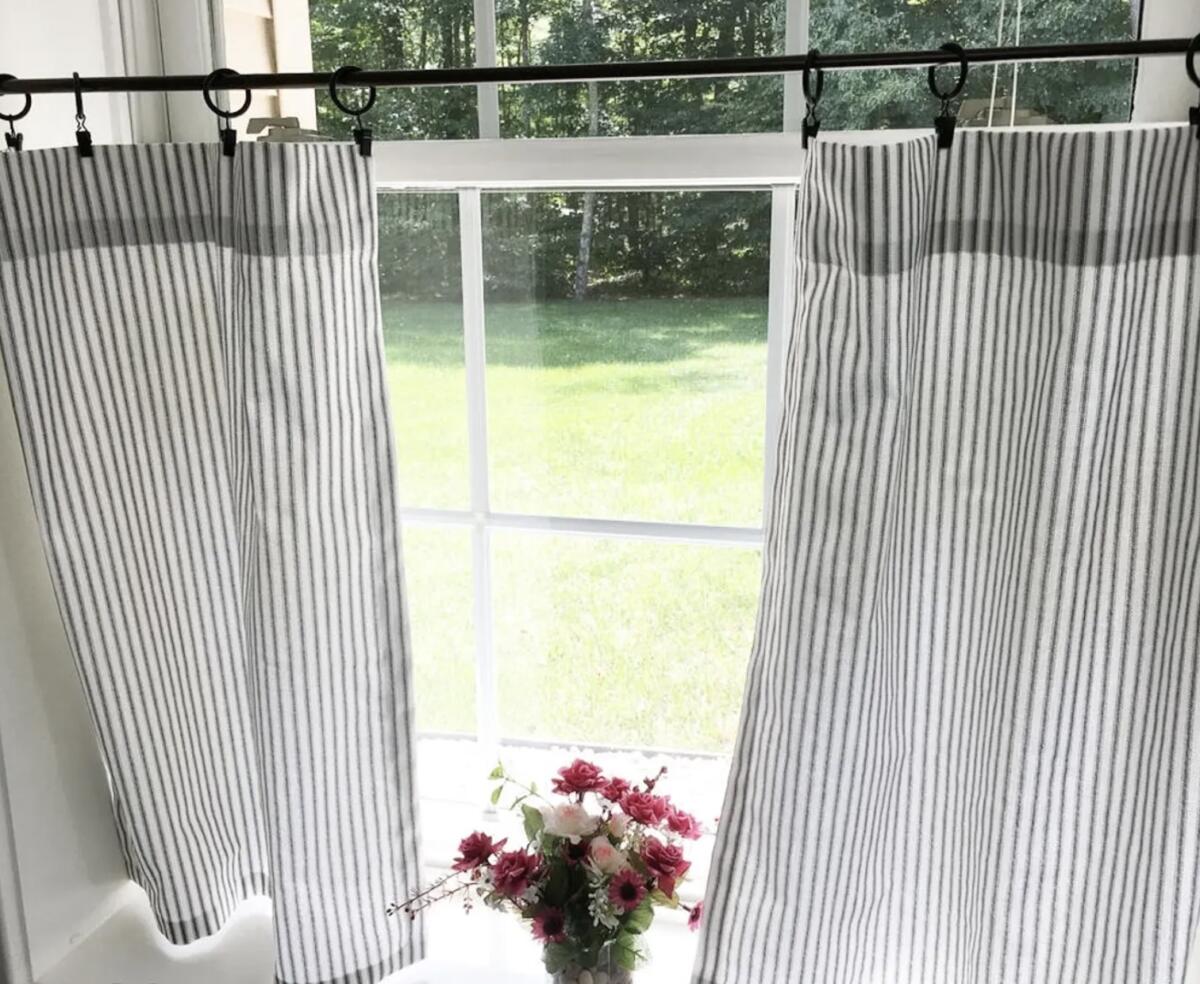
Clip the runner to the dowel using curtain clips. This gives you a relaxed style, and you can rotate runners throughout the year for a fresh look without committing to one design.
Captured with film
If you want something even more minimal, consider skipping fabric altogether. Instead, apply removable window film directly to the glass. I like this option for the RV bathroom. It provides privacy yet still allows natural light and no worries about musty-smelling fabric in this high-humidity area. Bonus! Window clings are easy to remove later without damage. They come in all different styles and designs.
Gotcha covered
A fourth option is to use peel-and-stick wallpaper or adhesive fabric to wrap a flat wooden valance. First, clean the surface. Then just measure, cut, and smooth into place. You’ll find a huge variety of colors and patterns here.
Paint RV window valances (yes, even fabric!)
If you don’t mind keeping the valance structure but hate the color or fabric, painting is a great solution. The approach depends on what your valance is made of.
For fabric-covered valances, start by removing and cleaning them thoroughly. Dirt and oils can prevent paint from adhering properly. A light coat of primer helps create a smooth base and improves durability. Then apply multiple thin coats of fabric-safe paint or spray paint, allowing drying time between coats for the best finish.
Here’s a step-by-step process from All About Tidy.
For wooden valances, the process is similar but with a few extra prep steps. Lightly sand the surface to help the paint stick, wipe away dust, and apply a primer suited for wood. After that, use a high-quality paint in your desired finish. Thin, even coats will prevent drips and give a more professional look.
In both cases, patience is key. Rushing the drying process can lead to uneven coverage or tacky surfaces, especially in humid environments.
How to remove RV valances
Before trying many of these ideas, you’ll need to take the RV window valance down. Fortunately, the process is straightforward and doesn’t require special tools.
Most valances are attached with screws hidden inside the top or side panels. In many cases, you’ll need to remove blinds first to access those screws. Once located, simply unscrew the brackets and lift the valance free.
Take your time and keep track of all hardware. You may need it later. For some applications, you can reuse the screws. If you end up replacing screws, be sure to buy the exact length of the originals (or shorter) so you don’t accidentally penetrate the outside shell of your rig.
Here’s a helpful video and a step-by-step tutorial with photos.
What a difference
Window treatments take up a surprising amount of visual space in an RV. Bulky window coverings can make interiors feel smaller and darker. Lighter, simpler alternatives open things up and let in more natural light.
Many RVers who remove or update their valances notice their space feels more modern and less cramped almost instantly. It’s one of those upgrades that delivers a big impact without a big budget.
Your RV should feel like home. Giving your windows a little attention is a small project that can completely transform your living space on the road.
Do you like your current window valances? Have you ever swapped them out for something else? Tell me in the comments below.
RELATED
- Easy DIY RV curtain ideas—No sewing or drilling required
- Upcycle a shower curtain: Practical and fun ideas for RV living
- Upgrade your entry door window with Lippert’s Thin Shade
- RV window shades—This is the ‘hack of the century’
- VannCamp insulated blackout window covers for vans
RVT1256


Maybe the valence is outdated but if you take it off there is no place to put a suspension rod. If you take off the valence there is no room on the window sill to put a rod. You would have to either tape, glue or drill a hole for the rod holders. Then there’s the holes left by the valence. Leaving the valence lets you easily put a suspension rod. We did it. EZ.
I would love to ditch the valances. They are wood with an apparently glued-in fabric insert that I find particularly ugly. However, I really like the day and night roller shades that are attached to the valances. I’d be a bit leery of attaching them directly to the walls.
Thank you for sharing these many suggestions for redecorating, Gail. Have a great weekend and safe travels!