By Dustin Simpson
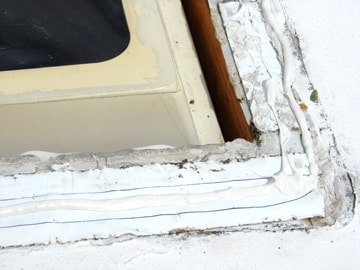
Join Terry and me in our RV shop and watch as we tackle a skylight replacement up on the roof. We’ll guide you through the process while discussing what to do and why:
• Removing the lap sealant: Learn the best techniques for safe and effective sealant removal.
• Preventing roof damage: Tips to protect your roof surface during the process.
• Cleaning and prepping: Basic instructions on how to clean and prep the surface before applying new sealant.
• Understanding sealant chemistry: Discover the chemical reactions between sealants and the roof membrane.
Don’t miss this informative session to enhance your RV maintenance skills!
DIY products to use
• CRL Tapered Plastic End Stick Tool CRL216
• Dicor Non-Leveling Sealant — You will want to use non-leveling (non-sag) sealant on all corners and side seams on the roof. Non-sag sealant is offered in several colors.
• Dicor Self-Leveling Sealant – Roof surface, for moldings, seams, vents, skylights, etc. It is also offered in several colors.
• Accessory Installation Kit – Sealant, putty and scraper.
More from Dustin
Make sure you check out my website, California RV Specialists, and our YouTube channel for more helpful information, and see our published articles on RVtravel.com and other social media pages.
RELATED
- How to install a skylight in your RV or camper
- Are there covers to protect RV roof vents and skylights from hail?
- Replacing your RV skylight
RVDT2756