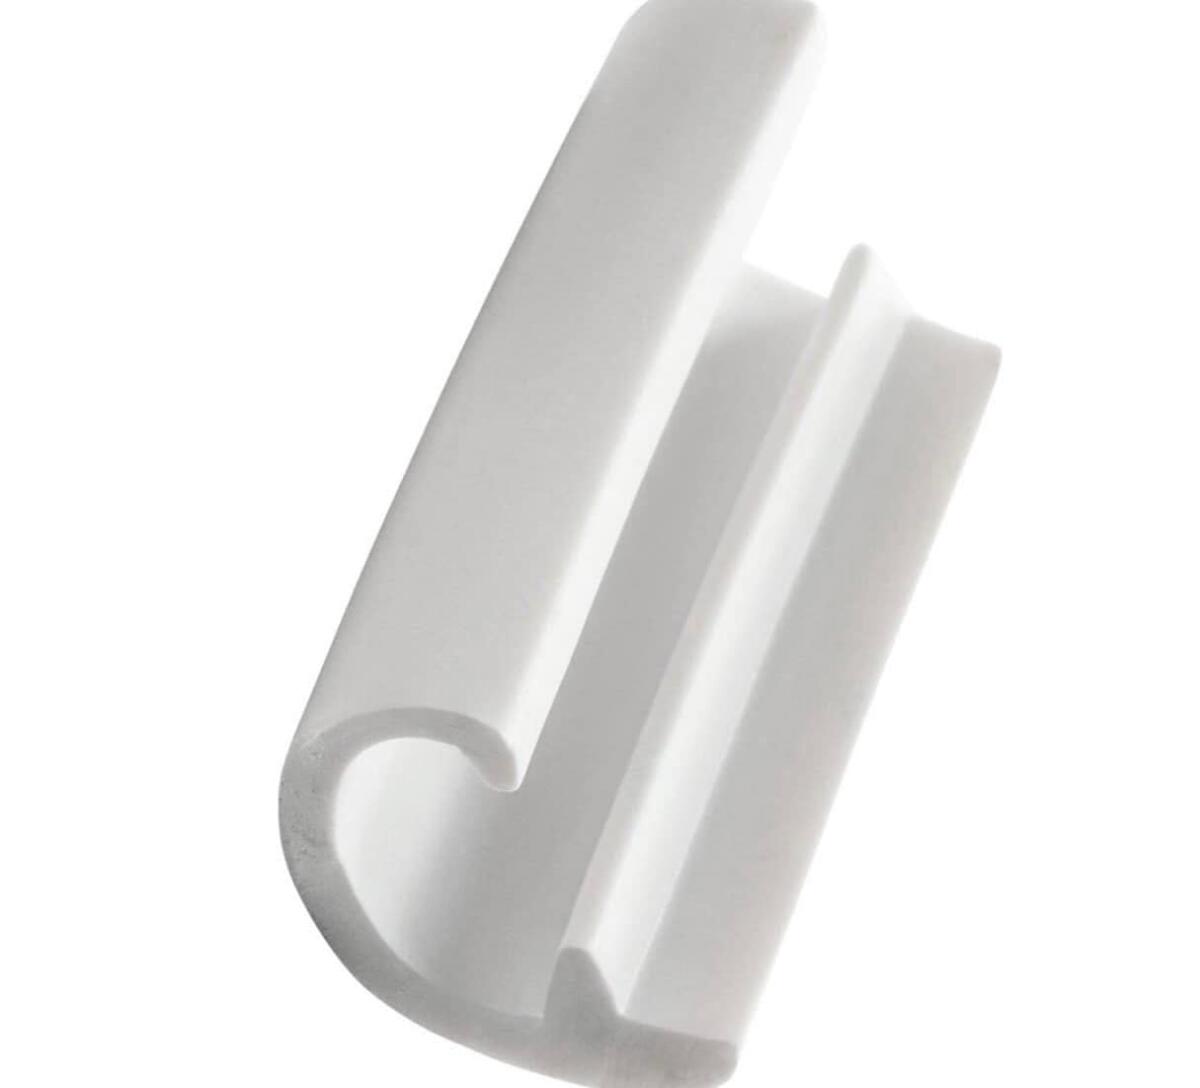
An RV screw cover is a flexible strip, typically made from durable plastic or rubber, used to cover and protect the screws and fasteners on the molding or trim of an RV.
These screw covers serve multiple purposes: They protect the screws from exposure to elements like water and dirt, give a cleaner, finished look to the RV’s exterior, and can prevent damage that might occur if screws are left exposed.
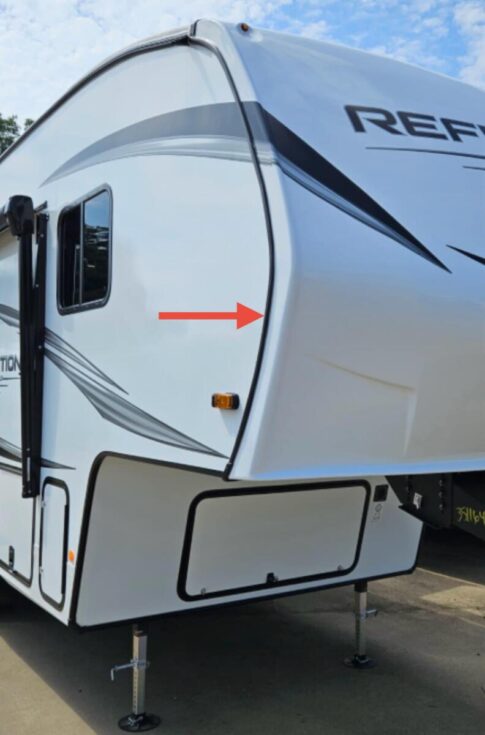
How it attaches to the molding
Correct sizing
Before installation, ensure you have the correct size of the screw cover strip to fit your RV’s molding or trim.
Preparation
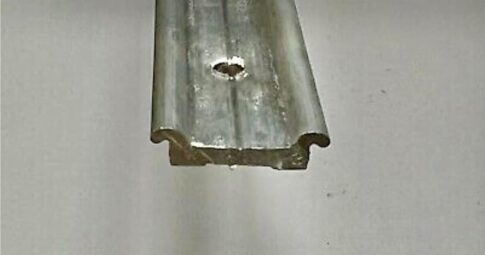
Clean the channel where the screw cover is to be installed, removing any dirt, debris, or old adhesive to ensure a secure fit.
Aligning the cover
Position one end of the screw cover strip at the beginning of the molding channel. These channels usually have a slot or groove specifically designed to hold the cover.
Pressing into place
Gently press the cover strip into the channel, ensuring it fits snugly over the screws. This might require pushing it into the groove until it clicks or slides into place.
Stretching over screws
The cover is typically flexible, allowing it to stretch and form over the heads of the screws. This ensures it stays in place even when subjected to movement or vibration while traveling.
Cutting to length
Once the entire molding length is covered, cut off the excess strip. Ensure the end is securely fitted into the channel to prevent it from peeling away during usage.
Installing an RV screw cover is generally straightforward and does not require specialized tools. However, taking the time to ensure it is firmly and evenly placed will help preserve your RV’s aesthetics and protect its components for longer.
The products you need to reseal your RV moldings
• Our favorite dripless caulking gun
• Our favorite scraper with handle
• Our favorite solvent cleaner
• Geocel Pro Flex RV Flexible Sealant White
• Geocel Pro Flex RV Flexible Sealant Clear
• Tool bag
More from Dustin
Make sure you check out my website, California RV Specialists, and our YouTube channel for more helpful information, and see our published articles on RVtravel.com and other social media pages.
RELATED
- Have a loose screw? Here’s how to fix it
- A gadget that easily fixes stripped screw holes
- Understanding RV screws, RV screwdrivers, and specialty bits
- The types of RV screws and bits you should have in your toolbox
RVT1223

Prior to replacing, closely inspect the material at either end of the run to see if there’s a gap exposing the rail/channel. This could have been an oversight of it being cut too short allowing water to enter and wicking through screw heads behind the cover. Haven’t had to remove a rail/channel before but would assume at least some sort of sealant used to install it so it’s not a dry attachment against the wall or even a “wet” screw install, meaning sealant applied either in the hole or screws covered in sealant prior to installation providing a seal around the threads and head of the screws to not allow water intrusion.
Typically the flexible cover will be gently stretched as you insert from beginning to end. Before you cut the end, secure the beginning and reverse the stretch by running your thumb from end to beginning. If you don’t do this, there is a possibility the cover will contract to its original length and your cut will be slightly short.
Thank you for the information and noting the importance of this, Dustin! Have a great week and safe travels!