Home Blog Page 89

RV damaged during service, dealer won’t pay. What if this happened to you?

15

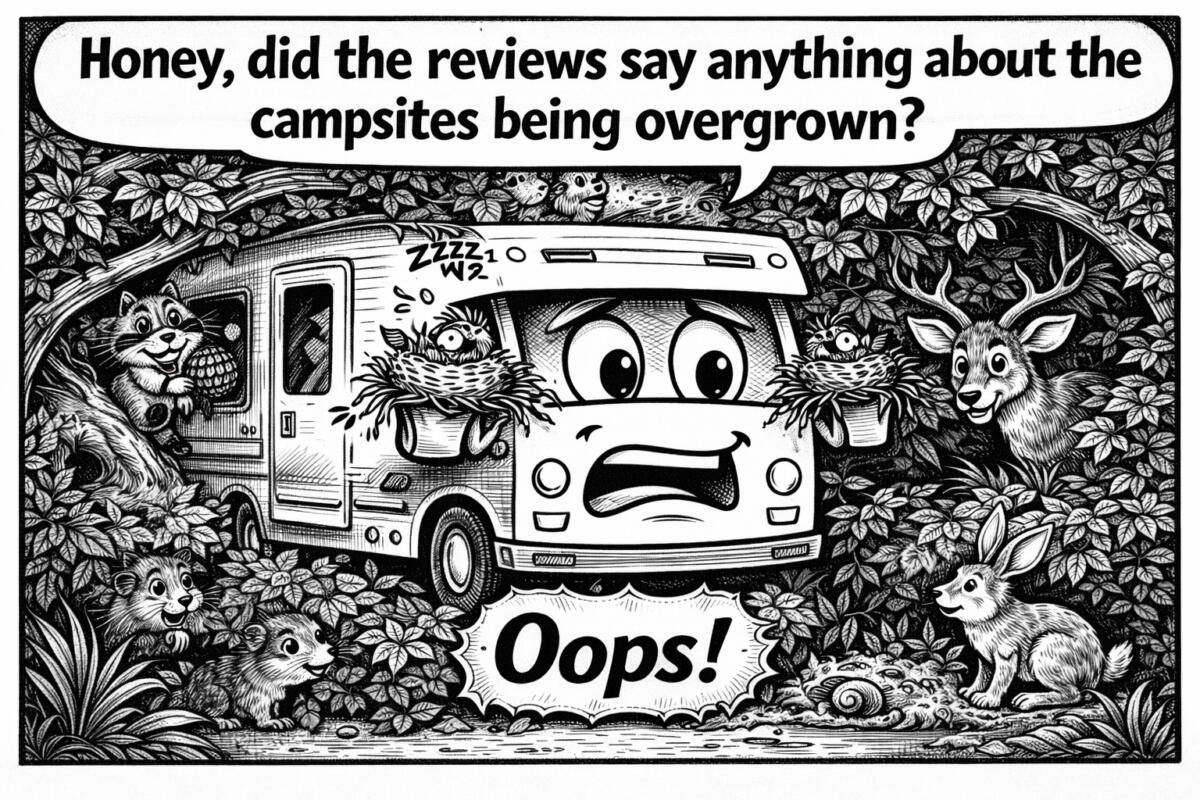
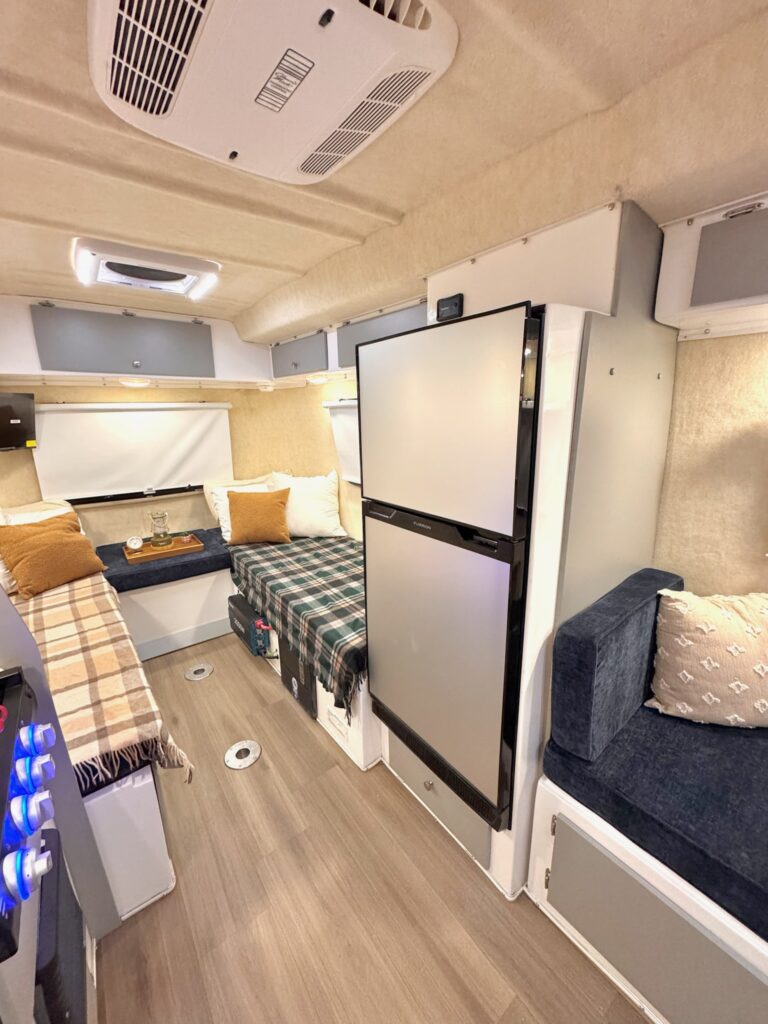
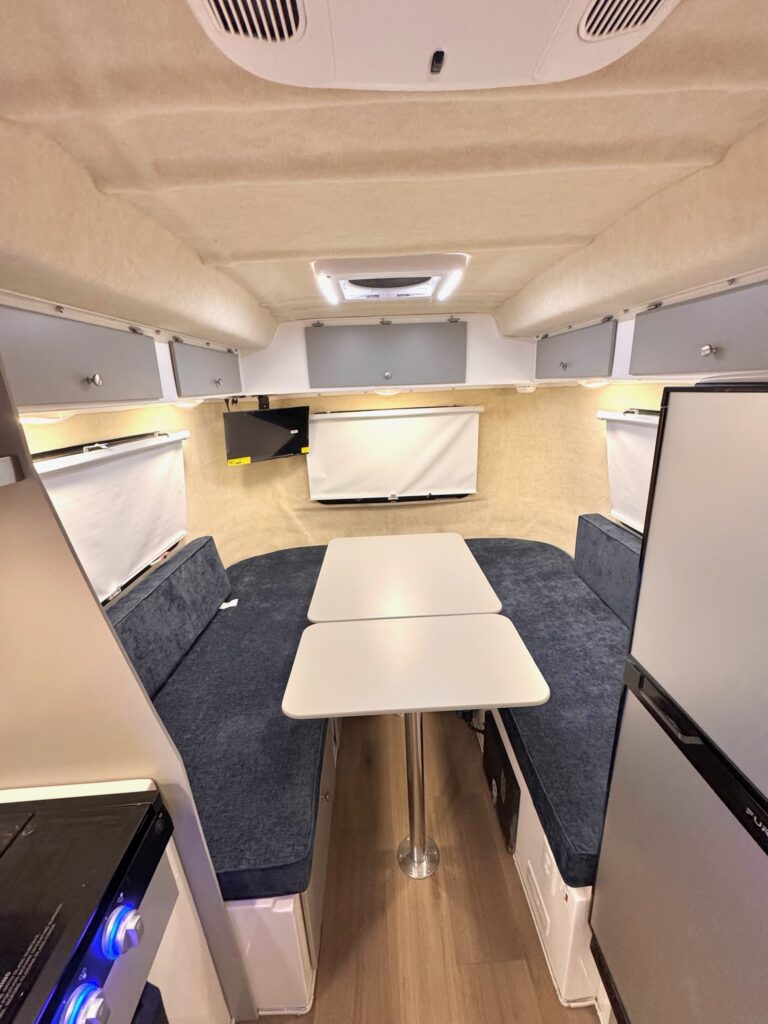
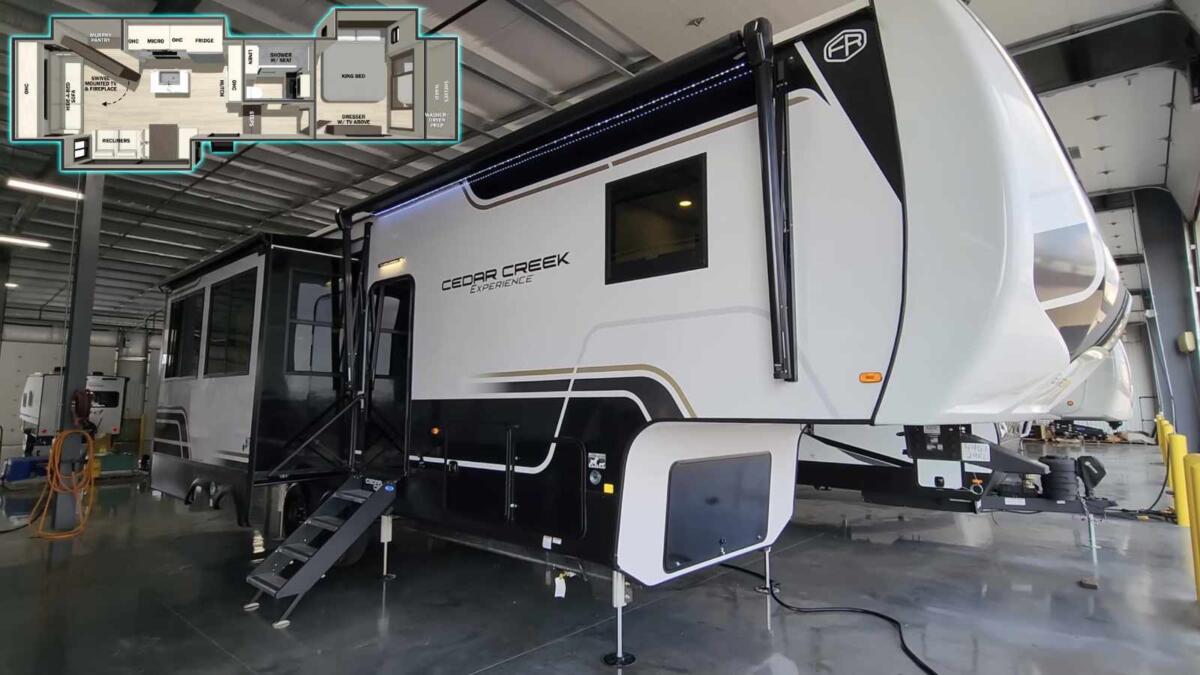
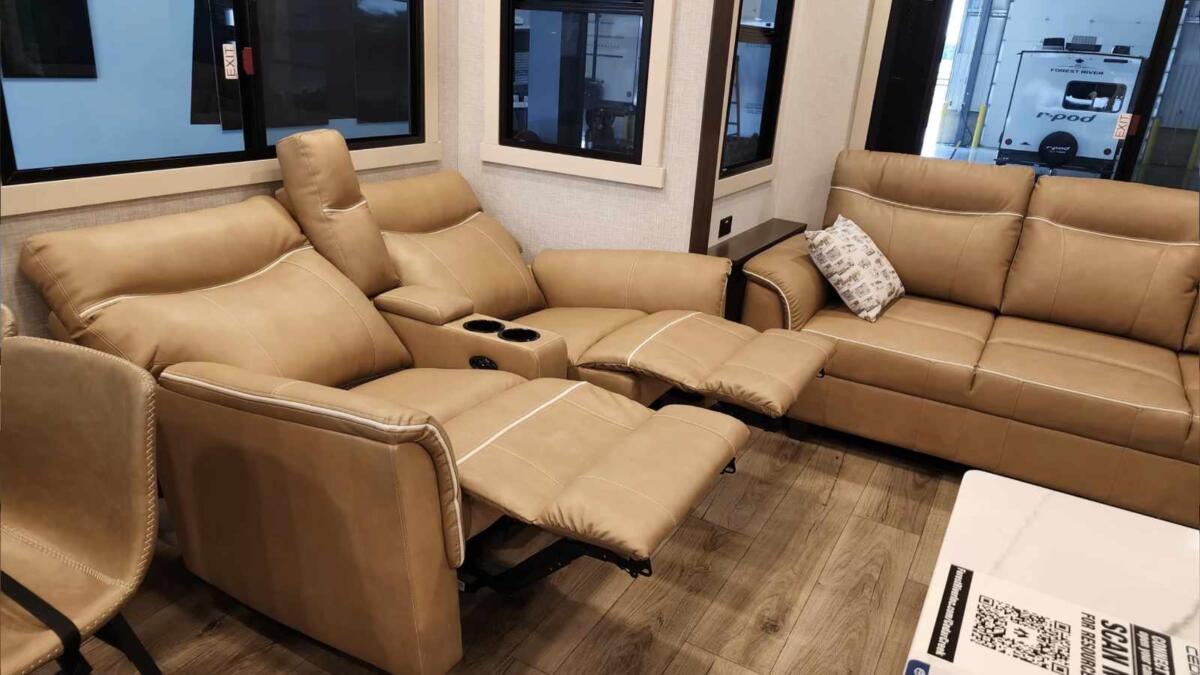
This article details a recent Liz Amazing video that documents what has become an issue for more than a few RV owners. Jayco damaged a motorhome while it was being serviced. Now the dealership refuses to pay to fix the damage.

Who wants to pay for something the RV technicians damaged or broke? Not me! Here’s what happened and how you can work to prevent the same thing from happening to you.

Case summary

Consumer advocate Liz Amazing posted a detailed video (below) about an owner whose Jayco motorhome developed serious issues. After the unit was in for work, the owner discovered additional damage. However, the manufacturer/dealer response left the owner on the hook.

Note: Liz’s channel documents many similar owner-vs.-manufacturer situations. She has helped escalate cases (including buybacks and settlements) by bringing public attention to them.

Documentation matters

Imagine your RV goes into a shop and comes out with new scratches, loose cabinets, or other damage. It’s up to you to prove those problems were caused during service and not pre-existing issues. That proof (or lack of it) will determine whether a dealer, manufacturer, or insurer will pay for repairs.

Public pressure has helped some owners get buybacks or repairs done properly, but good documentation is your best preventive insurance.

Practical checklist

Here are some steps you can take to protect yourself:

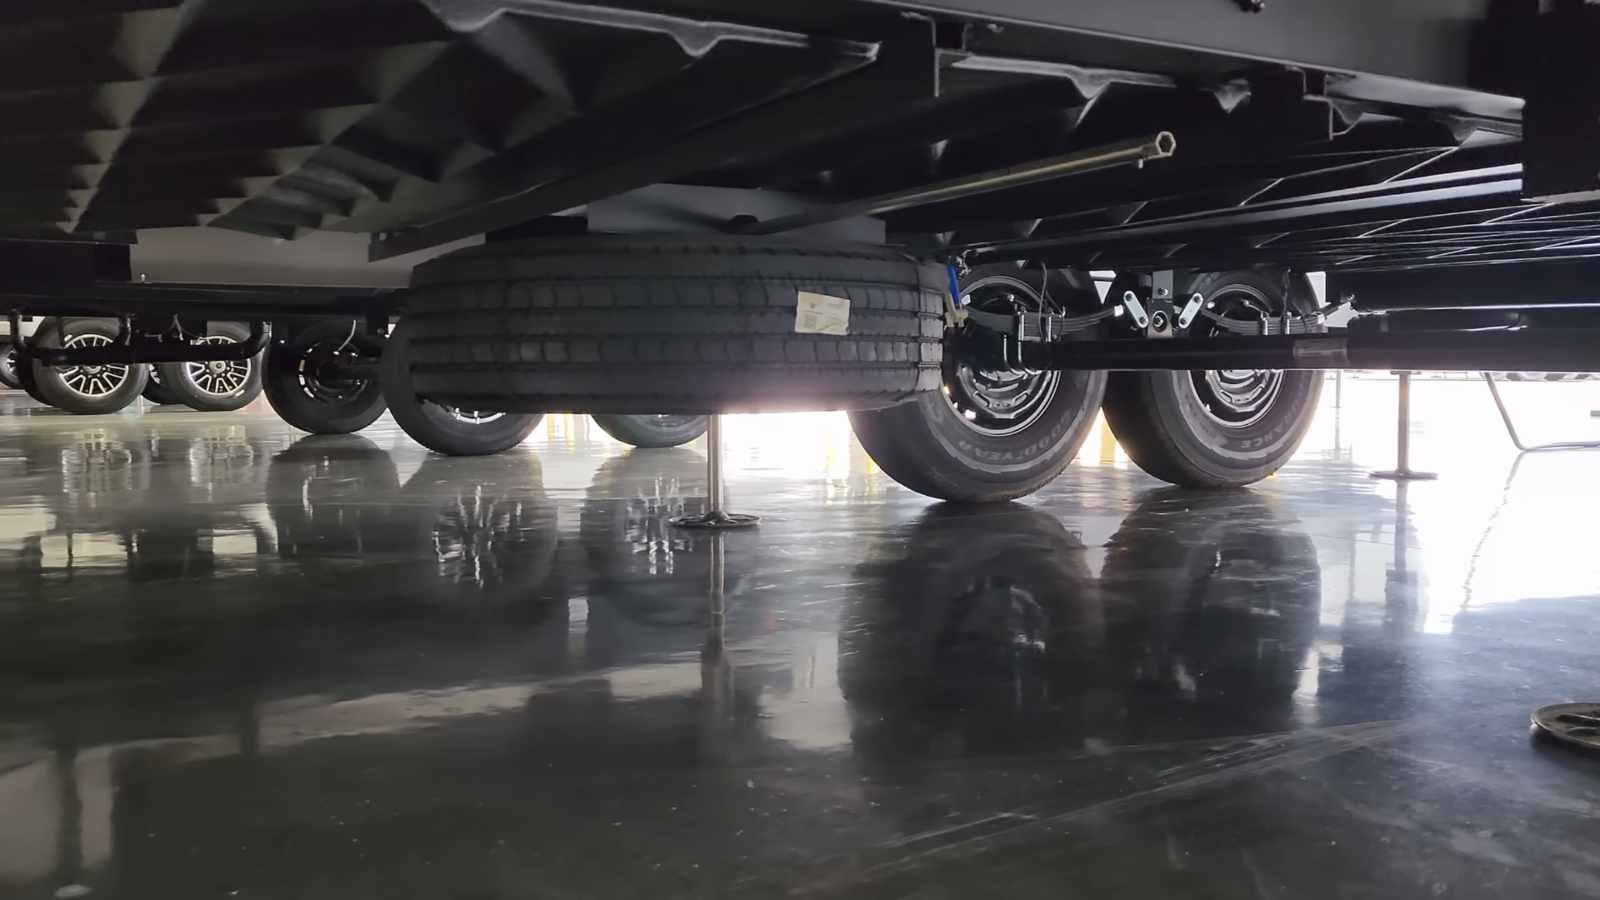
  • Take a time-stamped, high-resolution video walkaround from the outside in. Film every exterior wall, roofline, all seams, decal areas, the tongue/hitch, and the undercarriage clearance, if possible.
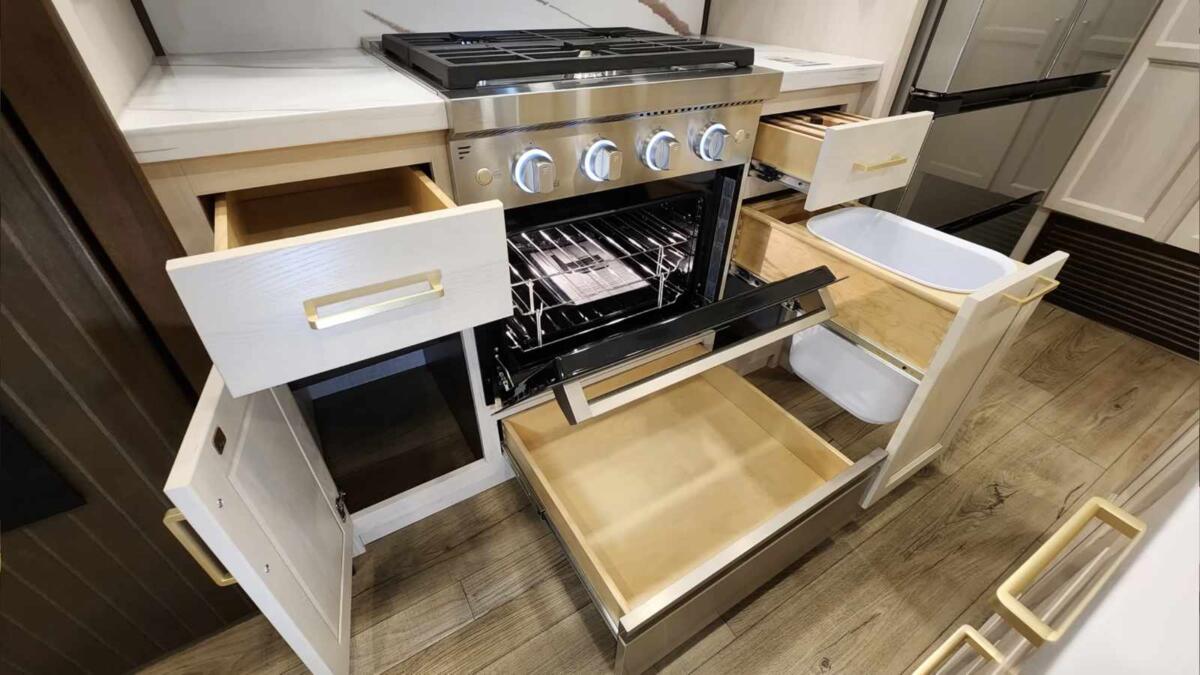
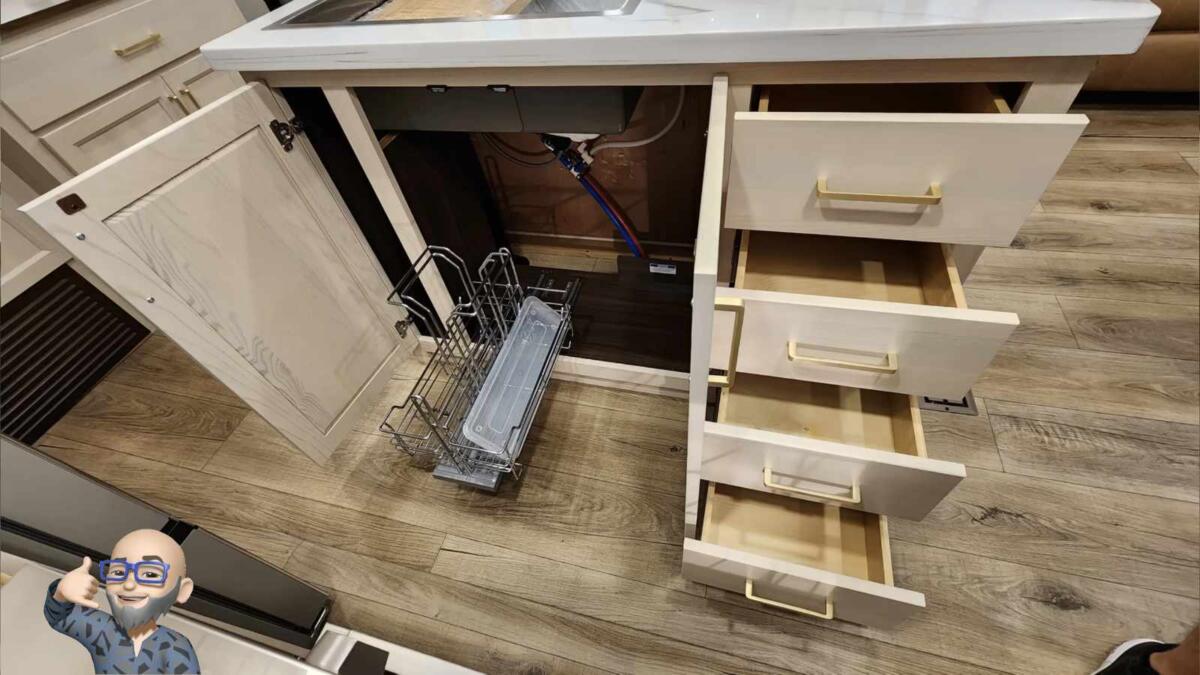
  • Open and film cabinets, appliances, slides, bays, wiring areas, and the interior ceiling and flooring.
  • Speak during the video, stating the date, dealer name, VIN, and odometer/hour meter reading. This creates a verbal record that will be embedded in the file’s metadata if you don’t edit it afterward. Save the original files. (Don’t crop or export files to a format that strips EXIF/metadata.) Immediately upload the video to a cloud folder so there’s a cloud-stamped copy.

Work order

Request a written work order that lists every system you want inspected/repaired and a line that documents existing damage.

Insist that the advisor walk the RV with you and initial/sign the work order acknowledging pre-existing defects. If the dealer resists, photograph the signed work order with the date/time visible and keep a copy.

Ask the service advisor to note who will be working on the unit (names or tech numbers). Also have them note whether any subcontractors or third-party shops will be involved. Keep all written estimates and authorization forms. These small pieces of paper are often critical later.

During the repair

If you can’t stay while work is being done, ask for a written checklist of the expected steps, parts to be replaced, and the name of the lead tech.

Ask the dealer to text photos during progress and to keep the RV’s keys locked and accounted for (get that in writing). If the dealer refuses progress photos, at least insist they sign a declaration on the work order that no other workmanship will be performed without owner authorization. If the unit is moved to another building or shop, get a signed transfer note. Document every phone call (note date/time and name of person you spoke with).

After the repair

Do a video inspection the moment you pick up the RV. Record the same routine as pre-service, from the outside in, and talk through each area. Show the repaired items plus the rest of the RV.

Compare the “before” and “after” files in the presence of the service manager. Ask them to sign a pickup acceptance that lists what was repaired and any known remaining issues.

If you find new damage, photograph and video it immediately. Refuse to sign any “all good” or “accepted as delivered” forms until the issue is resolved in writing. If they insist you sign, make a clearly legible notation “signed under protest — dispute pending” on the copy you return. Keep every invoice and work order.

If you suspect the dealer/tech caused damage

If you cannot come to an agreement about the damage caused during the repairs, here are some steps to take:

  • Contact the manufacturer’s customer service and include your timestamped video, signed work orders, and photos.
  • File a complaint with the dealer’s corporate relations, if there is one.
  • File a formal complaint with the Better Business Bureau (BBB) and save the reference number.
  • If your state has an auto/RV arbitration or lemon law program, learn the eligibility rules and file quickly. Arbitration or small-claims court can be effective for lower-cost claims.
  • If you’re getting stonewalled and the dollar amount is large, consider consulting a consumer attorney who handles lemon-law or warranty cases. [Ron Burdge is an excellent RV lemon law attorney.] Public-facing documentation (e.g., sending your documentation to a well-followed consumer advocate like Liz Amazing or local news consumer reporters) has produced results in some high-profile cases. Use that option carefully and only after exhausting official channels.

Evidence tip reminders

Keep raw files (don’t edit or re-encode). Make sure your videos include the timestamp and GPS/location data.

If you must crop or make a short clip, keep the original raw file, too. Use a cloud upload right after filming so there’s a server timestamp.

If you need an independent record, hire a mobile RV inspector or a certified technician to do a pre- or post-service inspection and provide a signed report. Third-party signed reports carry weight with manufacturers, insurers, and courts.

Use email (not only phone calls) whenever possible so you have written records. When you speak on the phone, follow up with an email summarizing the call and ask for confirmation. Keep names, dates, and times.

Be firm but professional. Litigation or arbitration becomes easier to win when your paper trail is organized, factual, and unemotional.

Insurers and warranties

Insurance policies and factory warranties have different rules. Your RV insurance may cover accidental damage, but not damage that the shop claims was owner-caused (and vice versa). Talk to your insurer early in the dispute.

Manufacturer warranty processes can be slow and often involve the dealer as the gatekeeper. That’s why third-party evidence and written sign-offs can change the outcome. When warranty channels fail, documented consumer complaints and arbitration have, in many cases, led to buybacks or settlements.

Realistic leverage

Public attention, consumer advocates, and persistent documentation have produced buybacks and settlements in high-profile cases. At the same time, not every dispute ends that way.

The combination that gives you the best leverage is thorough, timestamped pre-service documentation; signed work orders that list pre-existing damage; polite but persistent written communication; and the readiness to escalate to arbitration, small claims, or legal help if the dealer or manufacturer refuses to make things right.

Follow industry outlets and RV consumer sites that compile owner complaints and buyback stories. Those reports may be useful if you open a formal dispute.

Has your RV ever been damaged while in for service? What did you do? Tell us using the comments below.

MORE LIKE THIS:

RVT1249

RV review: 2026 Cedar Creek Experience 29RL – nice hidden gem 5er

4

Today’s RV review is of the Forest River Cedar Creek Experience 29RL. This is one of those fifth wheel floor plans that everybody and their brother makes. It’s one I would use as the basis of my shopping for any fifth wheel. The reason I write that is that you can see how a company thinks by looking at a floor plan that everybody else makes. What kind of fixtures, appliances, and build quality do they put into this that others may or may not? 

Built differently 

The wall construction on these is very different than most RVs. The underlying structure is an aluminum build like many fiberglass-skinned RVs. However, the studs are actually screwed together rather than welded. There is also an adhesive applied to each joint as well. 

The fiberglass you see on the outside is actually glued to those studs. This is what is called a “hung wall” system instead of a laminate. With a laminated wall, the actual lamination process on many RVs helps build structure into the wall build. But this system requires the aluminum studs and their fasteners to be that structure. Also, the fiberglass is a high-gloss wall. 

Start at the ground level

From the road up, these ride on Goodyear Endurance tires, and they use a MORryde suspension that has greaseable bolts and heavier-duty hangers and such. It’s still a leaf spring, but it’s better than a cheap one. 

There are also tire pressure monitors built into the Goodyear Endurance trailer tires. Honestly, if you are RV shopping for a towable and the builder you’re looking at doesn’t put tire pressure monitors in their tires, run. This is such a basic feature on a towable RV. 

In addition to that, this rig features Lippert’s anti-lock braking system, which also tracks mileage and features a bit of anti-sway technology. Again, a very significant safety advance. 

Underbelly in Cedar Creek RVs

I also like the underbelly that Cedar Creek uses, which isn’t screwed into the frame but is rather placed into the frame rails and then secured. 

The slide rooms and leveling jacks are hydraulically operated—also nice—with individual shut-offs for the hydraulic system in each of the slide rooms. 

As someone who has been rear-ended while towing a trailer, I sincerely appreciate the redundant brake and turn signal lights that Cedar Creek has put on the back of this model. These are mounted high on the back, and this is a fantastic idea. 

Living space inside the Cedar Creek Experience 29RL

I recently was researching RVs with a lot of storage and pantry space, and this one absolutely stood out. The very nicely finished interior of this rig starts with the fact that it’s a wide-body design at 101” wide. That alone gives an RV a more open feel. The slide boxes have a 6’ 10” ceiling height. 

This is a nicer kitchen than in my house, with a proper stove and oven, a large 12-volt refrigerator with two freezer drawers and an ice maker, and a large microwave. 

There is storage on the front wall of this living space, including a countertop where one might arguably put a margarita blender. Drawers and cabinets are all over. 

I really like the organizer under the kitchen sink, and there is a cabinet with a trash can in it right by the stove. The sink is one of those newfangled multifunction models with the glass washer and all the various insert pieces for washing veggies and such. 

Under the dinette table, which can extend and is wall-mounted, is a nice silverware drawer. Across from the island is a shallow set of shelves behind a pair of doors that results in storage that most will find useful and uncommon. There’s also an ottoman as the seat toward the front of the dining table that can be moved around. It also provides additional storage space. 

Main living space

In the main living space is a very large smart TV with a fireplace below that. These are on a wall that is like one of those walls in an old haunted house movie—step on the secret latch, and there’s a whole lot more storage behind here. 

Put zee candle back. (Not everyone will get this movie reference!) 

I also like that there are the newer-style windows that incorporate the shades and screens into the frame assembly of the window itself. 

The entry door to the trailer is wider than average, but it’s one of those goofy doors with the black glass outer piece. I don’t know who thought these were a good idea, but they’re absolutely not. They’re hot in the summer and you don’t get any additional window coverage, just a huge hunk of breakable black glass on the outside. 

Upstairs

Upstairs, there’s a decently large bathroom. The shower stall incorporates a seat into the build. Nice. 

The bedroom features a king-sized bed in a slide. There’s a decently large bureau on the camp-side wall, but the real storage here is the closet in the nose of the rig. The closet rod spans the entire width of the front of the trailer, so you could hang one heck of a lot of clothes here. There are also lots of cubbies in here. There are washer-dryer hook-ups, as well. 


DID YOU KNOW? RVtravel.com publishes RV reviews all week long—it’s true! Sign up for our newsletters to get first access.


Boondocking and travel access in the Cedar Creek Experience 29RL

You can camp off the grid in any RV, just about. However, I wouldn’t put this in the category of a boondocking champion. Like all the RVs with this floor plan, you really can’t access much with the slides closed, and you shouldn’t use the upstairs bedroom with that slide in. 

There is just one solar panel standard, with a second one optional. But this is more about a battery tender than anything else. There are certainly holding tanks to support off-grid camping, but you’ll want to upgrade the solar if that’s what you really want. 

Cedar Creek Experience 29RL specifications

Final thoughts on the Cedar Creek Experience 29RL

I sold a lot of Cedar Creek fifth wheels when I was selling RVs, and they were a good product then. I’m sure they’re better now—truthfully. I think there are improvements in RVs being made despite what you read on antisocial media. 

But what hasn’t improved is Forest River’s website. So there is no clear distinction between the Cedar Creek and the Cedar Creek Experience lines, other than that they have a different picture as the hero image (the main image at the top of the website). Also, the only video they have on their site is one explaining how to use their WiFi system. Come on, Cedar Creek. It’s 2026. 

Is that really how you want to inform buyers about why this product is different? Why isn’t there a detailed walk-through of each unit, a detailed video about the build process, and actual information here? If you say that information is in the printed brochure, I’m going to come and pour vinegar in your coffee. 

I think Forest River has some good products in their stable that are very well designed and outfitted, but someone at corporate needs to be fired for their website that was lousy five years ago and hasn’t gotten better. 

I do like this fifth wheel quite a bit, both from the standpoint of how it’s built, but also just in the packaging. Too bad Forest River doesn’t invest in even a mediocre website to help tell the story of an otherwise top-notch product. 

MORE FOREST RIVER RV REVIEWS

RVT1249

A reminder to perform these often overlooked RV maintenances

2

By Gail Marsh
We have no problem remembering the “big things” in RV maintenance. Examine and clean the roof? Check! Care for slide outs? Check! Regularly inspect the RV’s tires and wheels (air pressure, tire age/wear, torque)? Check! Inspect and apply seal conditioner on black rubber seals? Check!

The basic RV maintenance chores we tend to overlook are the ones that remain largely out of sight. If this describes you, too, perhaps these reminders will help.

Basic RV maintenance you shouldn’t forget about

Propane appliance vent

Wasps and other insects like to nest inside our RV’s propane appliance exhaust vents. These pests are drawn by the odorant, mercaptan. This is the additive that gives propane its distinctive “skunk-spray” smell. We’ve installed screens over the vents where we can, and they do a good job of keeping pesky insects away (more on those here). For vents without covers, it’s important to open the vent and inspect it. Use a flashlight to help you see in the dark corners. Remove any nests or insects you find.

Detector batteries

At least once every six months, you should replace your smoke and carbon monoxide detector batteries. These safety detectors are critically important. They will alert you to dangerous conditions and give you time to safely escape from your RV.

Fire extinguishers

American Family Insurance recommends checking your extinguisher once a month. You can set a reminder on your cell phone or calendar to help you remember. Things to note: The needle gauge on the extinguisher should point to green (correct pressure). The extinguisher’s hose should be in good condition. If it’s cracked or brittle, replace it. Look for any dents, rust, or other damage on the canister. Update the inspection tag.

Note: Ask your local fire department if they inspect fire extinguishers. Some departments (though not all) will be happy to help.

Batteries

If you have maintenance-free batteries, this won’t be a concern. However, flooded lead-acid batteries should be checked regularly and topped off with distilled water if necessary. Inspect battery terminals for corrosion and, if found, remove it.

So, there you have it. If these oft-forgotten basic RV maintenance tips aren’t already on your “To Do” list, you may want to add them.

RELATED

RVT1249

RVers’ guide to Death Valley’s 2026 rare superbloom

4

Superblooms in Death Valley? That seems like an oxymoron to me. However, early signs indicate a rare superbloom for the area this year, 2026.

The National Park Service says sprouting is already visible in places. What’s more, if conditions continue to cooperate, Death Valley could experience peak displays between late February and early April.

What’s a superbloom?

A superbloom isn’t a single-species display. Instead, it’s a broad, landscape-scale response when dormant seed banks scattered across the desert suddenly germinate at the same time.

Key ingredients are above-average fall and winter rains, cool enough temperatures to let seedlings survive long enough to flower, and relatively gentle winds so blossoms aren’t stripped away.

Because seeds can lie in the soil for years, a single wet season timed right can trigger a remarkable, but short-lived, explosion of color. The Park Service explains that rain timing, repeated moisture events, and temperature all matter. In fact, wind and heat can shorten a great bloom’s window.

Why 2026 looks promising

Reporting from meteorologists and park biologists point to a wetter-than-average late fall/winter across parts of California and Nevada. These moisture-filled soil seed banks are in many low basins. Park observers have already spotted dense patches of desert gold and sand verbena along the south end of Badwater Road. This is an early and encouraging sign.

Death Valley has seen superblooms in the past (e.g., 2016, 2005, 1998), when similar conditions lined up, so the pattern isn’t new. It’s just rare. If you’re planning a trip, expect peak conditions to shift with the weather. However, late February through early April is the likely sweet spot.

Where to go

For 2026, the best places to view Death Valley’s superbloom are the low-elevation basins and fans where rain pooled and seeds germinated. This includes the south end of Badwater Road and the flats a few miles south of the Badwater Basin.

Other well-reported viewing corridors include areas near Furnace Creek, stretches between Mud Canyon and Hells Gate, and the low washes and fans off Highway 190 where past superblooms happened.

These spots are easy to access from the park’s main roads. They provide large, wide vistas that photograph beautifully.

Always follow NPS signage and stay on designated pullouts and trails—stepping on plants crushes tiny plants and ruins future seed production.

Three RV-friendly campgrounds nearby

Furnace Creek Campground

The park-run Furnace Creek Campground is the most convenient base for the Badwater area and central valley access. The campground offers a mix of RV sites (including some full-hookup sites) along with easy access to the Furnace Creek visitor services. In addition, it’s a short drive to many prime bloom locations. Reservations are strongly recommended.

Stovepipe Wells Village RV

Located along Highway 190, Stovepipe Wells has a handful of full-hookup RV sites and a larger dry-camping loop. It’s a handy staging spot for sweeping valley views. This campground is well-placed for exploring sand- and poppy-filled flats to the west and central valley areas to the east. Expect high demand and limited hookups during a superbloom.

Panamint Springs Resort

This private, small resort sits on the western edge of Panamint Valley and offers several full-hookup RV sites along with basic services. Panamint Springs is a great pick if you want a quieter base with quick access to western-side canyons and higher-elevation blooms as the season progresses. Amenities are modest but useful, with showers, a camp store, and fuel available.

Practical tips for a superbloom visit

Arrive prepared: Cell service is spotty, and gas and water can be scarce. Top off and carry spare water.

Park conditions shift quickly: Check Death Valley National Park alerts and follow seasonal road closures or pullout restrictions.

Peak bloom windows: Superblooms are short, and crowds can spike. Plan your visit midweek or very early/late in the day for calmer parking and cooler temps.

Don’t pick flowers or drive off-road to get closer. The park enforces rules meant to protect fragile desert soils and rare plant populations.

Safety notes

Death Valley is extreme. Even in spring, temperatures can climb fast, and steep grades around the park can stress brakes and drivetrains. There have been reports of vehicle fires and mechanical incidents on long descents. Inspect your brakes, cooling system, and tires before traveling. Consider a lighter load or an alternate route if you’re towing a heavy rig. Carry a basic emergency kit and extra fluids, and know where the nearest services are before you leave the main highway.

Also remember: Leave no trace and keep your dog leashed. Pets are restricted in many park areas.

Have you personally witnessed a desert superbloom? Tell us about it in the comments below.

MORE IN DEATH VALLEY TRAVEL:

RVT1249

Does ChatGPT give the correct answer on tire inflation? Sometimes…

Can ChatGPT give the correct answer? Well, sort of. I asked it about proper tire inflation. Here is what I got when I asked: “How much air should I put in my tires?”

+++++
The correct tire pressure depends on your specific vehicle, not the tire itself.

🚗 Where to Find the Right PSI

Look for a sticker:

  • Inside the driver’s side door jamb

  • Inside the fuel door

  • Or check your owner’s manual

It will list the recommended pressure in PSI (pounds per square inch).


📊 Typical Tire Pressure Ranges

Most passenger vehicles fall into these ranges:

  • Sedans & small cars: 30–35 PSI

  • SUVs & crossovers: 32–38 PSI

  • Pickup trucks: 35–45 PSI (can vary more if towing or hauling)

⚠️ Do not use the PSI number printed on the tire sidewall — that’s the maximum pressure, not the recommended setting.


🌡️ Important Tips

  • Check pressure when tires are cold (before driving or after sitting 3+ hours).

  • Tire pressure drops about 1 PSI for every 10°F temperature decrease.

  • If your TPMS light is on, inflate to the recommended PSI, not “until the light turns off.”


If you tell me:

  • Your vehicle year, make, and model

  • And whether it’s front, rear, or all tires

I can give you a more exact number.

+++++

From Roger:
If you have an travel trailer, ChatGPT missed you folks, as the proper inflation for your trailer is shown on the Certification label on the driver side front end of the trailer.

ChatGPT also did not give Class A RV folks the correct answer, as your inflation label is near the driver’s left elbow inside the RV.

Roger Marble

POSTS FROM ROGER (NOT CHATGPT 😉) ON TIRE PRESSURE

*****

If you have tire questions, check out Roger’s posts on RVtravel.com. There are hundreds of posts covering everything to do with tires.

If you still have a question for Roger after searching the above posts, send your inquiries to him using the form below.

Name
Drag & Drop Files, Choose Files to Upload

RVT1249

Are you afraid of the dark?

8

No streetlights, no glow from a neighbor’s porch, just deep, dark night. For today’s poll, we’re curious: Are you afraid of the dark?

For some of you, you’re going to say, “No way!” You’ve spent enough nights in campgrounds, forests, and wide-open spaces to appreciate real darkness. In fact, you might love it—the stars are brighter, the air feels cooler, and the world seems to quiet down.

Others may not call it “afraid,” exactly, but let’s just say you’re more comfortable with a little light nearby. An unfamiliar campground, strange noises outside the rig, or a pitch-black path to the bathhouse can make even the bravest among us a bit more alert.

Darkness has a way of sharpening the imagination, doesn’t it? Is that a… werewolf?! Maybe you suddenly believe in ghosts! Or wait… Is that Bigfoot over there?! Oh, boy…

And then there’s the difference between home and the road. In your own driveway of your sticks and bricks, darkness might feel peaceful. In a remote park miles from anywhere, it can feel very different. Wildlife sounds louder. Every rustle seems closer. It doesn’t mean you panic, it just means you’re paying attention. Walking the dog isn’t quite the same at the campsite at night as your well-lit front yard, is it?

So what about you? When the sun goes down and the world goes quiet, do you feel perfectly at ease or just a little on edge? Go ahead and vote in today’s poll and, as always, feel free to leave a comment. Thanks!

MORE POLLS ABOUT THE DARK

How comfortable are you driving at night/in the dark?

Which do you most often prefer: a well-lighted campground or a dark one?

Should campgrounds/RV parks have a ‘lights-out’ rule?

Do you keep lights on outside your RV at night?

Which kind of chocolate is your favorite: dark, milk, or white?😉

RVT1249b

First look at the brand-new 2026 24′ Casita Discovery LC—finally, a larger Casita

5

While camping, Todd and Carla, the Runaway Roses, ran into something fiberglass fans have talked about for years: a larger Casita. Parked nearby was a brand-new 2026 24′ Casita Discovery LC, a tandem axle model that had people wandering over for a closer look. The trailer belonged to Roy and Beth, who were kind enough to let everyone take a quick tour of their new setup.

See it in the video at the end of this post.

Interior

The first thing that stands out inside is how much usable counterspace Casita managed to fit in. It feels more like a small apartment kitchen than a compact camper galley. Storage is everywhere—drawers, overhead cabinets, and a large lower storage area.

Kitchen

Key kitchen features shown on this unit include:

  • A deep, square sink
  • A three-burner cooktop
  • A microwave
  • A furnace located under the cooktop area
  • A large refrigerator and freezer (12-volt only, labeled as Coleman on this trailer)

Because this is a privately owned camper, cabinets were left closed, but the owner explained that storage runs deep in several spots.

This Discovery LC had a twin bed setup that can convert into a king-size bed using an extra cushion piece. The twin-to-king option gives flexibility: twin beds for day-to-day comfort, or one large sleeping space when wanted.

Bed1

Up front, there’s also a TV area where the TV folds up, plus accent lighting around that space. Window coverings were installed, and the owner mentioned different shade options, with these planned to be swapped out. The owners added frosting on the windows and door glass for privacy.

For seating, this model has a jackknife sofa, and Casita also offers a dinette layout. A bunk bed version was mentioned, too, which could be a big deal for families shopping for molded fiberglass.

Dinette

A wardrobe and upper cabinets round out the main storage spots. The owners noted the trailer comes with two tables that can be set up between the beds. (They left theirs at home to save space.)

The big change: Casita’s first dry bath

The headline feature is the bathroom. This was described as Casita’s first dry bath model, with the sink along the front wall, the toilet nearby, and a separate shower to the side.

The shower looked tall enough for an adult to stand comfortably. Carlo, at 6 feet tall, fit with extra headroom toward the front. The shower had a molded fiberglass look, a shower head set in the corner, plus a roof vent fan with a light.

Controls and indicators were also shown in this area, including tank level monitors, the pump controls, the water heater area, and the thermostat. There was also a fold-down centerpiece with cup holders.

Tank sizes mentioned for the Discovery LC were:

  • Fresh: 45 gallons
  • Gray: 40 gallons
  • Black: 35 gallons

Bath

Specs and exterior walkaround highlights

Casita’s posted starting price was listed as $44,999, and the trailer shown was described as first off production. Here are the specs read from Casita’s site:

Spec Detail
Starting price $44,999
Length 24 ft. 3 in. (tongue to bumper)
Overall height 9 ft. 6 in.
Overall width 8 ft.
Dry weight 4,250 lbs. (before options)
GVWR 6,000 lbs.
Interior length 19 ft. 6 in.
Interior height 6 ft. 7 in.
Interior width 7 ft. 6 in.

Outside, the Discovery LC rides on a larger steel frame than smaller Casitas, and the molded fiberglass finish and gel coat looked clean, with a two-tone gray and white option and updated graphics. It also had frameless, awning-style glass windows, which can stay cracked open in the rain.

The tandem torsion axles were a major part of the excitement, both for size and towing stability. Casita also lists the underbelly as enclosed, with heated tanks, and calls it four-season compatible. Dump valves were placed on the driver’s side toward the rear, with another gray valve forward of the driver-side front tire.

Other exterior details shown included a 30-amp plug, water hookup, a larger rear bumper with a cap (good for a sewer hose), LED taillights and marker lights, a hitch receiver on the back, a wide entry door, double steps, a grab bar, a long side awning that appeared manual, two 30 lb. LP tanks, and a roof solar panel.

Why the Casita Discovery LC had people stopping to look

A taller, wider Casita with tandem axles and a true dry bath is the kind of change molded fiberglass shoppers have waited on for a long time. Roy and Beth’s new trailer became a campground attraction fast, with plenty of people circling it for a peek. For anyone curious about where Casita goes next, the Discovery LC makes a strong first impression.

Learn more about Casita’s new double axle travel trailers.

RELATED

RVT1249b

Beyond the headlines with Tony Barthel: Lippert is having a good year; and y’all are happy RVers

13

RV parts maker Lippert and the team at the top are smiling broadly after announcing that net sales increased 18% to $737 million in the fourth quarter. But the bigger story for us is that RV OEM revenue rose 17%, driven by market share gains. They’re selling more parts to more people. 

“Increased sales of newer products, and a favorable mix shift toward higher content units.” These are things that the President and CEO of the company, Jason Lippert, credited. 

He also praised the company’s performance in the aftermarket, where the company grew net sales 8% year-over-year in the fourth quarter to $196 million. In addition, LCI’s total content per unit increased 11% year-over-year, reaching $5,670 and representing the company’s largest year-over-year content growth in the past five years.

Lippert will respond to what the customer wants

I know Lippert gets a lot of flak for making cheap products, but, quite honestly, they’ll respond to whatever the customer (the RV industry) wants. I’ve toured numerous facilities of the company and even spoken with Jason Lippert as well as several other team members. 

I often share my experience where they hired out a runway and demonstrated suspension advances for towable RVs, and also showed anti-lock trailer braking. 

Something I see in the company is that they do reward innovation and better ideas. Their Chill Cube A/C unit is currently the best on the market, in my opinion. Their Touring Coil and Independent Suspension, again, are best on the market. My 2025 trailer came with a Magic Chef fridge, which I like very much. 

To me, Lippert right now is like GM in 1965. Lippert is the undisputed leader in sales of RV parts, and they’re using that leadership to come up with better stuff. Honestly, the ’65 GM cars were the pinnacle of style for the company, in my opinion, and they had so many engineering advances.

Air-cooled engines (I love Corvairs), turbochargers, independent suspensions, front wheel drive… and on and on. Their A/Cs were the best—you could practically freeze meat in a ’65 Cadillac. Like Lippert today—innovation breeding sales. 

I got to attend Lippert RV Owners School with my wife and adult supervisor, Peggy

New products

“Since 2020, new products and market share gains have driven a 67% increase in total content,” Jason Lippert said. He added that the company’s five most recently launched products are now generating an annualized revenue run rate of approximately $225 million. 

“For example, our air conditioner unit shipments increased from 50,000 units in 2023 to more than 200,000 units last year, partially driven by strong consumer adoption of our Chill Cube air conditioner platform,” he said. “In addition, following the launch of our patented SunDeck in 2025, we are scheduled to build over 4,500 of these patio systems this year, contributing over $4,000 in revenue per unit. These examples underscore our ability to create and scale high-value innovative content with the entire RV customer base quickly.”

See? 

“This year,” Lippert continued, “we are partnering with dealers to launch the Lippert Upgrade Experience, a new program that enables our dealers to offer upgrades such as TCS, ABS, and other advanced systems not currently offered by dealers. Several of the largest dealers in the country have already expressed strong interest in rolling this program out later this year.”

Another thing credited is the number of techs and owners who have gone through the Lippert RV Owner School. If you ever have the chance to do this, do this. You get to choose a path and learn about the systems inside your own RV. I did this—it was really helpful. But now I also understand how these Lippert-produced systems work and how to maintain them so they continue to work properly. 

People are happy with their RVs?

Last week, our esteemed publisher Chuck Woodbury shared the results of a survey that indicated that you are happy with the build quality of your RVs for the most part. You know what? This doesn’t surprise me. 

A few weeks ago, I shared my opinion (because opinions are like hind ends—we all have ‘em and most of ‘em stink!) that a lot of what I see being wrong with the RV industry is people not demanding more from it. 

I’m going to assume that since you’re here, you are here to learn, and that is a good thing. Long before I started writing for RVtravel.com, I was a reader here, and I found the content very informative. So the fact that “we” are happier with our RVs is potentially due to the fact that we know how to make better choices. I hope I am at least partially complicit in that with the RV reviews. But maybe I’m just giving myself credit that is not due. Who knows? 

I can say I am very pleased with my RV, but I chose it based on looking at the components the manufacturer chose and the decisions they made.

Seeing improvements in plumbing and other construction processes is encouraging for future buyers, too.

I have a story coming tomorrow about maybe putting my own certified stamp on “good” RVs. Let me know what you think.

Read all recent RV and RV-related news here

RVT1249b

Michigan lawmakers consider lifting campground stay limits amid housing shortage

4

Michigan lawmakers are considering a proposal that could significantly change how long RVers can stay in campgrounds—and potentially reshape parts of the state’s housing landscape.

A bill introduced by State Rep. Rachel Smit (R-Shelbyville) would remove Michigan’s current six-month limit on campground stays for qualifying properties. Under existing law, campground residency is capped at 180 days.

The proposed legislation would allow certain campgrounds to host long-term residents indefinitely, though it would not grant permanent residency status for purposes such as voter registration.

Tied to housing and workforce shortages

The proposal is framed as a response to persistent housing shortages and tight rental markets in parts of Michigan. Campgrounds located within 50 miles of communities facing documented housing or workforce shortages could qualify, as could facilities in areas under declared states of emergency.

Eligibility would also be based on economic benchmarks, including counties where rental vacancy rates fall below 5% and where median gross rent exceeds 30% of median household income, which are common indicators of housing stress.

Supporters say the change could provide flexible housing for traveling nurses, utility workers, disaster response crews, and others who often struggle to find short-term rentals in rural or high-demand areas.

In some northern Michigan communities, officials have pointed to situations where incoming workers had few options beyond living in RVs.

Major infrastructure upgrades required

The bill would not simply open the gates to year-round camping. Campgrounds seeking to host long-term residents would need significant infrastructure improvements.

Requirements include individual water, sewer and electrical hookups for long-term sites, along with properly placed fire hydrants.

For winter operation, that likely means burying water lines below the frost line, insulating or heat-taping exposed plumbing, upgrading electrical pedestals, and designing pads that can withstand freeze-thaw cycles.

In short, many traditional seasonal campgrounds would need to invest heavily to operate safely through Michigan winters.

A new business model for campgrounds

If enacted, the legislation could create a new revenue stream for operators. Long-term residents provide a predictable monthly income during off-season months when tourism slows. However, monthly rates typically generate less per-night revenue than peak summer stays.

Operators would also face a shift in day-to-day management. Long-term residents require leases, clearer rules, possibly background checks, and year-round maintenance such as snow removal and emergency response.

Some campground owners may find themselves operating more like manufactured housing communities than traditional vacation parks.

Debate over risks and consequences

The proposal has sparked debate. Some lawmakers and critics question whether allowing extended RV residency addresses root housing shortages or merely shifts the burden to campgrounds.

Concerns have also been raised about public health and safety if infrastructure fails during harsh winter conditions, and whether long-term RV living could evolve into de facto permanent housing without adequate consumer protections.

Supporters counter that the measure is not a comprehensive housing solution, but a practical, short-term tool to ease pressure in tight markets.

Could other states follow?

Michigan is not alone in facing workforce housing shortages, especially in rural, tourist-heavy, or disaster-prone regions. Across the country, many states still limit campground stays to 30 days, 90 days, or six months to prevent campgrounds from becoming unofficial mobile home parks.

If Michigan moves forward, other states grappling with housing shortages could face similar questions: Should campground residency caps be loosened to support workers and boost local economies? Or do such changes blur the line between recreational camping and long-term housing in ways that create new challenges?

For RVers and campground operators alike, the bigger issue may be this: As housing pressures grow, will campgrounds increasingly become part of the housing conversation—not just the vacation industry?

The bill remains under committee review.

RELATED

RVT1249b

Two-story RVs? A reminder of an earlier time

1

By J.R. Montigel
If you attend an RV show, chances are excellent you will find RVs with lofts and even a second floor on some very large models. Of course, roof decks can qualify as a second story.

As I walked through a recent RV show and came upon a fifth wheel with a second floor (little kids could stand up, not adults), I thought of something I had learned years ago that fascinated me. It was about where we live, specifically in high-rise buildings.

OK. That’s not specifically about RVing. But it’s a story I bet you have never heard about how we lived in the past, long before RVs, of course (unless you count gypsy and covered wagons).

Height wasn’t always desirable

Today, the higher you live in a city high-rise, the more you can expect to pay. Penthouses command premium prices, prized for their views, light and separation from street noise.

But before elevators became common, the most desirable floor in a New York City apartment building was not the top—it was the second. This was likely the case in other big cities as well.

There were no elevators in the 19th century, just stairs. Climbing multiple flights every day was more than an inconvenience. Residents carried groceries, coal, water and furniture by hand. The higher the floor, the more exhausting daily life became. As a result, upper floors were typically cheaper and often occupied by servants or tenants of more modest means.

Also, toilets—outhouses—were on the ground floor: Climbing down multiple floors became more difficult the higher you lived.

The ground floor had significant drawbacks. City streets were loud, crowded and far from clean. Horse-drawn traffic left behind mud and manure. Vendors shouted. Wagons rattled past at all hours. Ground-level apartments offered less privacy and were considered less secure.

And remember, window screens did not begin appearing until the 1870s.

The sweet spot

That made the second floor the sweet spot. Often referred to as the “parlor floor” in brownstones and townhouses, it struck a practical balance. It was high enough to avoid much of the street noise and grime, yet low enough to reach without a serious climb. In many upscale homes, the second floor housed elegant reception rooms.

Things changed in the late 19th century as passenger elevators became more reliable and widely installed. Once climbing stairs was no longer part of everyday life, the upper floors gained appeal. Height offered cleaner air, more sunlight and better views. The very floors once discounted became desirable. Over time, living on a top floor became a status symbol.

For a time in New York City, the most coveted address was just one flight up—a reminder that comfort, not altitude, once defined prime real estate.

Read Chuck Woodbury’s article and watch his video tour of the two-story Spartan trailer where Shirley Wallace, of Visalia, California, spent her childhood.

In RVs, one floor will most likely remain the norm, due mainly to low bridges. But who knows what engineering feat might make adding another floor possible, even desirable?

RELATED

Grand Design’s new Foundation 42GD trailer has two-story deck

Inside Will Smith’s $2.5 million two-story RV

Brothers build innovative two-story microcamper

2023 “two-story” 5th wheel is enormous, but design is disappointing

RVT1249

Glacier National Park announces changes to 2026 summer operations

1

Glacier National Park announced it will pilot a ticketed shuttle system to Logan Pass in summer 2026, including early morning express routes. Beginning July 1, weather permitting, private vehicle parking at Logan Pass will be limited to three hours. Vehicle reservations will not be required anywhere in the park in 2026.

“With the new trial measures, we aim to improve the public’s ability to visit Logan Pass for short durations and allow the shuttle system to perform more reliably for a more specific purpose,” said Glacier National Park Superintendent Dave Roemer.

Logan Pass parking

Beginning July 1, private vehicle parking at Logan Pass will be limited to a maximum of three hours. The time limit is intended to increase parking turnover and provide more visitors with the opportunity to experience the area.

Three hours allows time to hike to Hidden Lake Overlook, visit the Logan Pass Visitor Center, or attend an interpretive program.

Visitors planning longer hikes that begin at Logan Pass, including the Highline Trail to Granite Park Chalet or to the Loop Trailhead, must obtain a shuttle ticket.

Overnight parking will not be permitted at Logan Pass except for permitted backcountry users and registered guests of Granite Park Chalet.

Going-to-the-Sun road park shuttles

In 2026, the park shuttle system will provide express service to Logan Pass for visitors planning extended alpine hikes and activities.

Shuttles to Logan Pass will not stop at Avalanche or board passengers without shuttle tickets.

Shuttle tickets will be released during two booking windows:

• A portion of tickets will be available 60 days in advance, beginning May 2, 2026, at 8 a.m. MDT on a rolling basis.

• Remaining tickets will be released at 7 p.m. MDT for next-day entry beginning June 30.

Tickets are available on a first-come, first-served basis through Recreation.gov or the Recreation.gov call center at 877-444-6777. Tickets are not sold inside the park. A Recreation.gov account is required. The only cost is a $1 processing fee per ticket. All passengers age 2 and older must have a ticket. Tickets are nontransferable.

Cell service is unreliable in the park. Visitors should print or save a digital copy of their ticket before arrival. Tickets will be validated before boarding, and a photo ID may be requested. Additional information will be available at nps.gov/glac and Recreation.gov.

Shuttle routes and schedules

Shuttle service will provide access to Logan Pass from both the west and east sides of Going-to-the-Sun Road.

West side express routes will depart from Apgar Transit Center and Lake McDonald Lodge, with stops at the Loop in the afternoon and Logan Pass. Avalanche Lake and Trail of the Cedars will not be accessible by park shuttle in 2026.

East side express routes will depart from the St. Mary Visitor Center and Rising Sun. Riders may transfer between routes at Logan Pass.

Updated route details, boarding times, and stop locations will be posted later in the season.

Many Glacier, Two Medicine, and North Fork vehicle reservations

Vehicle reservations will not be required in Many Glacier, Two Medicine or the North Fork in 2026.

Vehicles may be temporarily diverted when areas reach capacity. Visitors with lodging, camping, boat tour, horseback ride, guided hike or backcountry reservations will be permitted entry during temporary restrictions but may experience delays.

Going-to-the-Sun Road opening

Snow removal operations begin in early April and typically continue until Logan Pass opens between mid-June and early July. Snowstorms and avalanches often continue through May, and the park cannot predict an opening date. Road crews work across approximately 40 avalanche paths, and progress depends on snow and avalanche conditions.

The shuttle system begins July 1, 2026. The park cannot predict when Logan Pass trails will open. Popular routes, including the Highline Trail, may remain closed due to hazardous snow conditions.

RELATED

RVT1249b